

![]()
![]()
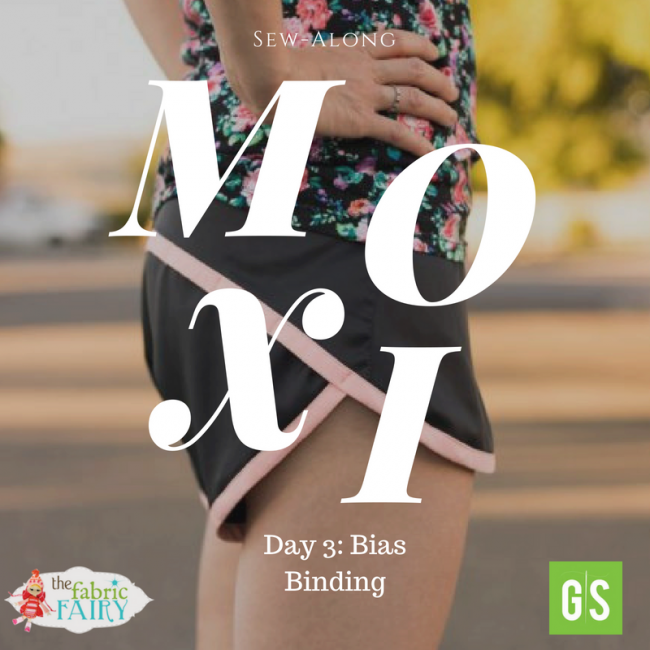


Welcome to Day 3 of the Moxi Shorts SewAlong!
If you don’t have your pattern yet, you can get it here. If you still need to order fabric, you can find the stretch woven HERE (Use code “moxie” for 10% off (through 7/27/18).
Catching up:
Need to catch up?
Check out Day 1 HERE on the blog. It’s got lots of tips for selecting your size, adjusting your fit, and cutting your fabric!
Day 2 is HERE on the blog, with instructions for sewing the side and inseams.
The Schedule
As a reminder, here’s our schedule:
Here’s a sneak peek at the schedule:
Day 1: Supplies, Fit, and Cutting Fabric
Day 3: Bias Binding (YOU ARE HERE)
Day 4: Waistband
Day 5: Hacks!
Today’s Tasks:
Today we are going to be sewing our bias binding and applying it to our shorts. Then we will sew the front and back rise in one pass, and put the upper and lower back together! By the time you’re finished today, all you’ll have left is the waistband- how’s that for progress?
Optional: If you’re adding the briefs or compression shorts, you will also be constructing those today.
Video Tutorials:
Ready? Check out the tips below, and then get started!
Note: Today’s video is one I re-worked just a bit for our purposes- I actually made the bias binding portion of the video months ago, and posted it as a brief tip, so you might have seen it before. I had originally planned on re-shooting the whole thing, but when I sat down to watch it I was actually impressed by how thorough it was, so hopefully you feel the same way!
The double fold bias binding technique is a really useful one. If you can master this, you can move onto the Havana Dress, strappy bathing suits, or any number of patterns that call for double fold binding.
The “double fold” part means that you are enclosing all raw edges by folding the bias binding in four parts. This is in contrast to single fold binding, where you would have a raw edge on the wrong side, like I did in my Lille tank tutorial.
Quick Tips:
A couple tips before you get started:
- After sewing on your binding and sewing the rise, make sure to finish your LOWER BACK pieces before attaching them to your upper back.
- Fitting: You can baste the upper and lower back of your shorts together to check for fit before doing your bar tacks or topstitching. This is recommended to make sure the leg opening is the right size for you. You should also be able to tell if you’ll need to scoop out the front or back crotch at all at this point, and make those adjustments.
- Remember, work in small increments- even 1/4″ can make a big difference! If your leg openings feel too wide, you can overlap the upper and lower back more at the bottom, or if they are too narrow, you can always overlap less.
- You have TWO OPTIONS when attaching the lower and upper back together:
- 1) Topstitch across the entire upper back, so there are no gaps
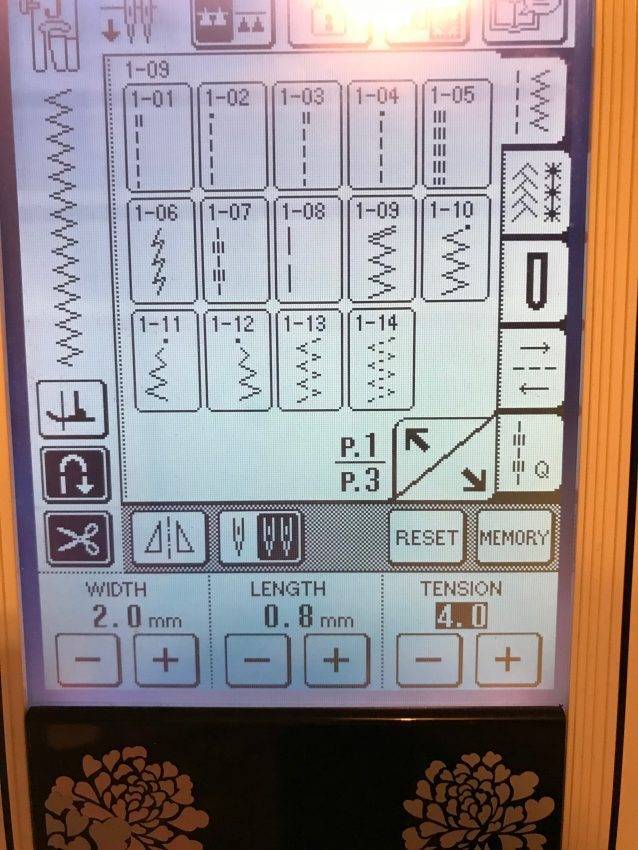
- 2) Use bar tacks every couple inches to keep the pieces together, leaving small “airflow” gaps in your shorts. I prefer this method, and haven’t ever experienced a wardrobe malfunction. If you’re concerned, you can always space them closer or farther apart. I start with the center back, and then mark out every 2 inches from there with a pin or fabric marker (I love these frixion pens!), making sure that I also do a bar tack at the end where the shorts meet.
- Here are my bar tack settings (on a 3 step zig zag stitch). Make sure you practice on a scrap to see if they are right for you!


Bias Tape Video (Start here!)

Compression Shorts:
If you are adding the compression shorts, you can follow this video to get those done today as well. These make a great stand-alone short as well as a layer underneath!

Gusset Photo Tutorial:
I know some people struggle with putting in the gusset, so I have added a photo tutorial here that covers this portion in more depth. Check out the video above, and then hop back here for a fuller explanation if needed.
I hope it’s helpful!
Step 1: Baste two gusset pieces together
![]()
![]()


Step 2: Place guset piece right sides together with one of the back pieces.
![]()
![]()


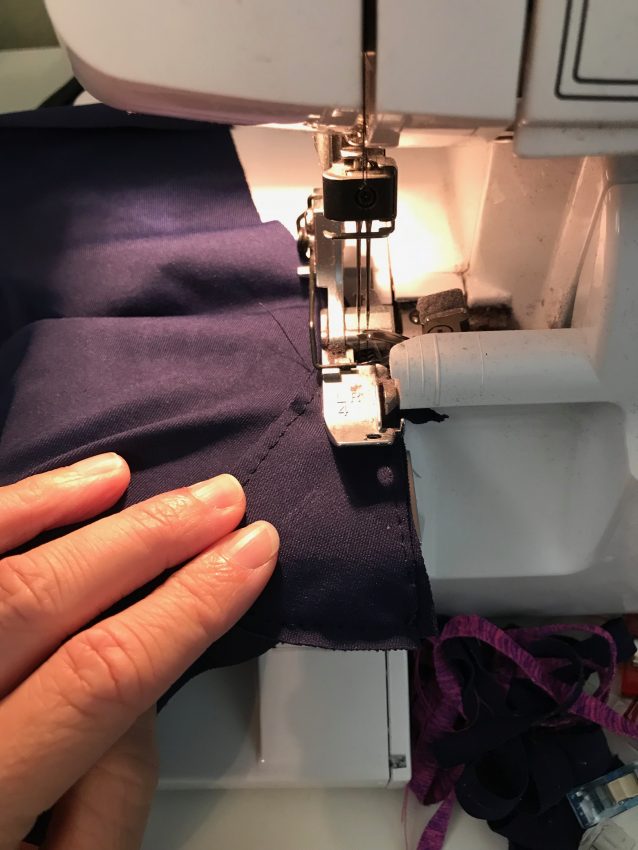
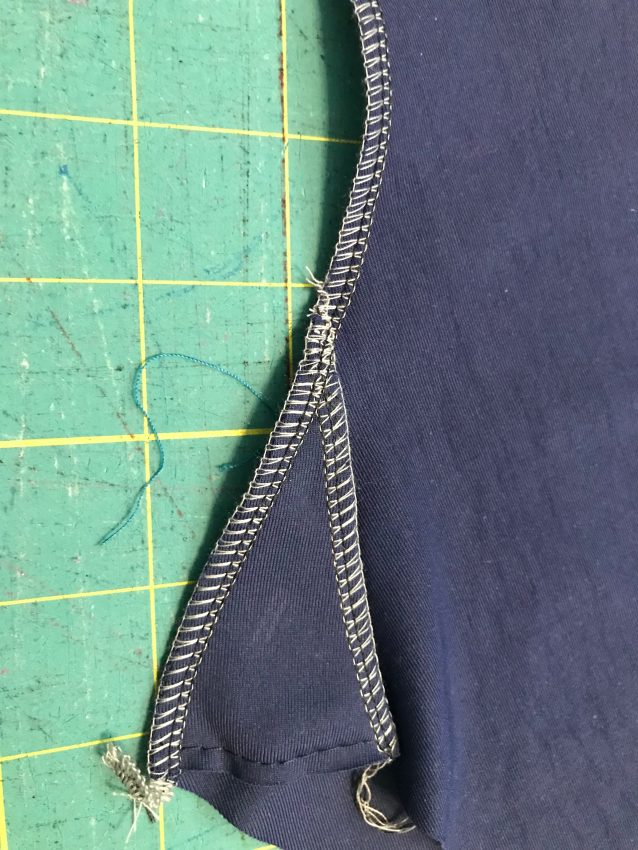
Step 3: Serge/sew the gusset to the back piece, using a 3/8″ seam allowance. I usually accomplish this by starting on the back before the gusset and not cutting anything off with my serger, and then starting to cut off the seam allowance once I get to the gusset. If you do this correctly, you will still have some seam allowance at the top of your gusset, which you will need when you attach it to the other back piece.
![]()
![]()


![]()
![]()


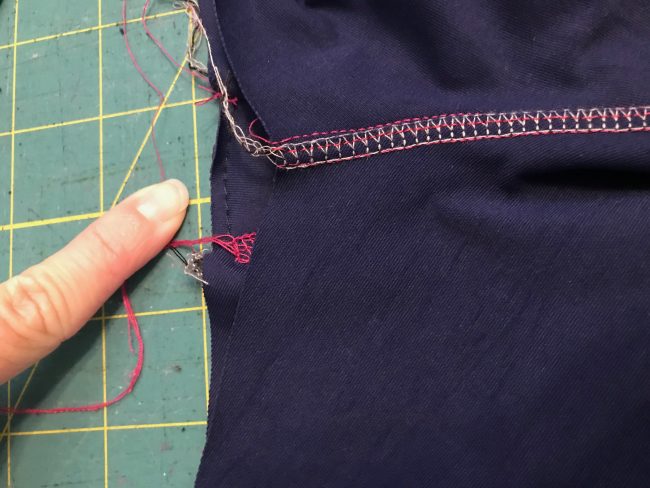
Step 4: Place your other back piece right sides together with the back that has the gusset attached, flipping the gusset out so you can sew the remaining long edge to the other back.
![]()
![]()
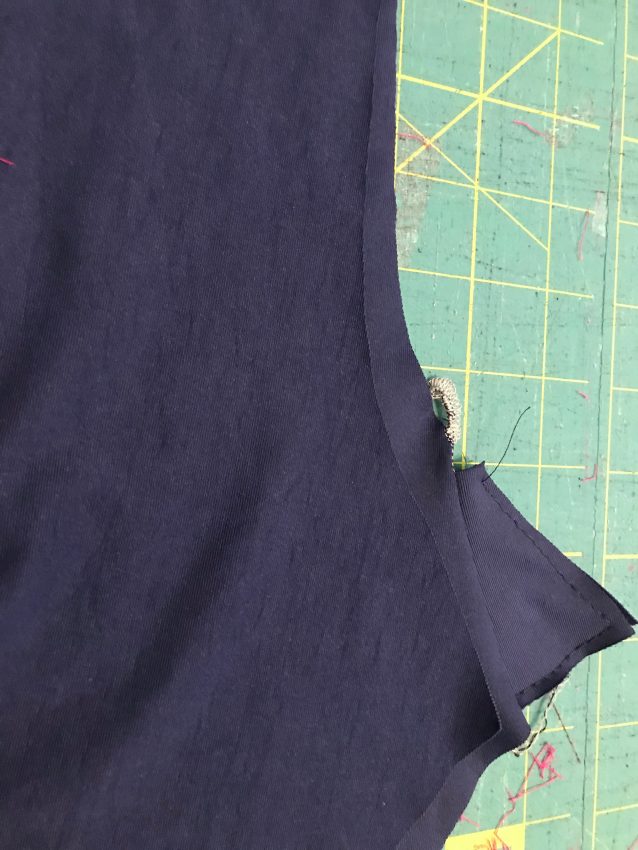


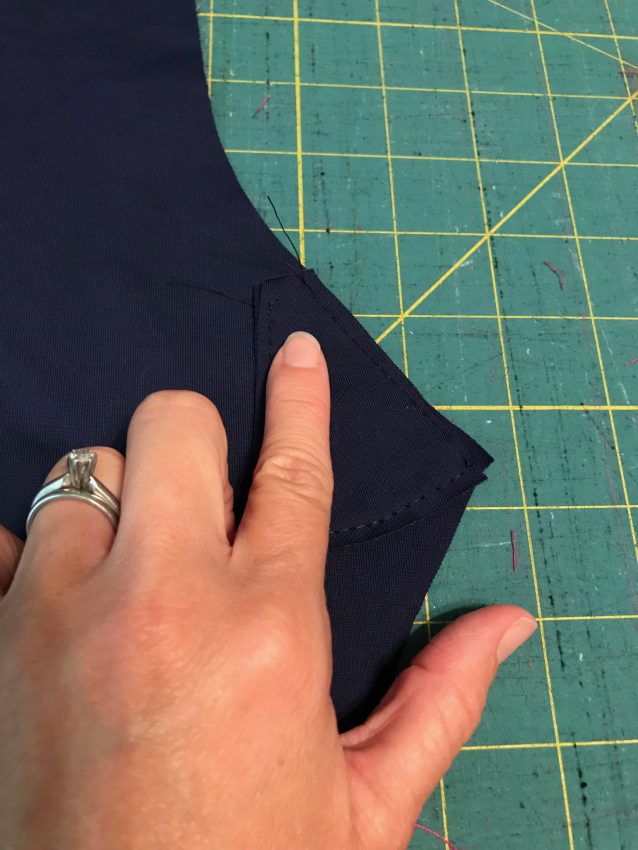
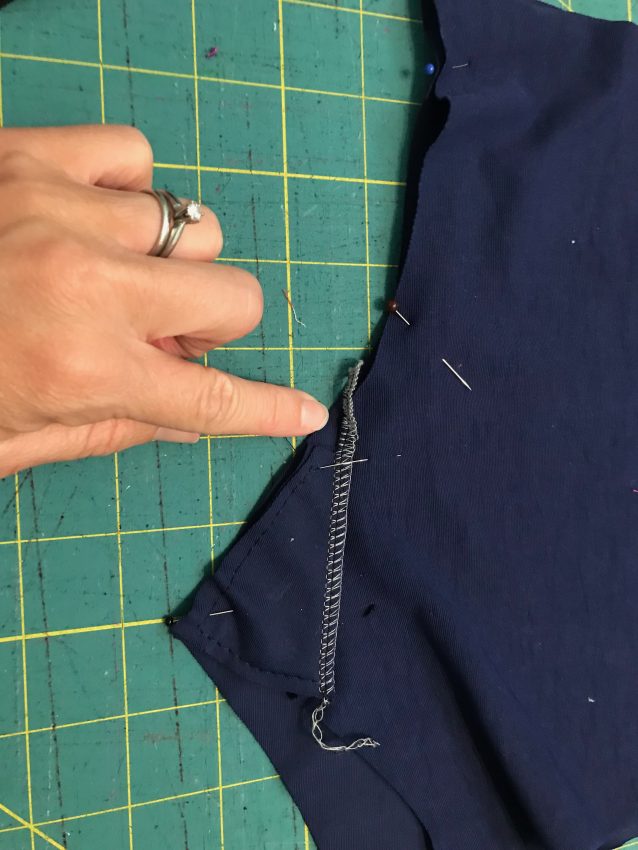
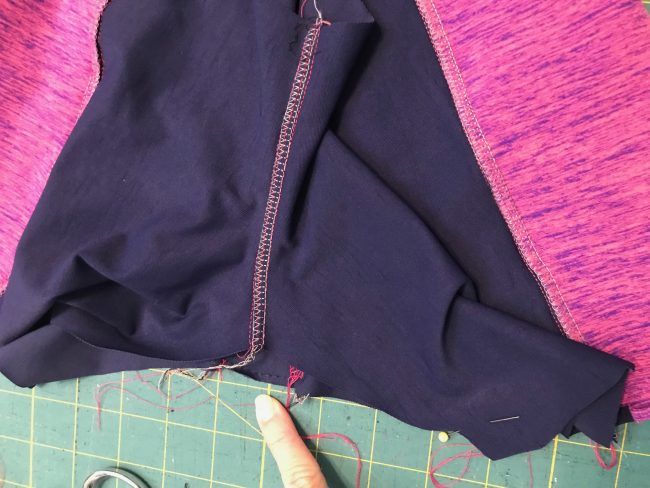
Pin them together. You will have a small gap where the gusset meets the other back piece. Don’t worry about it! I’m pointing to the gap with my finger here.
![]()
![]()


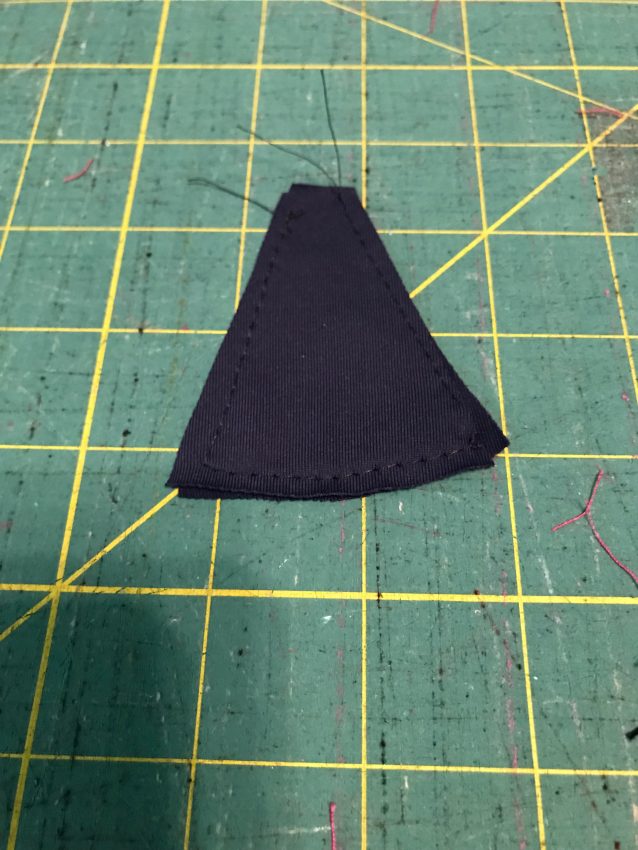
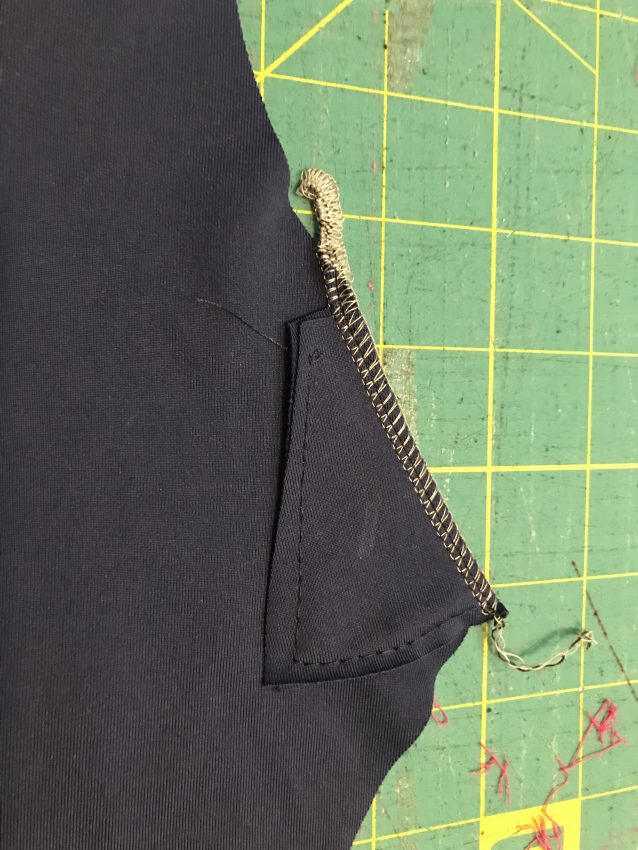
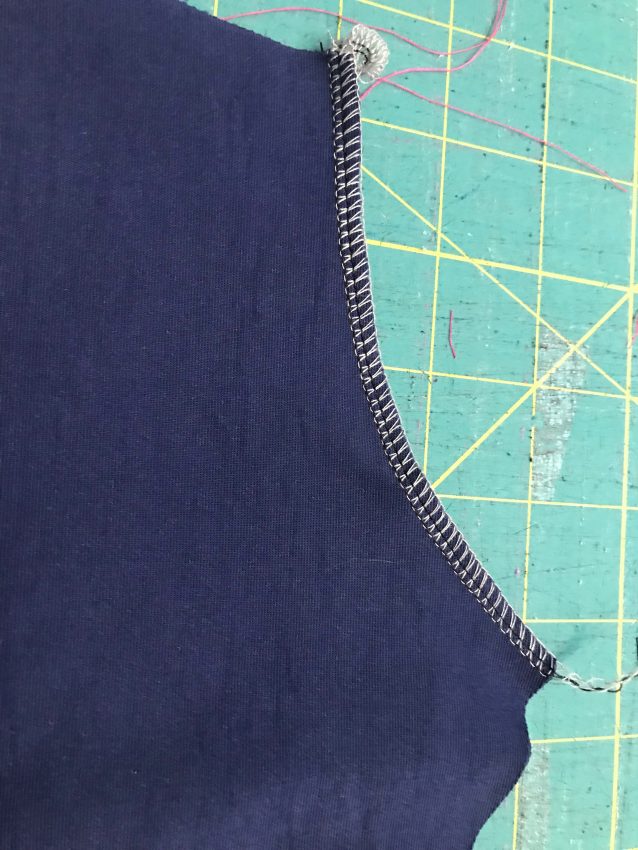
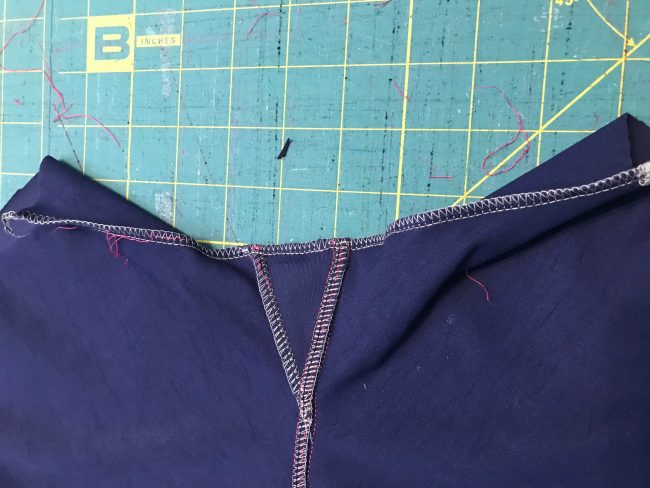
Step 5: Starting at the bottom, where the gusset is, serge the back pieces and gusset together, using your 3/8″ seam allowance. If you did this correctly, it should close the gap. Continue up to the top of the back rise.
You should have this lovely triangle now!
![]()
![]()


If you’re going to do a reverse coverstitch, do that now on the back rise (I only do one side of the triangle and on up). See a tutorial for my reverse coverstitch method HERE.
Step 6: Sew the front rise, and topstitch if desired.
![]()
![]()


Step 7: Pin the front and back together, matching the center of the gusset with the center front.
![]()
![]()


Another angle:
![]()
![]()


Stitch them together.
![]()
![]()


That’s it! Take some time to admire your beautiful gusset!
Briefs:
If you are adding the optional briefs, you’ll also want to check out this video. Remember, the briefs should be made from something that will wick sweat well and breathe if you are planning on working out in them.
If you prefer a natural fiber crotch liner, there is a photo tutorial on how to do that HERE in the Greenstyle Facebook Group.

That’s it for today! Don’t forget to post your progress photo for today in the Fabric Fairy Facebook group, and feel free to ask any questions there as well (or in the comments below).
I can’t wait to see the awesome shorts that get created this week! Don’t forget to check back each day to see a new video tutorial/post, or subscribe HERE to get them delivered directly to your inbox.
If you enjoy these videos/tutorials, I encourage you to follow me on YouTube and Pinterest, to see them all in one spot!
Note: This post contains affiliate links, which help cover the cost of the caffeine I need to put on these videos. Ever wonder why I get a little chatty sometimes? Thanks for your support!