

![]()
![]()


I’ve made about a million hoodies by now(only a slight exaggeration), and I live in them daily. I’ve tweaked them to fit my unique body and preferences, but what I haven’t done, is put an extra stamp of Sarah on them, by applying an image that speaks to me.
I’ve dabbled in vinyl a few times, mostly by begging my husband to cut and apply text files for to the kids shirts, but this time, I decided to learn to do it myself, with an actual image. I’m fortunate enough to own some great tools (a silhouette machine and a heat press) and it was high time I put them to full use.
![]()
![]()


In case you’re unfamiliar with this process, here’s a quick run down: An electronic cutting machine, in my case the Silhouette Cameo, cuts out an image or text file you create or download from your computer onto a product called heat-transfer vinyl. You then remove the extra vinyl surrounding the image/text (called “weeding”), and iron or press the remaining vinyl onto your fabric. It’s a multi-step process, but one of the only ways you’re going to be able to apply custom images or text to fabric.
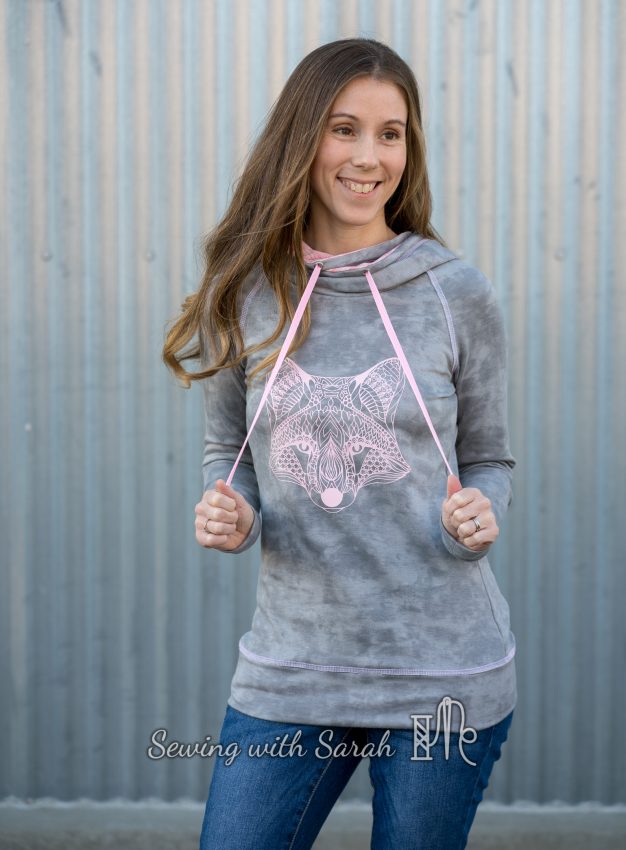
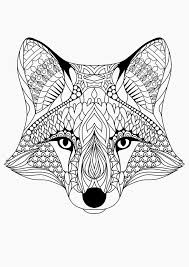
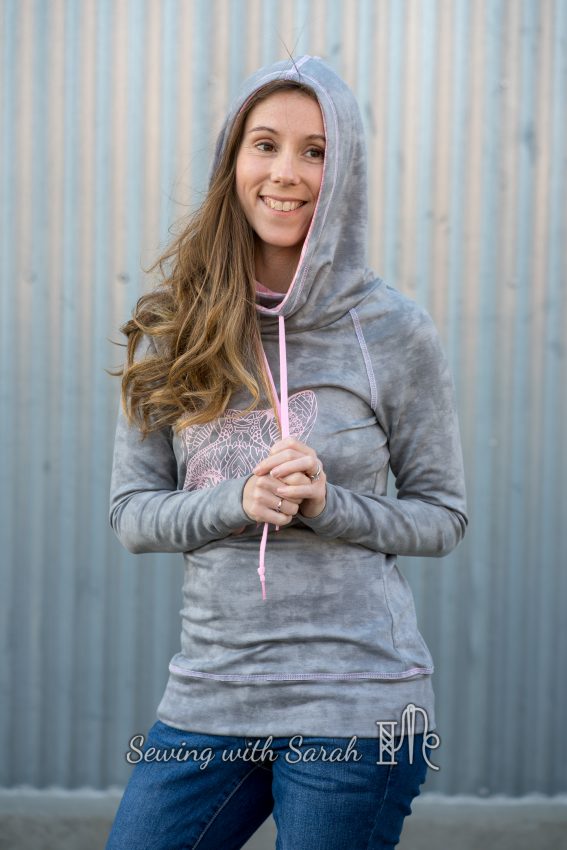
Of course, I couldn’t start off easy….I had to find the most difficult image EVER- this cool fox with teeny-tiny geometric designs that make up his fetching little face. Each one of those designs had to be painstakingly weeded out- which took days. However, I kept at it, excited about the prospect of creating my own custom-custom top.
![]()
![]()


Why a fox, you ask? One of my favorite fabric groups is Sly Fox Fabrics– I’ve done a lot of work with them, and genuinely appreciate the humor, kindness and generosity of the members and staff there. The grey marbled fabric is a baby french terry that they sent me as a gift for Christmas- and I’ve been waiting to do it justice to show my appreciation. When I stumbled across this little guy on the internet, I knew it was the perfect match!
![]()
![]()


After I finally got the image weeded, I applied it to the fabric using my heat press. I did this before cutting out any of my pieces, because I wanted to eliminate the possibility of creating problems by pressing existing seams under super-high heat, and also because it would allow me to make sure the image was completely centered on my top.
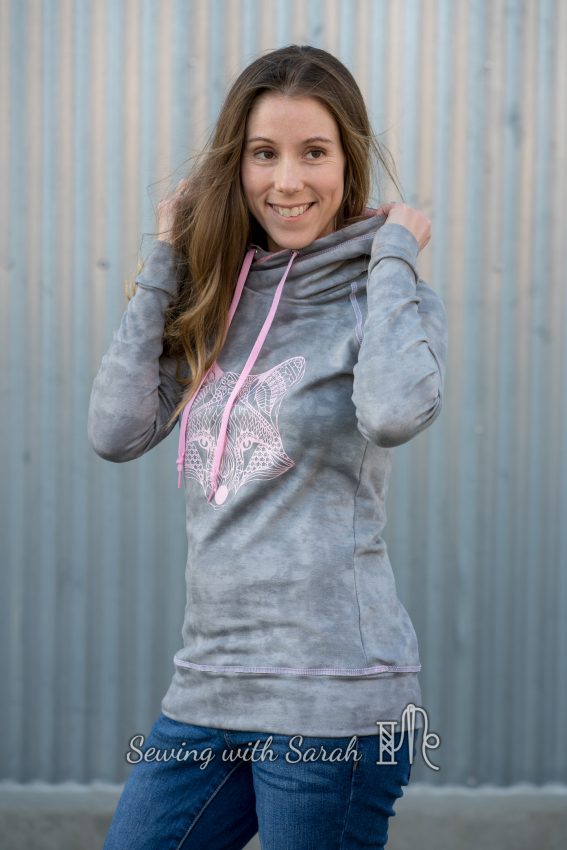
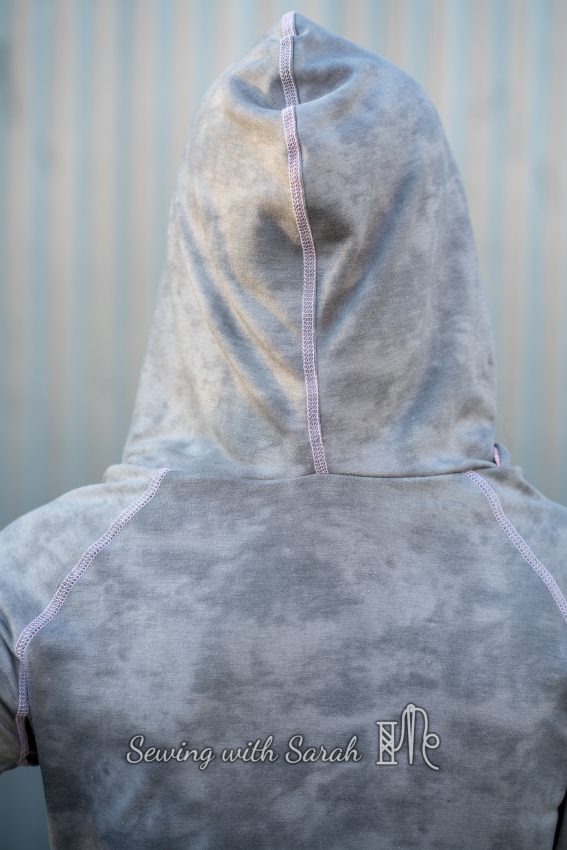
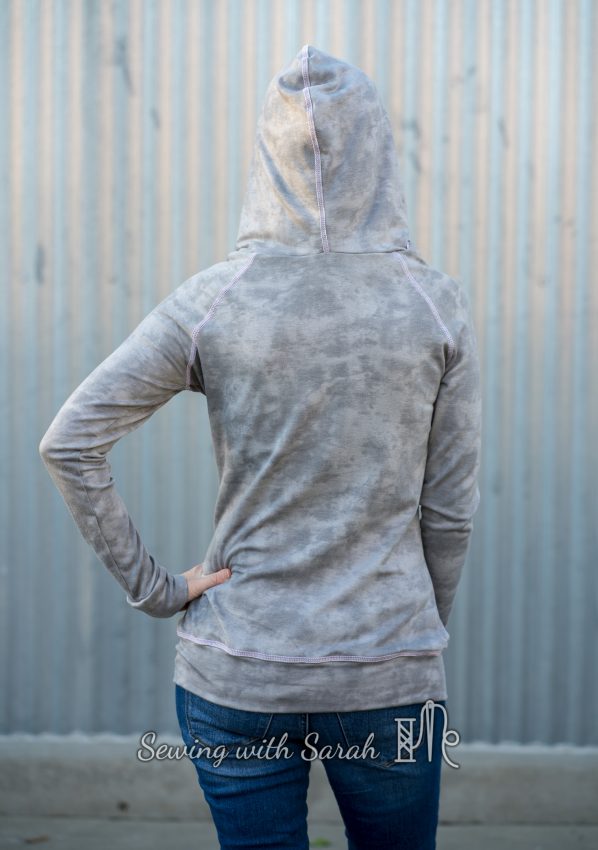
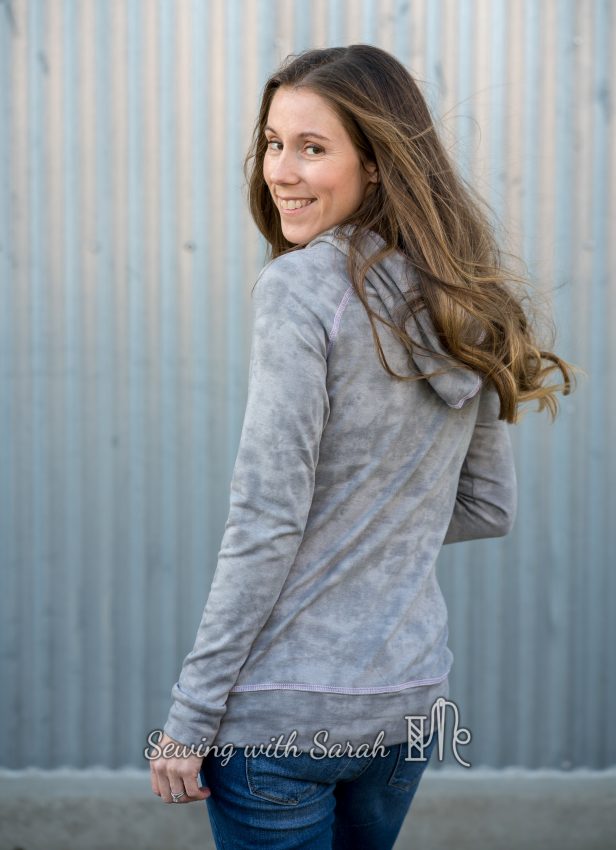
Once the vinyl was pressed, the hoodie came together really fast- I used the Patterns for Pirates Slim Fit Raglan (one of my favorite raglan patterns, and definitely my favorite crossover hood from the add-on), lining it with a pink space dyed fabric from my stash and doing a reverse cover stitch on all the seams with pink thread, to match the image of the fox. I even had the perfect pink shoelace waiting for me in my stash of notions!
![]()
![]()


Side note: I’m really loving my new BLCS2- getting even topstitching is SO EASY now!
![]()
![]()


![]()
![]()


To say this is one of my favorite things ever made is an understatement- in additional to being incredibly comfortable, it just feels really special because I customized all of it! I’m hoping to meet up in person with some of the foxy ladies this spring, and if I do, I’ll surely be wearing my new hoodie!
![]()
![]()


Here’s a quick photo blooper- can you believe my hair did that? Made an “X” right at the top of my head! Unless I create a ponytail hole, there’s just no way this mop is fitting under a hood!
![]()
![]()


Note: This post contains affiliate links. Thank you for your support!