

![]()
![]()


What were you drawn to when you first started sewing? For me, the ability to create my own custom fit athletic wear (and beat out Lululemon quality and price!) has been a focus since the beginning, and I’m proud to say I have no desire to shop retail for this type of clothing anymore. It’s like having a favorite dish at a restaurant and then learning you can make a superior version at home- there’s just no reason to go out and spend extra time and money on something that you can do better yourself!
It’s also fun to look back on my pattern purchase history and see how this has evolved- the Greenstyle Inspire Tights were my first purchased PDF pattern (sewalong here), and remain a staple today- I’ve lost track of how many I’ve made! Another one of my other early purchases was the Agility Top/Dress from 5 out of 4 patterns.
Unfortunately, this pattern sat in my digital files for far too long- until I finally pulled it out this week, and decided to give it a try. I knew I’d love the style, since I have gotten a lot of wear out of the similar Jalie Pika tops I made last summer, but for some reason I was stuck on the idea that the Agility was impossibly complicated.
![]()
![]()


I think I developed this impression when I first checked out the instructions as a sewing noob- there were so many tiny pattern pieces, cut charts, and technique illustrations that I was overwhelmed by what seemed like it would be an incredibly time consuming and challenging process.
It was a pleasant surprise then, when I took a look at it last week and breathed a little sigh of relief- techniques that seemed complicated (like binding!) a few years ago, no longer feel like a barrier to me, and the small pieces just meant I could mix and match fabrics, playing with colors and textures to get a fun look. (if you struggle with binding, I highly recommend checking out my tutorial here- if I had learned this method as a beginner, I would have made this pattern far sooner!).
![]()
![]()


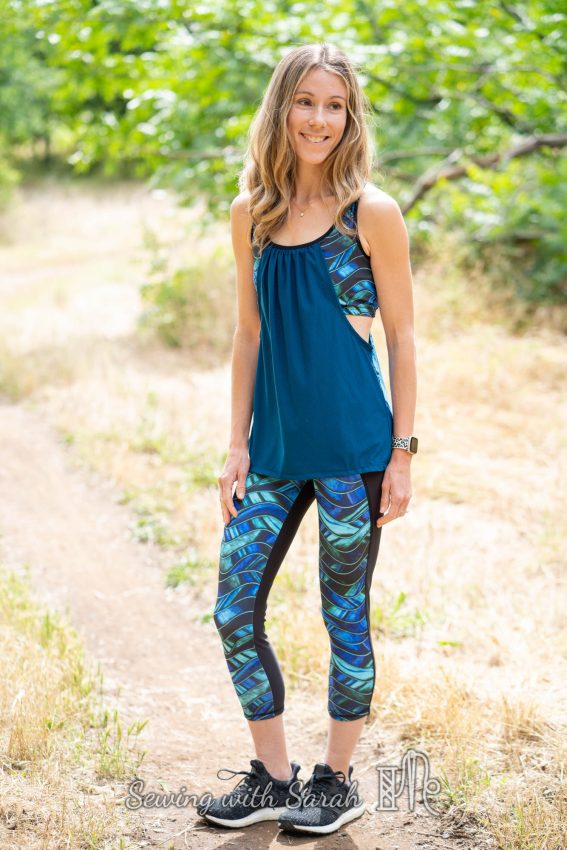
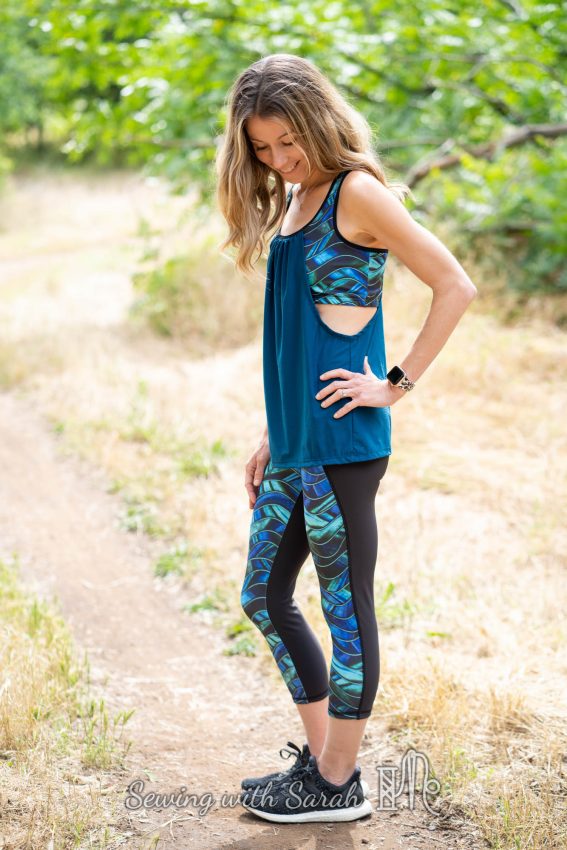
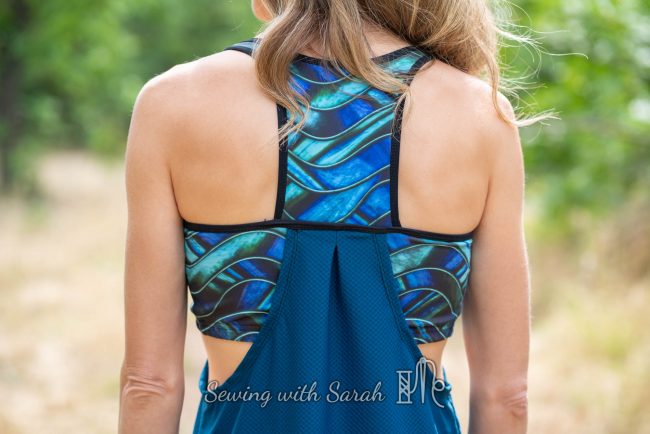
I chose the “T back”, top length view. I think this view gets less “press” than the strappy back, but it’s just as fun, and twice as fast.
![]()
![]()


Fabric Details
![]()
![]()


The beautiful abalone print fabric is a custom from Sew Dynamic Fabrics, and is made with 16.2 recycled bottles per yard. It’s also got a UPF 30 rating, which is awesome, because I’m a reformed sunbather, trying to make up for my naughty youth spent tanning on the beaches of San Diego. So, by making this top, I’m pretty much saving the planet and my skin…it doesn’t get any more altruistic than that, does it?
Just as an FYI, abalone are an endangered species- everything Sew Dynamic sells is meaningful in an environmental way, and this print is designed to bring awareness to the plight of this striking sea creature. (If you want to do a little more research, I found this article very interesting…and it made great homeschool reading work for my 3rd graders!).
Pro-Tips (i.e. learn from my mistakes…)
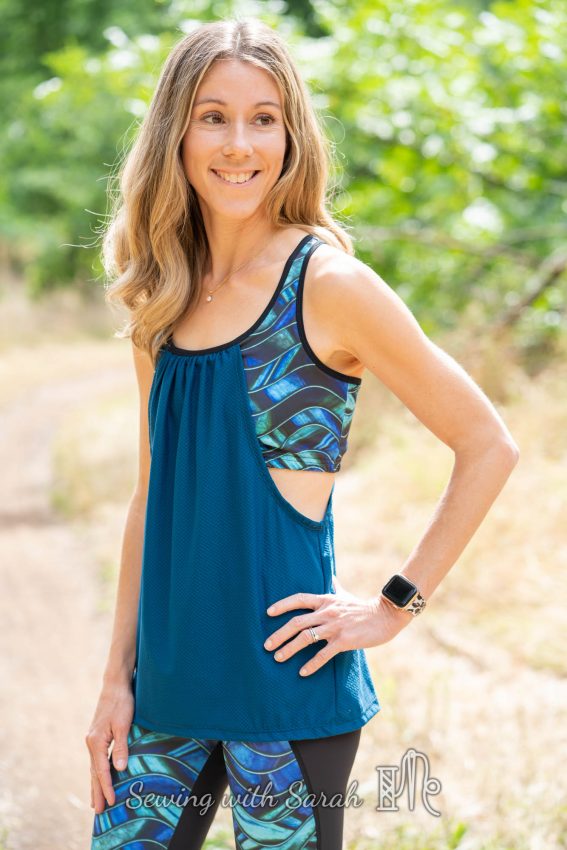
The front overlay ended up off center the first time I sewed it- which I didn’t realize, of course, until I’d already tried it on. Determined to save my beautiful top, I went back and unpicked my binding, my gathering, and the serging, and re-aligned the whole thing. To avoid a mistake like this in the future, I’ll make sure to mark equidistant points on either side of the center front so I can line the overlay up correctly- the pattern simply tells you to gather to xx inches wide, but doesn’t provide any markings, so if your gathering is a bit off on one side, things can end up lopsided).
My overlay fabric is a lightweight textured athletic from Blue Moon fabrics in LA (it seems like so long ago that I was blithely shopping around in the fashion district there…hard to believe that was only January!), and my binding and lining are made from this “Carbon” fabric from Fabric Fairy. In retrospect this was a great fabric for lining…but was a little thin and fiddly for binding- a medium weight binding fabric would have made things easier.
The only other adjustment I would make to this top in the future is to add clear elastic into the arm and neck openings- this technique, borrowed from the Power Bra (sewalong here) would add quite a bit more bust support, making this top suitable for long runs.
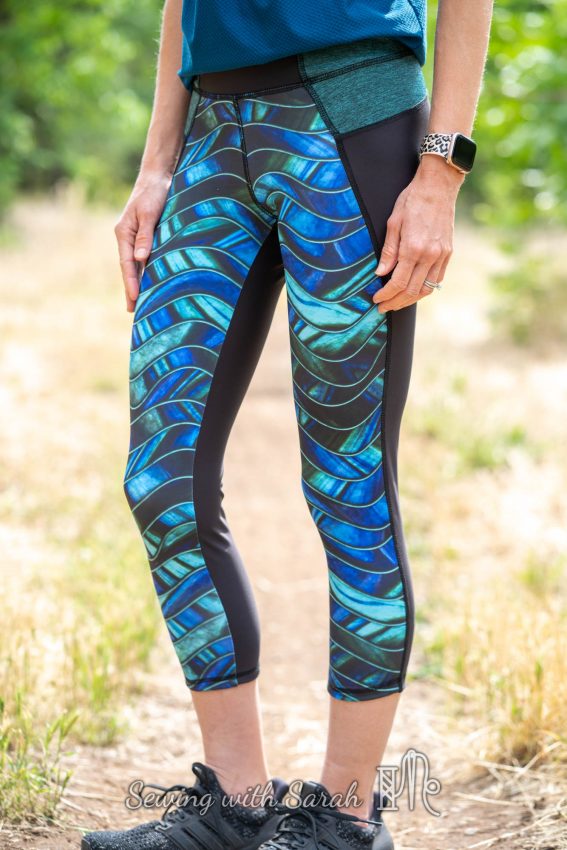
Jalie Isabelle Leggings
![]()
![]()
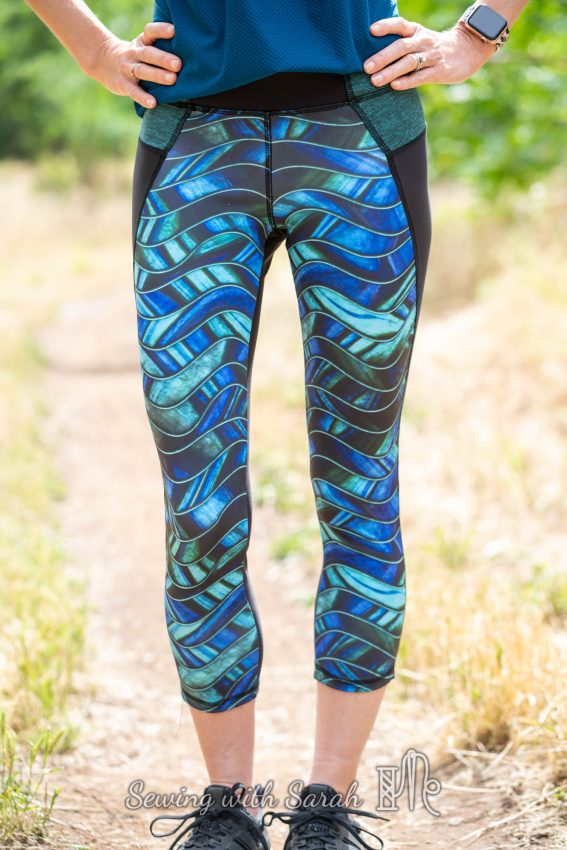


Since I had gone “all out” and tried a new pattern for my top, I figured I might as well go for broke and try something new on the bottom as well. I pulled the Jalie Isabelle Leggings from my wish list, and went to work.
![]()
![]()
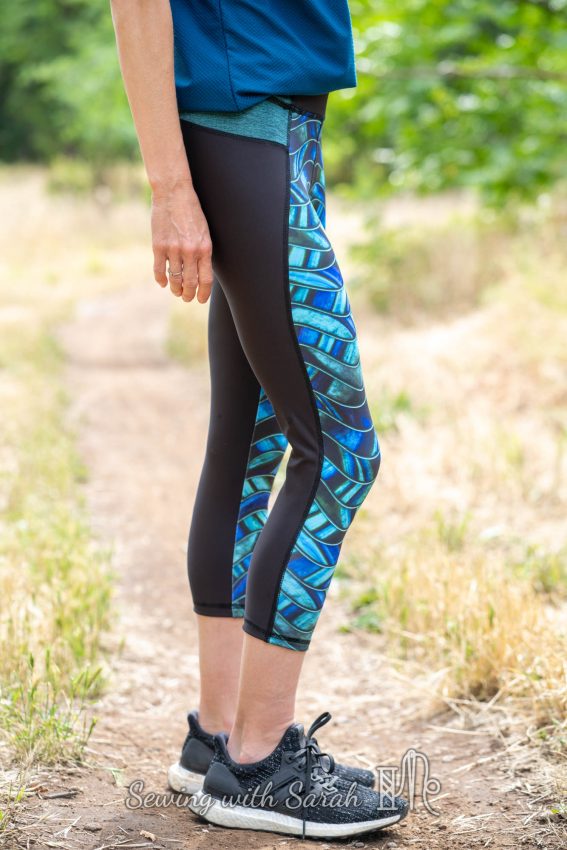


These have a very cool wrap around back seam, and a waistband inset that makes using different fabrics (especially those that might be hard to line up exactly along a straight side seam) easy. To compliment the Abalone, I used a scrap of this double sided teal athletic knit from The Styled Magnolia, and some Olympus solid black fabric from the Fabric Fairy.
![]()
![]()
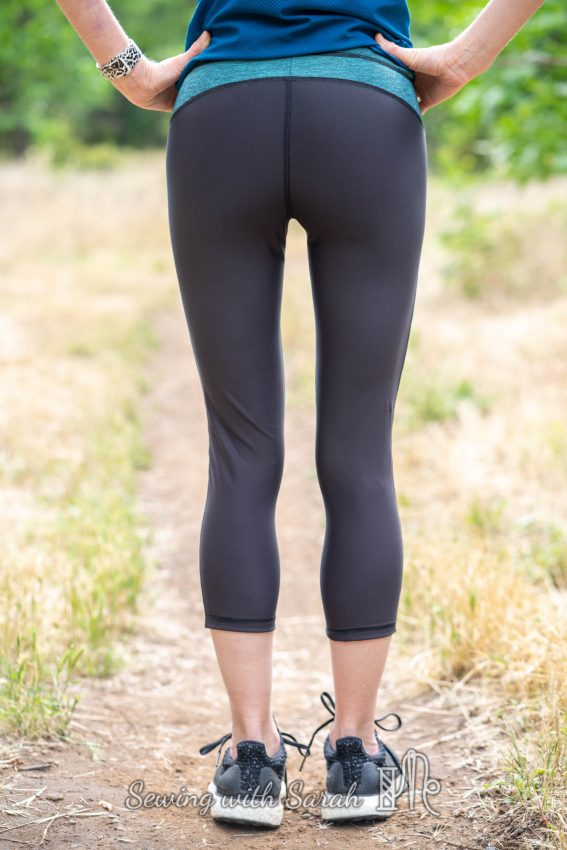


The fit was spot on in my usual size, and the only modification I made to the instructions was to only cut one back yoke- I can’t figure out why a second one would be needed, and they turned out just fine without. The only thing these leggings are missing is a pocket- I wanted to make them as designed first, so I could best determine how to add a pocket (they do come with a teeny tiny waistband pocket, but there’s no way that was going to hold my phone!), and now that I’ve got some ideas, future versions will feature a side pocket to hold my essentials.
The million dollar question…
That’s all! I’ve been sewing up a storm, so I’ll have some more things to share with you soon- but in the meantime, I’m curious- what was your first PDF pattern? Do you still make it?
Note: This post contains affiliate links- they help cover the cost of my sewing habit and the coffee it takes to keep me going! If you enjoyed this post, you can find all my sewing tutorials HERE on YouTube, or at the top of my blog under the “Sewing Tutorials” link (subscribe HERE).