A Plaid obsession….
![]()
![]()
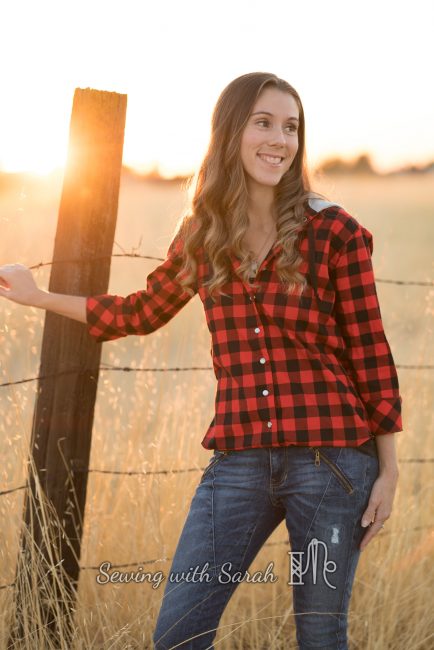
Do you ever have a designer that just reads your mind- putting out the perfect pattern at the perfect time? Not to go too #fangirl on you, but that’s exactly what happened to me with the new Julianne shirt by the DIBY Club.
![]()
![]()
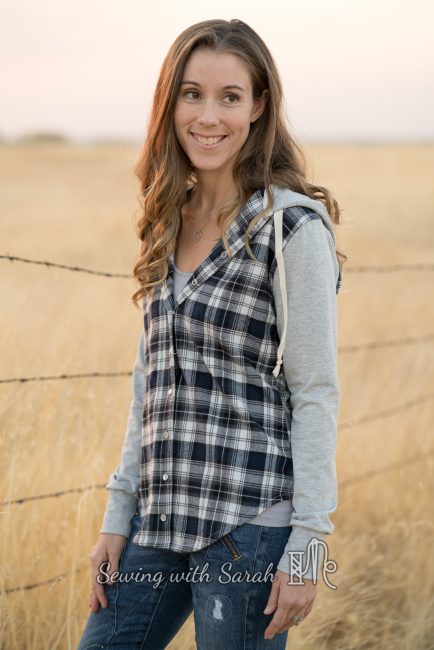
I’ve had this hooded button up shirt on my mind since last winter, but I ran out of time to hack it, and had just started mulling it over again in the last week when the tester call for the Julianne came out. I knew there would be no better motivation to get this shirt out of my head and onto my body, so I signed up lickety split, and ran to the fabric store to source the perfect plaid.
People. Do you know how many options there are when it comes to plaid flannel right now at Joanns? You wouldn’t think it, but there are about a million combinations- none of which were the perfect buffalo red/grey check I was envisioning.
![]()
![]()
Of course, that didn’t stop me from buying a half dozen other options, but I was still desperate for the red check! My local quilting shop came through halfway with this Free Spirit Tula Pink Holiday print, on a very high quality cotton substrate. It felt lovely in the shop, but after being washed it seemed to stiffen up, and didn’t’ have the drape I was hoping for.
Still, I pressed on, going all out with meticulously matched side seams, yoke/cuffs cut on the bias, french seams inside and a twill tape cover for the hood seam. (If you haven’t matched plaids before I highly recommend this tutorial)
![]()
![]()
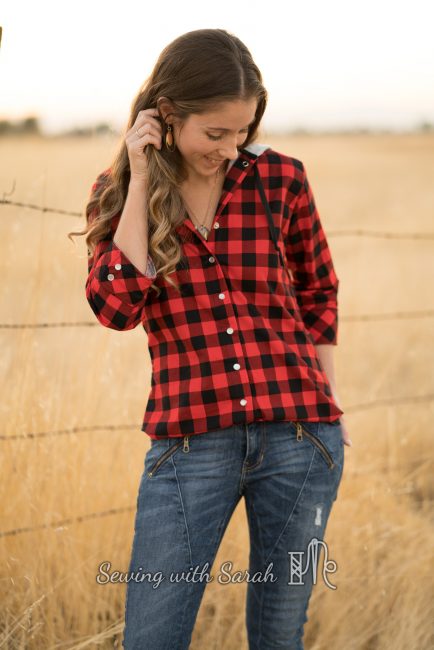
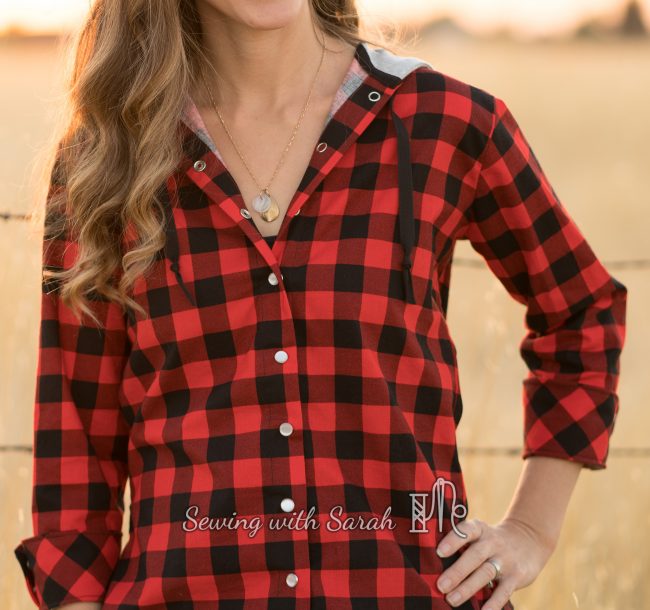
I had also decided that my top had to have pearl snaps, so I also set to work figuring out how to install them. This saved me the hassle of buttonholes, and lent a casual western vibe, while allowing super easy nursing access (without the cow patties)!
![]()
![]()

If you’d like a similar look, I made a video for the DIBY Club blog on how to install fashion snaps using regular tools, and I have a separate video on my blog for how I use the snap press here. Both methods work equally well- the snap press is faster, but the hammer is more cathartic.
![]()
![]()
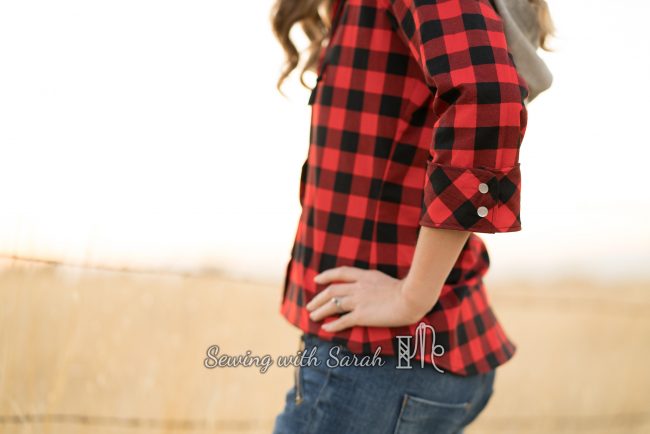
After sewing it up, I felt like the cuffs were a bit big on me unrolled (I have tiny wrists), so I cut them shorter and made 3/4 length cuffs instead. I prefer 3/4 sleeves much of the time anyway, since they don’t get in the way while I’m sewing or doing dishes, and I can always layer a long sleeve thermal top underneath if it gets really cold.
The curved hem on this is just perfect- really easy to sew and press. Of course, there are also countless other looks you can create with all the options in this pattern- from a drawstring dress to a hooded anorak- Julianne is a very versatile gal.
The hack!
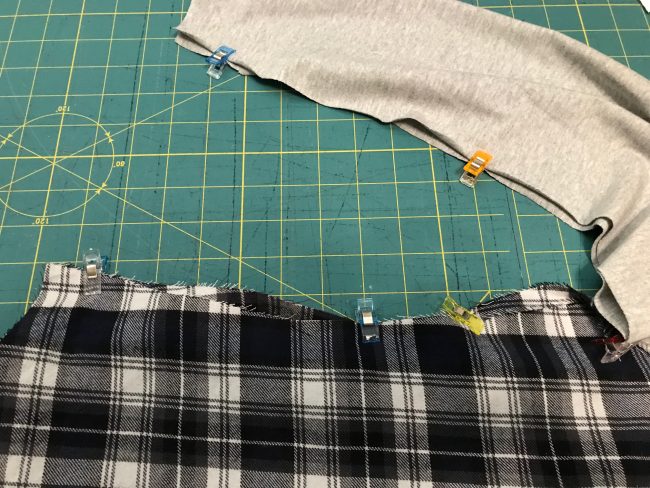
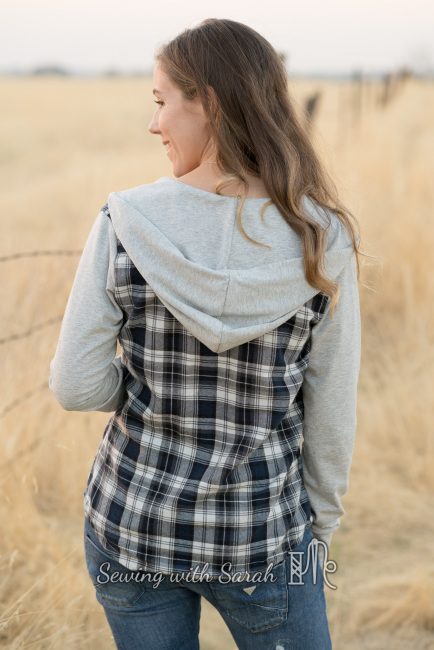
I was pretty happy with my new shirt….but there was still one thing I wanted to try: knit sleeves! Feeling daring after all my plaid matching, I grabbed the sleeves from the Babe Hoodie I sewed up last year and rolled the dice that they would fit.
![]()
![]()
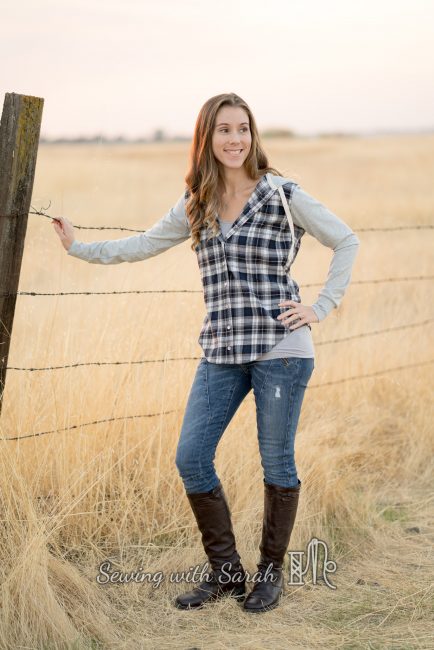
Spoiler alert: they DO! I did take the sleeve seam in a bit at the back yoke so it was more fitted, as the extra ease was no longer needed now that I had knit sleeves.
![]()
![]()
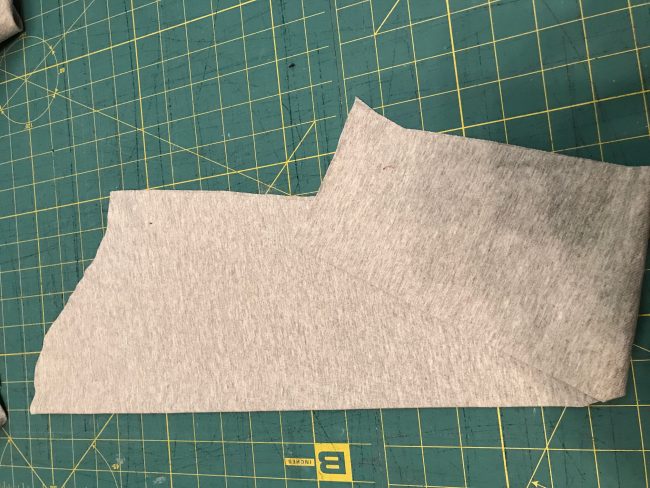
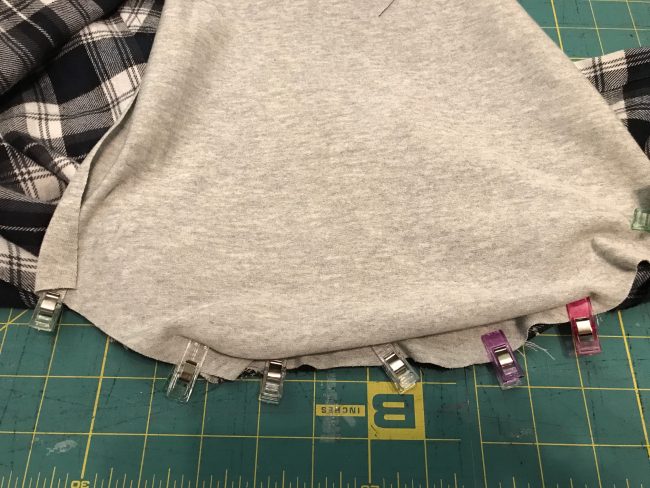
I also added in some cuffs, just based off of my sleeve measurements (width of the sleeve all the way around x .80 = width of the cuffs, by desired height- I used 6 inches).
The only change to the construction I made was to sew the sleeves in flat, rather than in the round, since I was using a knit. This just means that you’ll sew the sleeves in before you sew up the side seams, finishing the sleeve seams and side seams all in one pass!
![]()
![]()
![]()
![]()
By the way, if you’re new to sewing wovens, you’ll want to check out this post to get you started off on the right foot!
![]()
![]()
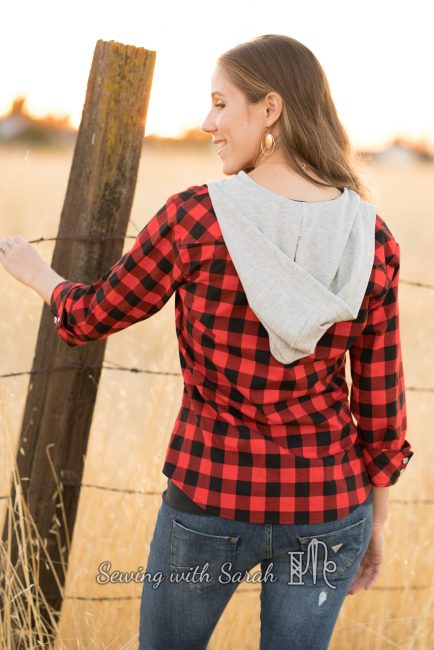
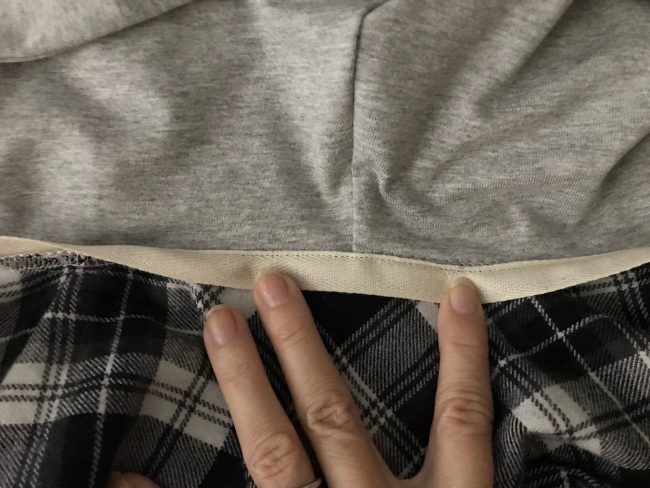
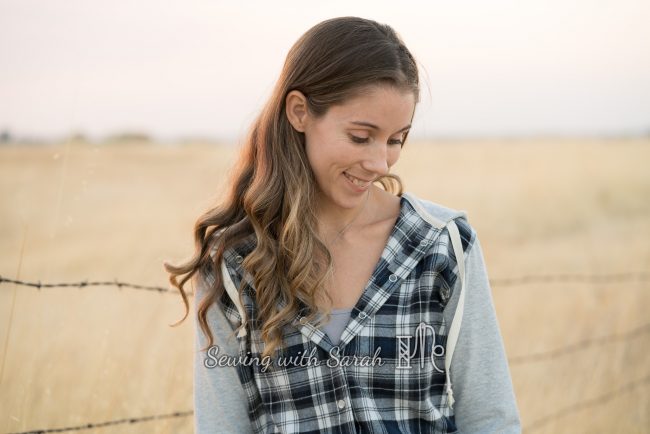
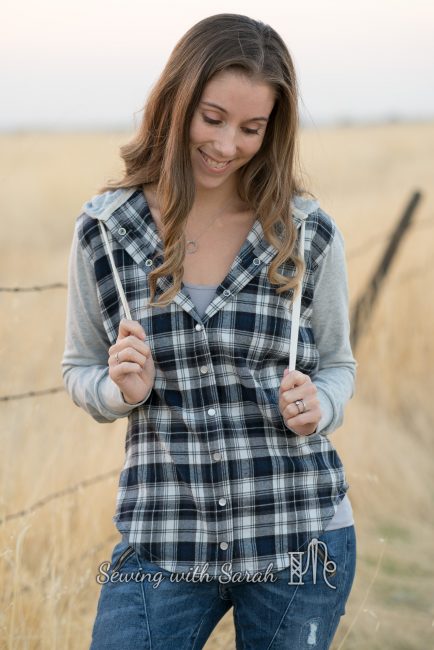
Finally, I lined my hood (there’s a free add on for this!) and again finished the hood seam with 1/2″ twill tape, because I hate making bias tape and it looks just as good. Twill tape also made a great matching drawstring. I bought a huge roll of it a while ago- thinking I’d never use it up, and I’m more than halfway through!
I think I’ll do a quick tutorial on that next week, if anyone’s interested!
![]()
![]()
![]()
![]()
![]()
![]()
The main fabric for this shirt is from an end of the bolt cut at Joanns- just 1 yard of flannel was needed for my size. I used another 1-1.5 yards of grey cotton lycra knit for the sleeves and lined hood. Because I’m now #snapobsessed I added more snaps (aka. made hubby run to Joanns right before closing to buy some more-thanks hon!), and voila- the most comfortable, cozy button up shirt EVER was born.
![]()
![]()
I have a rule that I don’t wear garments until they’ve been photographed….but I may have broken it for this shirt. Several days in a row. Its that comfortable, and this certainly won’t be the last time this pattern hops up on my cutting table!
Grab the pattern HERE (affiliate link) on Sale, and get an extra 15% off for signing up to be a DIBY Club sewing insider (link in this round up post, plus you get to see all the other tester versions!)
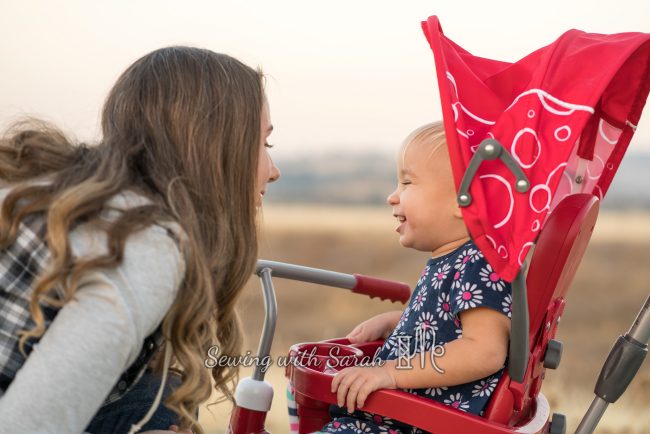
Here’s a quick photo of my crew after our photo shoot- I love these little people! I’d love it if you would take a second to follow my blog via email and “Like” my Page on Facebook so you don’t miss a post (you never know what new patterns I’ve got in my head!)
![]()
![]()

![]()
![]()
Don’t forget to check out the other awesome versions of the Julianne on the tour!
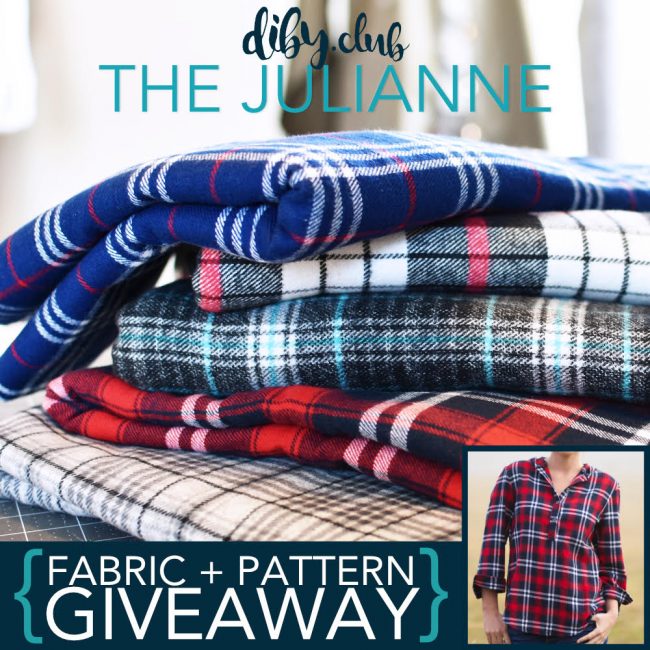
You’ll also want to visit the DIBY Club Facebook Page for a chance to win some free fabric and patterns!
![]()
![]()
 ry.
ry.
The Julianne Blog Tour Schedule
November 3rd – Sewing With Sarah | Bellephant
November 4th – Very Blissful | Stitched by Jennie
November 5th – Styling With Christina | Mermaid Mama Designs | Diskordias Curvy Sewing
November 6th – Swimming in a Sea of Estrogen | Bex Textiles | Love Made Handmade
[…] 3rd – Sewing With Sarah | Bellephant November 4th – Very Blissful | Stitched by Jennie November 5th – Styling […]
I love the woven plaid shirts and especially with the knit sleeves. However, my problem has always been getting a woven shirt to fit my chest while not fitting like a tent everywhere else. Is there a tutorial for that?
[…] 3rd – Sewing With Sarah | Bellephant November 4th – Very Blissful | Stitched by Jennie November 5th – Styling […]
[…] Sewing With Sarah | Bellephant – November 3rd Very Blissful | Stitched by Jennie – November 4th Styling With Christina | Mermaid Mama Designs | Diskordias Curvy Sewing – November 5th Swimming in a Sea of Estrogen | Bex Textiles | Love Made Handmade – November 6th […]
[…] 3rd – Sewing With Sarah | Bellephant November 4th – Very Blissful | Stitched by Jennie November 5th – Styling […]