Side Tie Skirt Hack
![]()
![]()
I’m pretty happy with my pattern stash- I have a selection of favorite designers, and a very (almost embarrassingly!) large collection of patterns to choose from (curious how I organize them? Check out my post here on pattern organization). When I find a new style I want to sew, the most efficient thing is usually to hack it myself using one of the patterns in my collection, or beg one of my favorite (and talented) people to design it for me 😉
Every once in a while though, I get curious about a new designer, and decide to venture out and try something new. The free Sienna pattern from Sinclair (check out the pinned post in their group for the code) has been taking taking the facebook sewing world by storm, earning rave reviews from sewists in many different corners. I was tempted to try it, but the reality is I don’t feel comfortable with gathers over my tummy- they don’t seem to flatter my shape, and I’m trying to trust my own sense of what does and does not look good on my body this year, so I don’t spend time making things I’ll never wear.
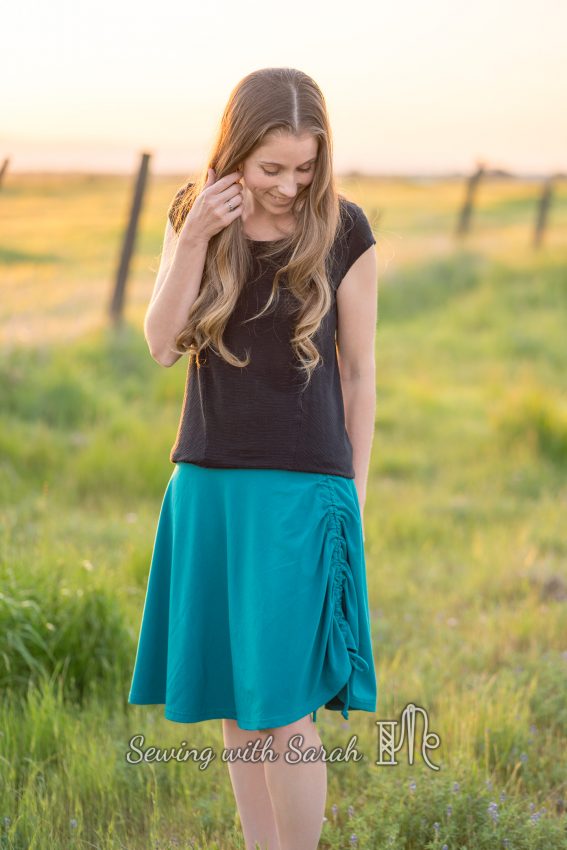
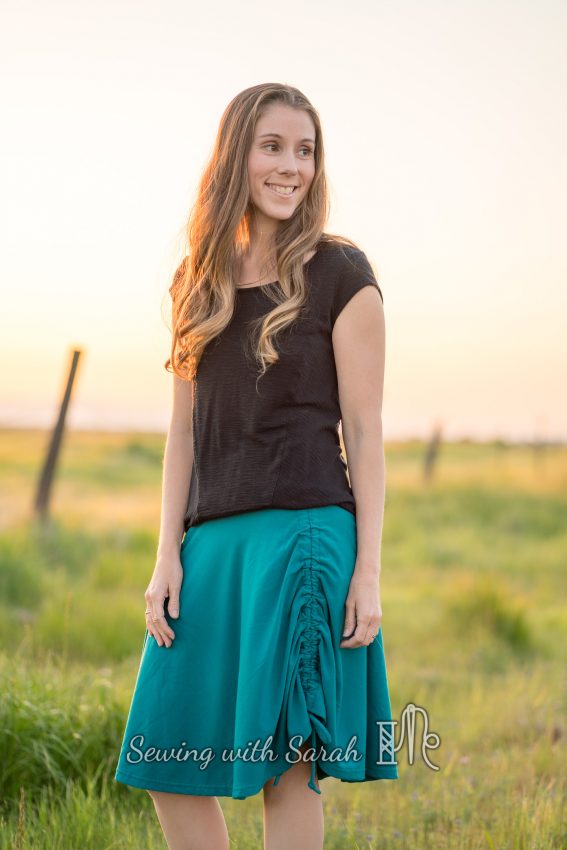
Despite not being interested in sewing the Sienna, my curiosity about Sinclair was piqued, so I thought I’d try out another one of her patterns- and the Prani skirt caught my eye. It’s a great take on a classic- a half circle skirt with a super comfortable knit waistband.
I have a favorite store bought skirt that has a similar style, and I love it because it’s a nice, cool option in the hot summer months. I also thought that if I made it from an antimicrobial, lightweight fabric, it would make a great camping and hiking skirt- I plan on doing a lot of both this year! As a bonus, it looked like a super quick sew, so I downloaded the pattern, and started printing.
![]()
![]()
Sinclair patterns are being updated to include layers (which I love!), but there was an error on the layer for my size, which meant I cut a size 2, instead of a 0, which probably would have been a better choice for my measurements. I let the designer know, and she is correcting the error, but since I already had the 2 cut out, I decided to use the extra room to make a quick modification: side gathers/ties.
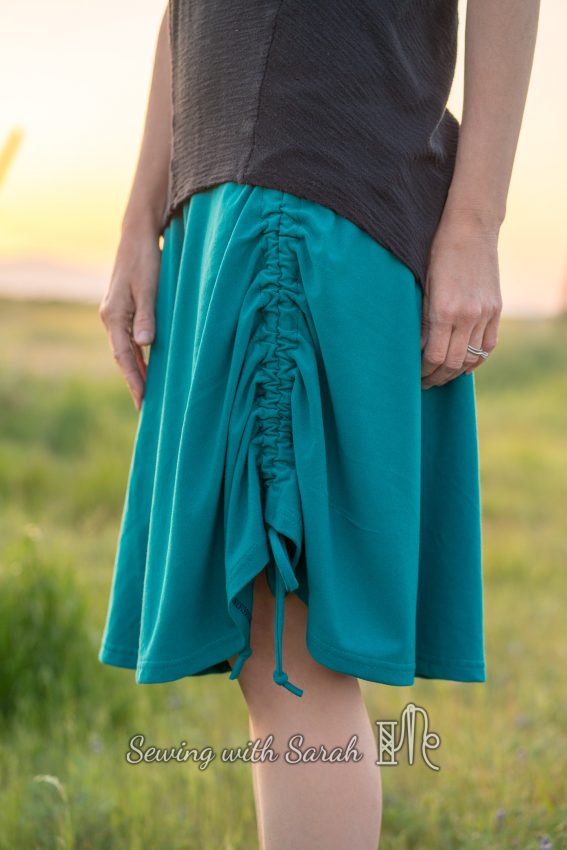
Taking my inspiration from the Sienna, but transferring it to my legs, where I feel much more comfortable drawing attention, I used a 3/4″ seam allowance along the side to create a drawstring casing. I LOVE the look, and the ability to gather the skirt up a bit when the temperatures creep up!
For this skirt, I used a beautiful teal bamboo fabric from The Fabric Fairy- its got the weight of a light ponte, and was very easy to work with. I really love natural fibers in hot weather- I’ll pair this with a linen tee or tank and feel great!
The Hack
![]()
![]()
If you’re interested in a similar hack, here’s a quick run-down of the steps I used:
- Hem the bottom edge of your skirt. It seems weird to start with hemming, but if you don’t, you won’t have an opening to thread the casing through!
- Sew the side seam at 3/4″, and press open. If you are using your measured size, you’ll need to add extra room to that seam when you cut it. You can vary the width of your seam allowance to change the look- just make sure it’s wide enough for your drawstring!
- Finish the edges of the seam allowance (if desired, knit won’t fray), and topstitch it down on both sides of the seam.
- Make a drawstring, using a 1″ by WOF (width of fabric) strip. This ended up being enough for two drawstrings. Sew your strip right sides together down the long edge, then turn right side out.
- Thread the drawstring up from the bottom of the skirt through the casing, and baste it in place at the top of the skirt. Tie a knot in the other end, so it won’t come out.
- Attach your waistband as usual, catching the top of the drawstring in the seam.
Fitting/Construction Notes
Some fitting/construction notes:
- I found the waistband on this skirt to be VERY high- like hitting the top of my ribs, high. I’m not a tall person, but I have a long torso, and don’t usually have this issue. Next time I’ll cut the waistband down 2″, and still have a high rise.
- I also removed 1/4″ from the bottom of the inner waistband, so that the seam rolls toward the inside when worn. This allowed me to use a contrast wicking lining fabric, and not worry about ti showing on the outside.
- I also added clear elastic in the seam where the waistband attaches to the skirt, to help it maintain it’s recovery and shape. Check out my video on adding clear elastic with your serger here.
That’s it- a pretty simple little hack on a fun little skirt! I’m glad I took a moment out of my comfort zone to check this one out!
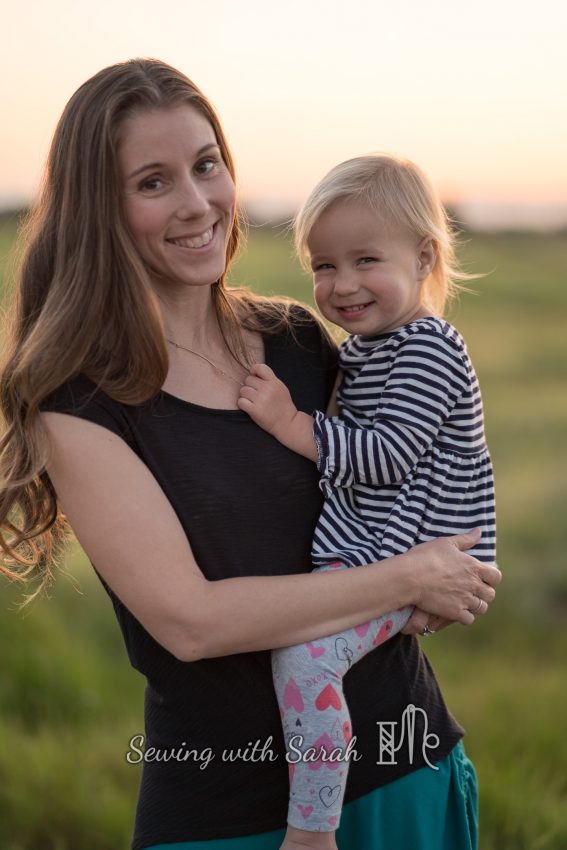
And, here’s your dose of #babyspam for the day- she’s obsessed with dressing herself and shows everyone her clothes and tells them “mama made me this” even if I didn’t….thanks baby!
![]()
![]()
Note: This pattern was provided to me free, in exchange for blogging. All opinions are my own, of course! There are also some affiliate links in this post- I appreciate your support in keeping this blog going!
I would love to stay connected with you- you can subscribe to my blog here, or check me out on Instagram here!
Ugh, using the seam allowance to create the casing is brilliantly simple! I love it – thanks!
Thank you- it worked out really well!
It looks great! Thanks for sharing the pictures and your method!
You’re welcome!