Open Back Top SewAlong: Supplies
![]()
![]()
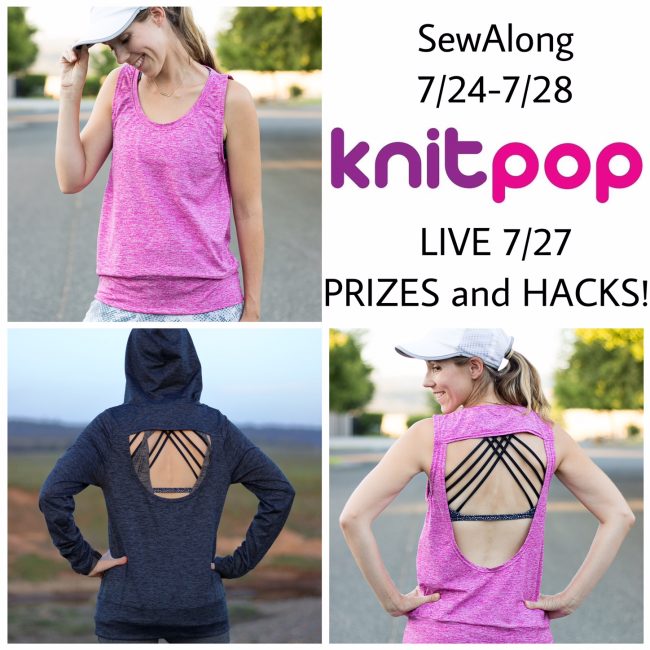
Welcome to the SewAlong for the Open Back Top by Greenstyle Creations! I’m excited to be hosting another SewAlong (see my others here) for Knitpop, and I wanted to write a brief post about supplies to get you started! If you’re not already a part of the event, JOIN HERE! We are going to have lots of fun with hacks, prizes and encouragement!
The open back top comes in several views, and can be worn year round. You can choose a tank, tee, or hoodie version, and have a choice of a full back (no cut out), a mesh insert for the back, a high scoop, or a low scoop on the back. You also have an option for a high or low scoop on the front.
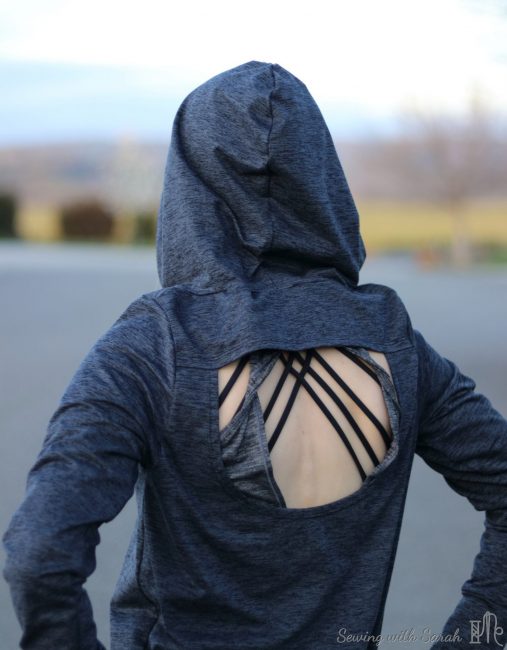
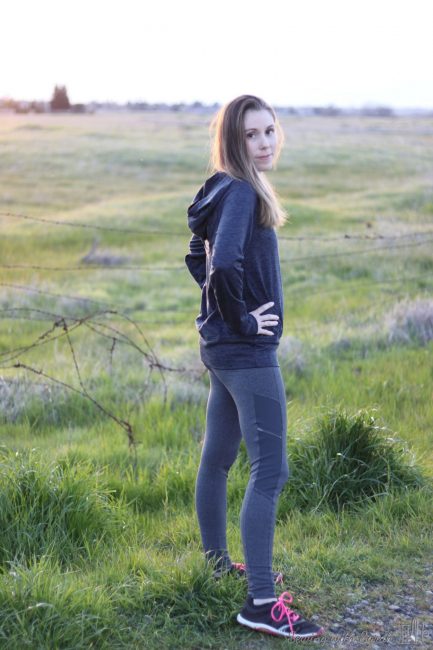
I’ve made it as a hoodie with the high scoop:
![]()
![]()
![]()
![]()
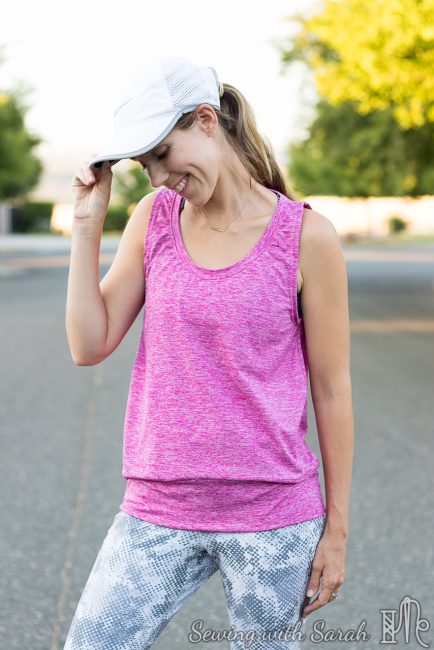
And as a tank with the low scoop:
![]()
![]()
![]()
![]()

If you haven’t purchased your pattern yet, join the event for an exclusive discount code! (You must be a member of knitpop to view the event, so join them first!)
If you’re new to printing and assembling patterns, check out my video HERE.
Ready? Let’s talk about fabric! As with any project, choosing the right fabric is key.
This top is designed for knits with 25% stretch, and does especially well in medium weight knit fabrics that have excellent recovery. What does this mean? It means that if you stretch the fabric, it will go back to its original shape, without getting distorted. Here’s a video to demonstrate:
Some popular choices might include the following:
- Supplex
- Yoga knit
- Ponte/Doubleknit
- Scuba
- French Terry
- Cotton Lycra
- Brushed Poly (especially the heavier stuff)
Knitpop has put together a special bundle for us, so if you’d like to get a great deal on some good fabrics, check it out and order SOON!
Other supplies you’ll need:
- Stretch/ballpoint needle (I like the 70/10 or 80/12 stretch needles HERE) and matching thread
- Sewing machine/serger/coverstitch This top can be constructed entirely on a sewing machine, if you don’t have a serger or coverstitch, but you can use both of those if you have them.
- Washaway wonder tape (I use this to hold the hem on the back edges if I’m not using binding or stay tape.


- Drawstring/grommets/buttonhole foot for the hoodie if desired
- Knit stay tape (not required but helps with stabilizing turned under edges before hemming)
- FOE/binding strips if desired for binding the back opening (recommended if your fabric is not stable). FOE is tricky to apply, so I would recommend binding if you’re a newer sewist.
Note: this pattern has a roomy fit. If you are between sizes, go with your bust measurement and/or size down for a closer fit.
That’s it! I’m excited to get started and can’t wait to sew along with you! If this is your first sewalong with me, here’s a quick run-down of how it will work:
Each day, I’ll post a photo with that day’s task. Comment below the photo with your OWN picture of that task, for a chance to win a pattern prize at the end. Ask any questions under that photo or on the wall, and I’ll help you as soon as I can. I’ll also be posting blog posts, hacks, etc as the week goes on! On Thursday, we will sew together LIVE! You can ask questions as I go, and see the entire top constructed from start to finish! One lucky participant will win a fabric prize on Thursday AND, I’ll draw two MORE winners on Monday, 7/31 from participants who have commented with photos of their progress and finished items.
Let’s get this party started!
If you’re an overachiever, and want to know the task list in advance, here it is:
Day 1: Print and assemble pattern. Cut Fabric.
Day 2: Prepare the back piece. Hem or bind the opening (if you’re using an open back view) and sew upper and lower back together.
Day 3: Sew shoulder and side seams.
Day 4: Sew and attach hood or neckband, armbands/or sleeves.
Day 5: Attach cuffs (for long sleeve version), and hem band.
Day 6 and 7: Catch up and posting final pics.
Note: This post contains affiliate links. Thank you!