Geranium Dress and Hank & Clementine Fabric Tour!
![]()
![]()
I hinted at it in my last post, but I’m excited to finally be able to share the other birthday dress I made for this precious girl!
A few months ago I was contacted by the Phat Quarters shop, asking if I was interested in participating in a fabric tour for the new Hank & Clementine fabric line by Swirly Girl and Michael Miller Fabrics.
![]()
![]()

I have been known to spend wayyyy too much time (according to my children) ogling the gorgeous Michael Miller fabrics at my local quilt shop, so I was thrilled to have an excuse to dive in and sew up some of those precious prints.
![]()
![]()

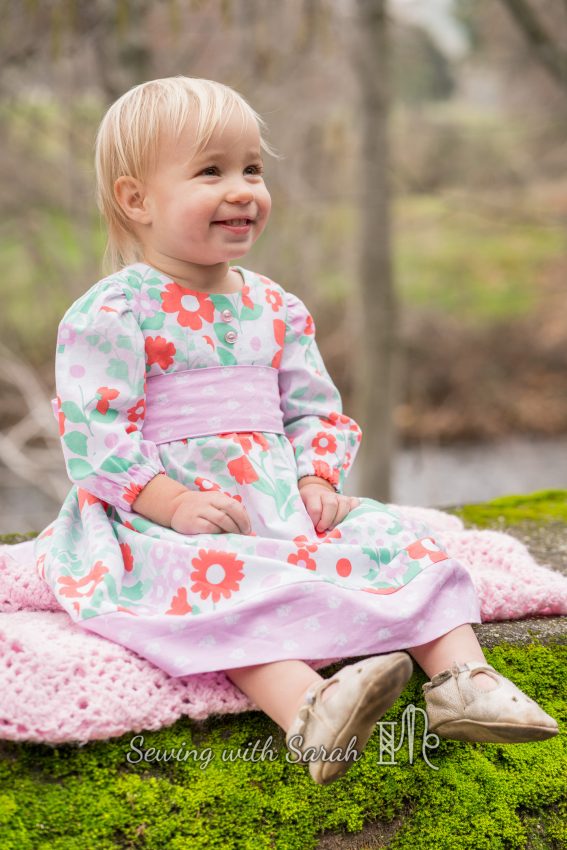
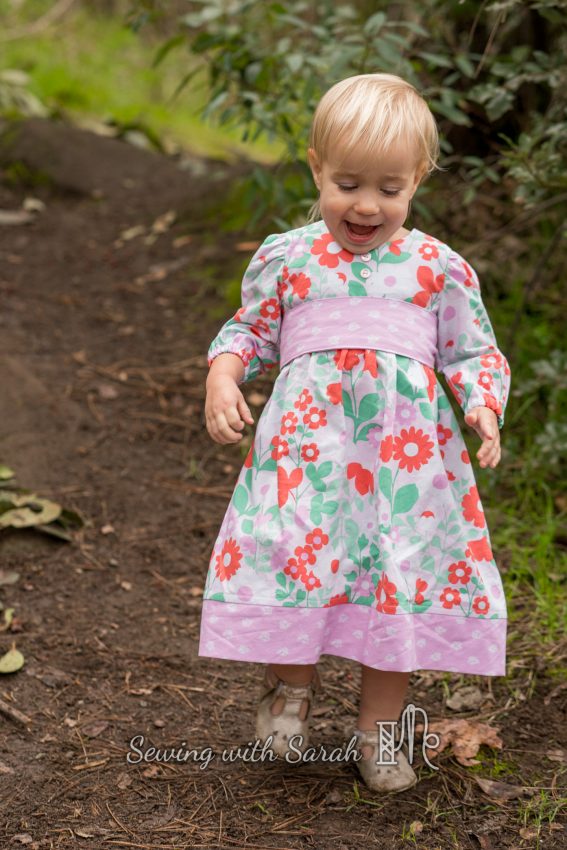
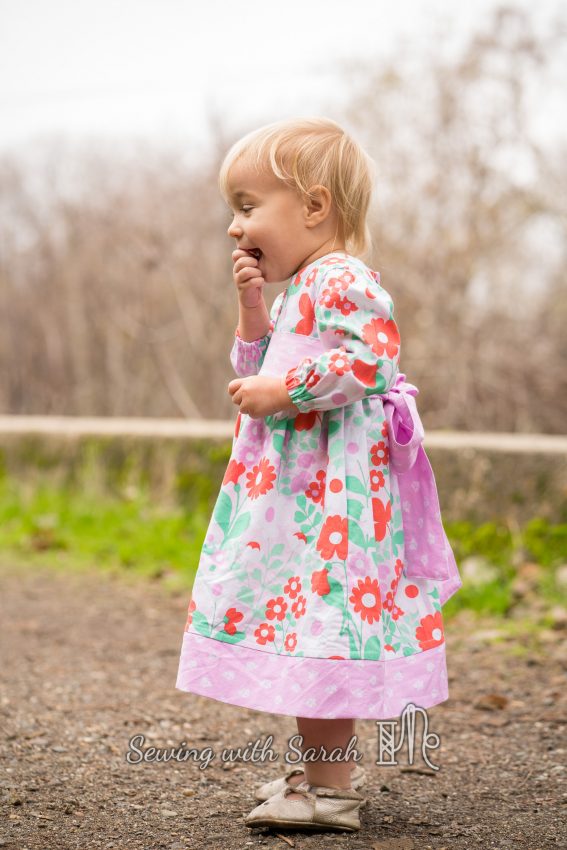
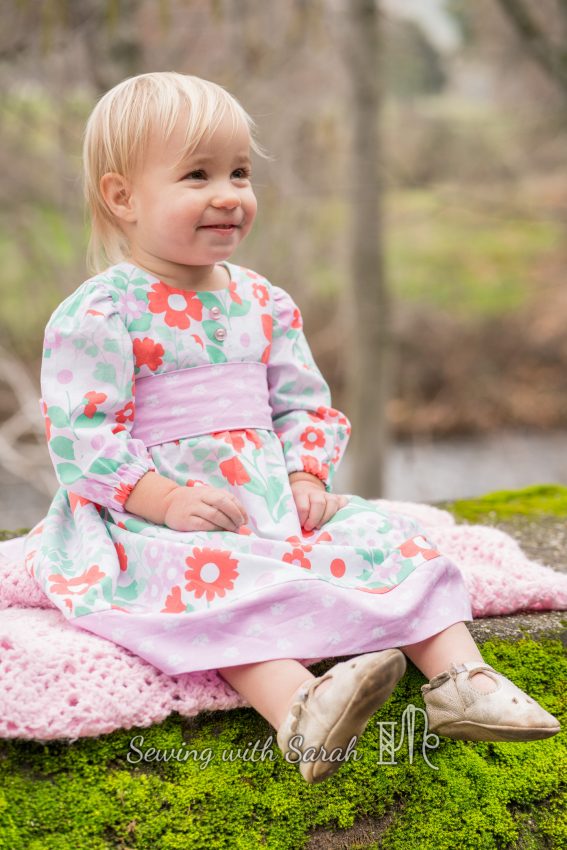
If you’ve been around here long, you know that I started out sewing knits, and that they tend to take up the majority of my sewing time- so it was exciting to have an opportunity to sew with a different substrate, and practice some of my woven techniques that have gotten a little, um, rusty. I chose the Made by Rae Geranium dress pattern with the expansion pack for my fabrics- because I wanted the works for my girl’s special day.
The Geranium was actually the first pattern I ever sewed for my daughter, before she was even born. Those frilled sleeves and the adorable button back were irresistible on a newborn, but she outgrew it far too quickly (in, like, 5.2 seconds, as newborns are wont to do). This was a great chance to revisit the pattern and add a few extra touches.
When the fabric arrived I squealed- the bright colors and cheerful floral prints were just what I needed in the after Christmas is-it-spring-yet slump.
![]()
![]()

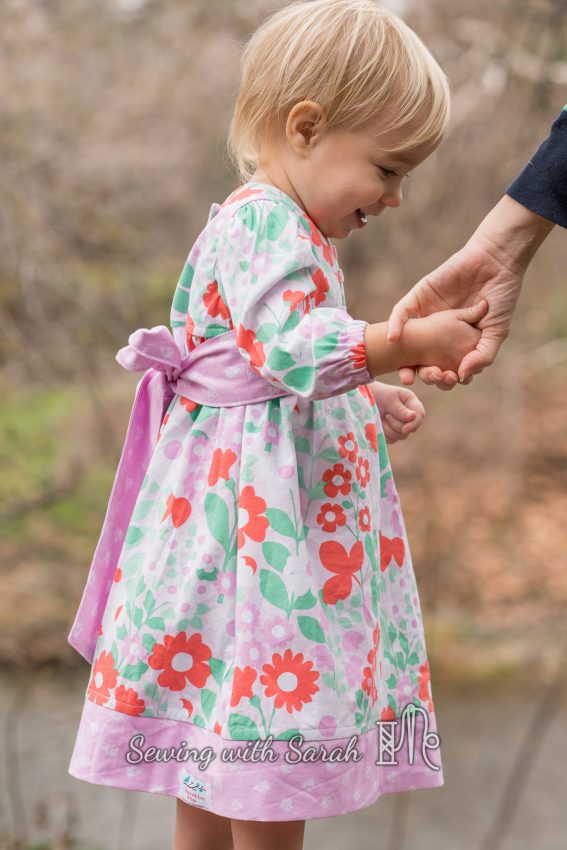
Unfortunately, that slump involved a 103 degree fever and the flu, so I encountered a few bumps along the way that were due to my physical state and not at all a fault of the pattern, but I managed to make it work. I did get a little frustrated at the way the bodice is finished at the armholes- the fully lined finish is very nice, but the way the instructions have you do it leaves a gap at the underarm, which bothers me and my type A personality. Since I’m far from an expert in woven sewing, I’m not sure if there’s a better way to do this that would retain the pretty inside finish but eliminate the tedious hand sewing, so I just followed the instructions and hand sewed it shut.
Being the lazy seamstress I am, next time I’ll probably forgo the entirely enclosed finish and just serge the sleeves to the bodice- which is what I did for the skirt. I love having the option for an inside that looks as neat as the outside- but sometimes I don’t have the patience for these things, and as my one child without any sensory issues, my daughter doesn’t mind a few serged seams.
![]()
![]()
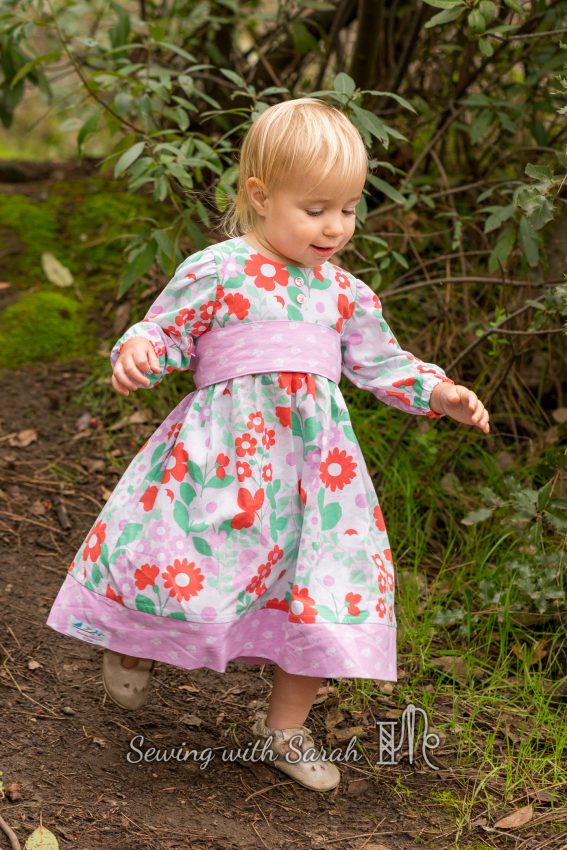
In fact, she was a delight to watch the first time she put on the dress for her fitting, and even got mad when it was time to take it off! I did find that the sleeves and skirt run really long- I chopped several inches off both, so it wouldn’t become a maxi dress, and retain the 3/4 sleeve length I wanted. Her favorite part is the pockets- which are conveniently cut as one with the bodice, to make them especially easy to construct.
![]()
![]()
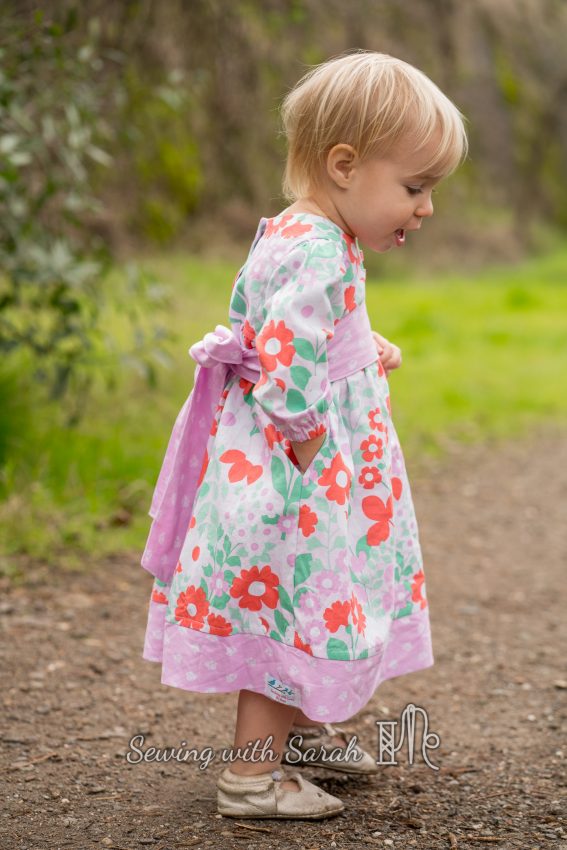
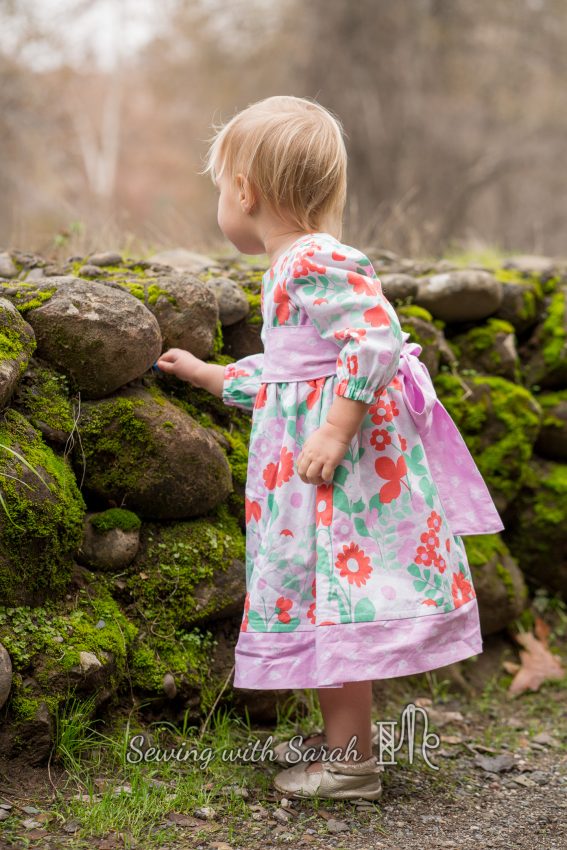
I’m just so in love with the giant sash- its a fabric hog but adds just the right touch!
![]()
![]()

Speaking of fabric, when I first added up the fabric requirements for all the options I wanted to use, I was shocked- 2.5-3.5 yards for a 2 year old’s dress seemed like crazy talk. It turned out to be pretty accurate however; I used nearly every inch of the fabric I ordered, and wished I had a tiny bit more to make cutting less nerve-wracking! I guess things are alot different when you’re calculating for a 45″ width! My advice on this one is to trust Rae- she knows what she’s doing with these wovens, and didn’t pad her estimates at all. This took much more time than the other birthday dress, but seeing it on her was the reward- she’s everything I imagined when I hoped for a girl, and so much more!
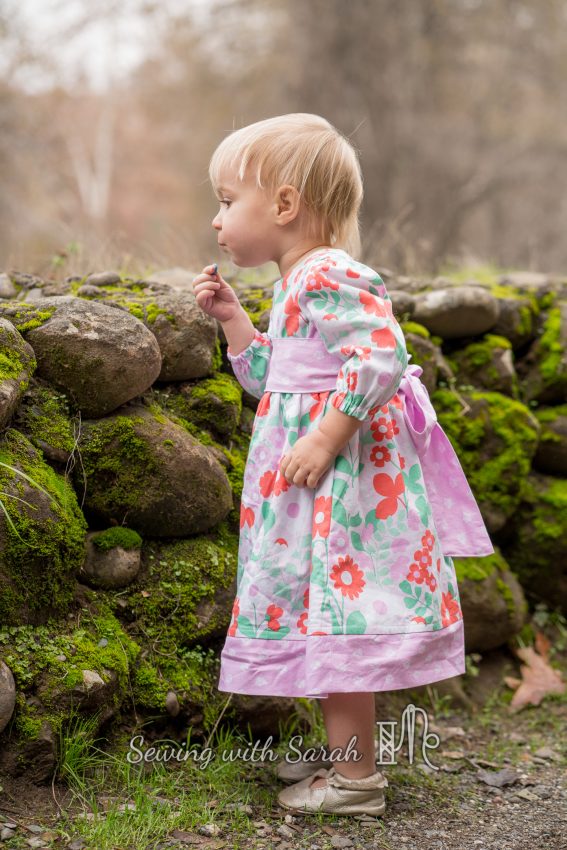
For our photos we went to a local walking trail.
![]()
![]()
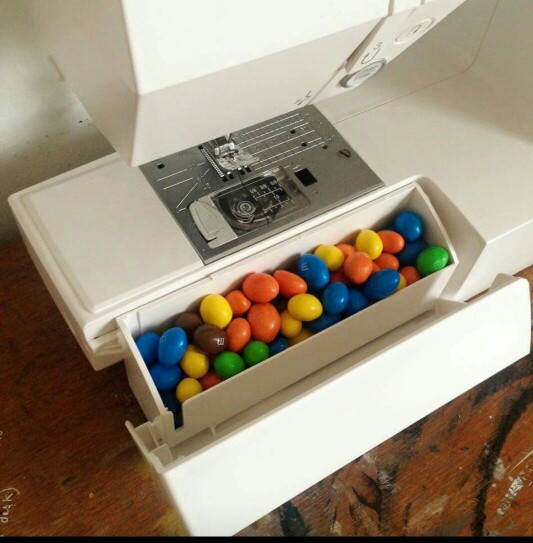
She wasn’t sure about the process at first (it was cold!) but warmed up to the idea with a game of hide and seek and find the m&m’s!
![]()
![]()
Found one!
![]()
![]()
![]()
![]()
I need to make this girl a shirt that says “will work for M&M’s and pretty fabric”! I guess I need one for myself too- my sewing machine often has this hidden inside…
![]()
![]()
She also loves to imitate her brothers (which is why she now makes burping and fart sounds at the table), so we would have them stand where we wanted her, and then leap out of the way at the last minute. She thought this was pretty funny, and it worked like a charm. I’m relieved that she’s getting easier to photograph- I don’t want to miss any of these moments!
![]()
![]()
![]()
![]()
Don’t forget to check out the other bloggers on the tour! You can see the whole Hank and Clementine line here– and the other bloggers have so much inspiration for us, I want to buy all the colorways and prints! There’s also a giveaway- scroll down to enter to win some free patterns to go with your new fabric!
If you enjoyed this post, I’d love to connect with you on Facebook and Instagram!
Day 1

SewSophieLynn -and- Crafting in the Rain -and- Phat Quarters

Day 2

Thread & Grain -and- Handmade Boy

Day 3

Phat Quarters -and- GYCT Designs

Day 4

Mamma Sew Savvy -and- Lulu & Celeste -and- Sprouting Jube Jube


Day 5

Pattern Revolution -and- Sewing With Sarah  -and- Phat Quarters
[…] check out the sweet little dress Sarah from SewingWithSarah made for her little […]
So incredibly sweet. I love that you revisited the dress pattern you first made for her <3 That's so special!