Super Grrrreat!
![]()
![]()
I told you I’d be back soon with more of my #fitcapsule, and here it is! If you didn’t catch the last post, check it out first here.
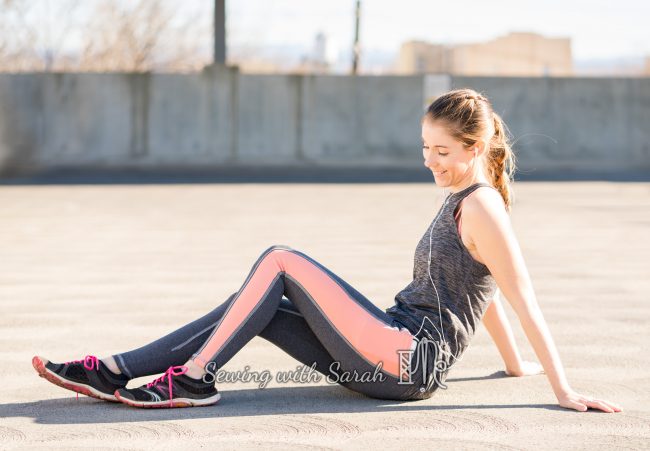
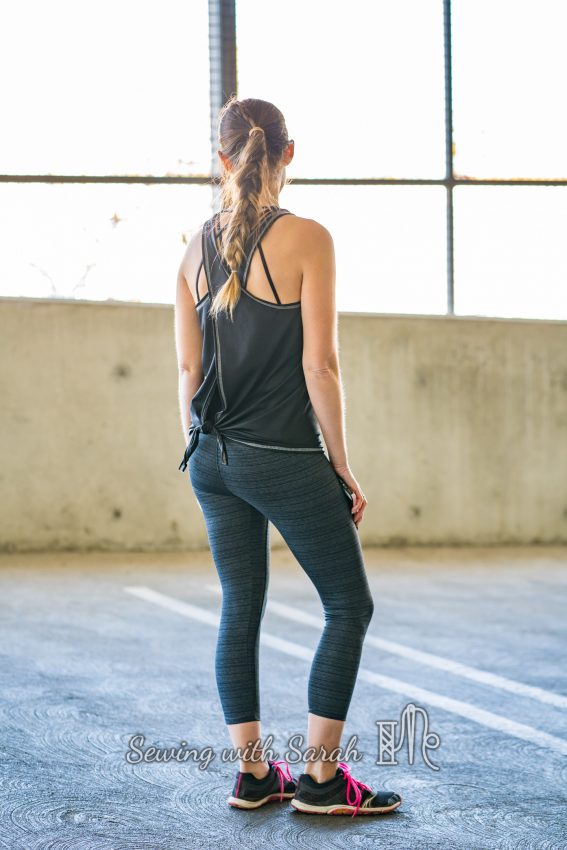
The rest of my capsule was inspired by the new Super G Leggings pattern, which just might be edging out my beloved Inspires for the go-to athletic pant award. I have to admit, I wasn’t initially sold on the long gusset style of the Super G’s, but the comfort and flexibility of these pants, especially those huge side pockets, totally won me over.
Awkward confession time: when I’m wearing leggings without pockets, I usually just stuff my phone in the back waistband of my pants, and hope it stays put. During a workout, it can get a bit, um, sweaty back there. Can we just let out a collective eewwww?
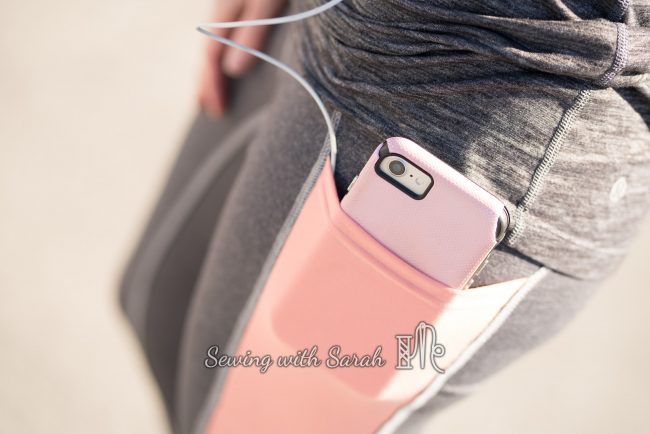
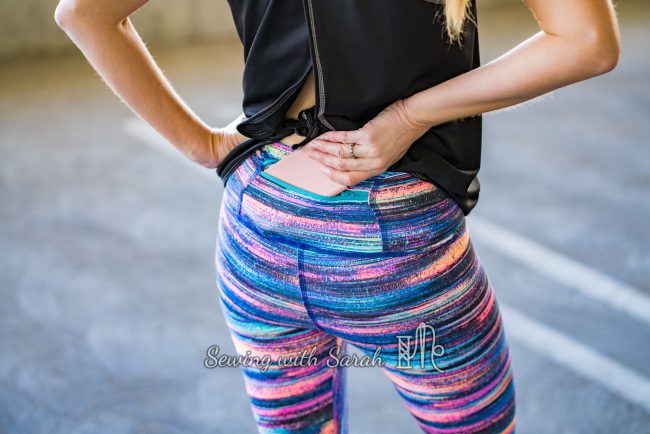
Before you unsubscribe from my blog as a result of this gross confession, I promise to never, ever do that again, because the Super G’s have an awesome side pocket that makes the sweaty phone problem obsolete. See, no more phone sweat!
![]()
![]()
I sewed up four versions total during testing- that’s how you know you really scored with a pattern!
Versions 1 and 2:
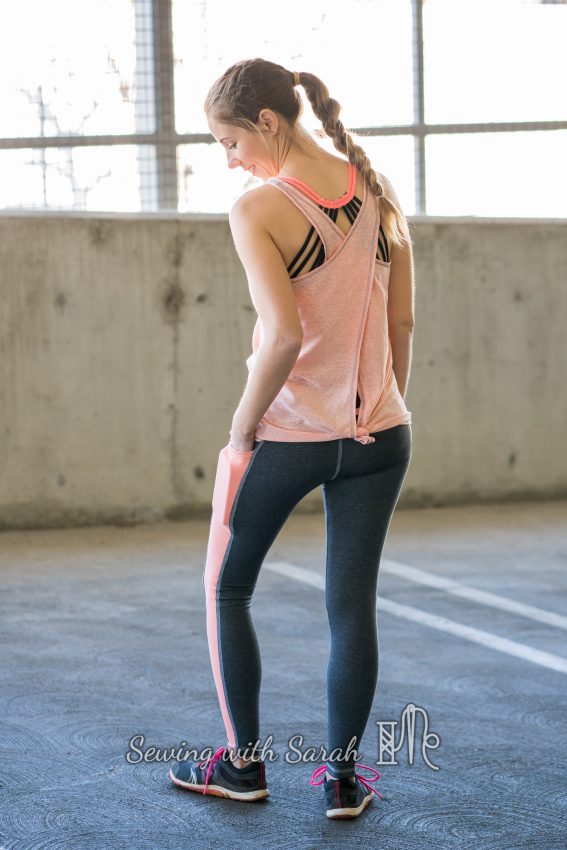
I made two versions of view B, with the side pockets, because I was hot on the trail of a solution to my sweaty phone problem.
![]()
![]()
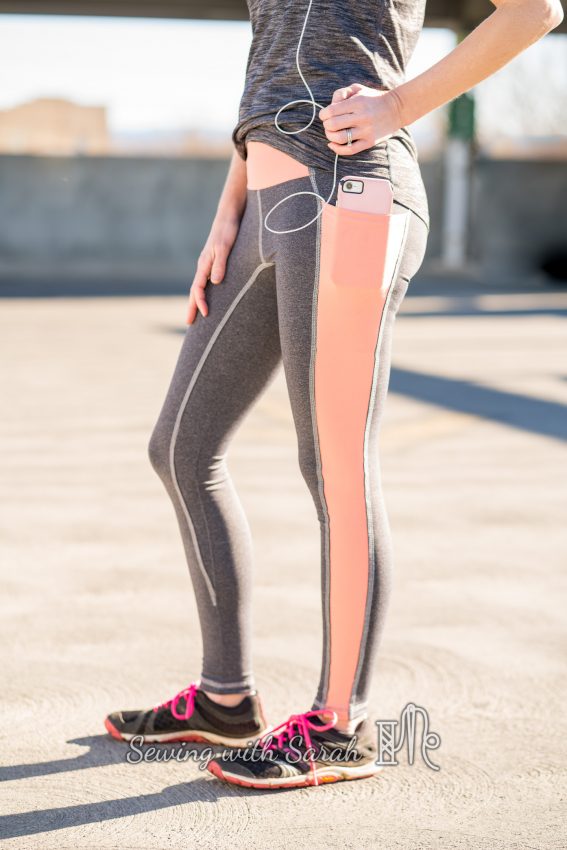
The grey and peach pair are made from heavy supplex (grey) from Zenith and Quasar fabrics, and lululemon overstock athletic (peach) from Peak Fabrics. I love all the color blocking and top stitching options with this style, and these thicker athletic knits are ideal for the pattern, which is a bit more compressive than the Inspires or Strides, if you’re familiar with those.
I still made my typical xxs, so I don’t think there’s any need to size up as long as the fabric has the recommended stretch, but they do feel like they hold me in a bit more during a run, which is welcome. I used a reverse cover stitch on my BLCS2 to topstitch all the seams except the inner gusset, and added the clear elastic in the waistband for extra security.
Technique Tip:
I add the elastic in differently than the pattern instructs, serging it directly into the waistband with my serger during construction. Here’s a video on how to do that:
I felt like I needed a top to match my new leggings, so I made another Xpress tank (does that pattern ever leave my cutting table? Nope!) in Knitpop tri-blend.
![]()
![]()
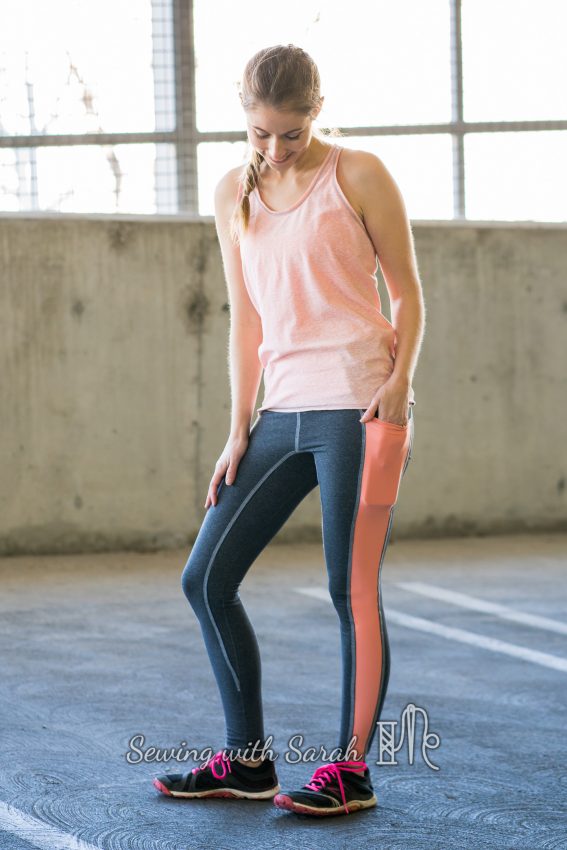
I haven’t been a huge fan of triblend in the past, but I have to admit, it works perfectly for this pattern, since it presses so well and is nice and lightweight. I’m still deciding what vinyl to put on this- open to suggestions!
![]()
![]()
I don’t always make more than one pair of something during the narrow testing window, but since I loved the Super G’s so much, I dove back into my embarrassingly large atheltic knit stash and came up with this heavy weight athletic brushed poly and white mesh.
![]()
![]()
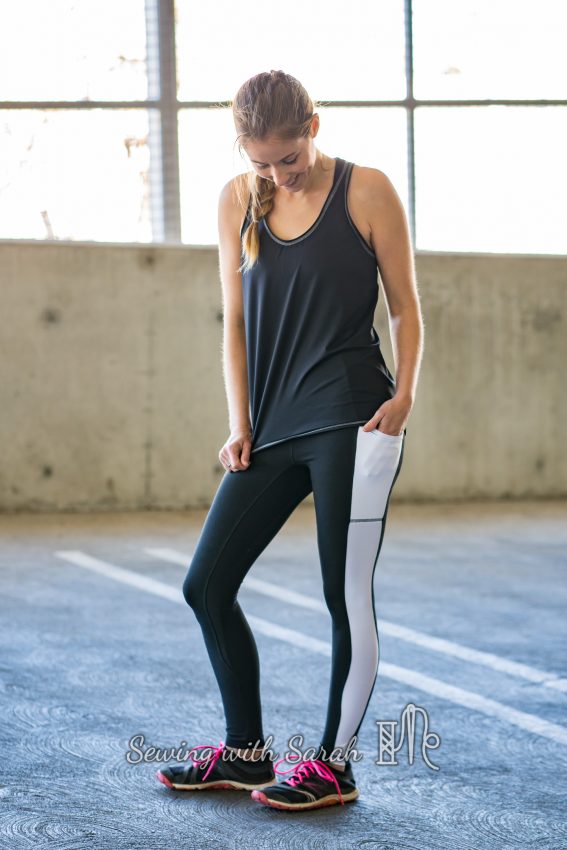
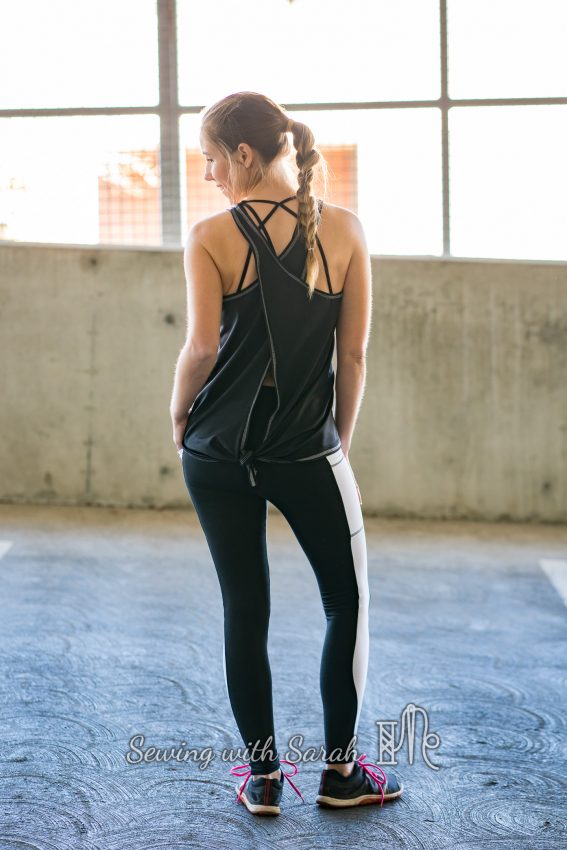
You can barely see the holes on the mesh, which is actually from Joanns and surprisingly high quality, but to keep them decent, I used the black for the front, back and gusset, and the white for the lower pocket and parts of the waistband. I wish I had done the waistband completely in one color- I’m feeling a bit like the joker in the colorblocked version, but it will be covered most of the time by a tank, so I’m not too worried about it.
A second pair of leggings called for another top, so I made another Xpress tank (I know, I know, I’m like a broken record with these tanks!) in black circular knit from Phee. My machine, which is usually really well behaved, had difficulty top stitching this fabric- I think i need to adjust the differential feed next time. I do love the way the lighter circular knit feels on my body, so I’m ordering more and determined to figure out how to sew it well.
![]()
![]()
Versions 3 and 4:
I was on a roll, and wanted to try the no-side-seam view as well (View A), so I took out some of my prized athletic fabric from Surge, and got to work. Their athletic fabric is some of the nicest I’ve ever felt- I used it before on a pair of Inspires here. I had to cut my gusset on the cross grain because I only had a yard, but given the excellent 4 way stretch, this hasn’t caused any problems.
![]()
![]()
I love the clean look of the side without the seam, but I couldn’t stand not having a place for my phone (other than down my butt!) so I hacked in a zippered waistband pocket!
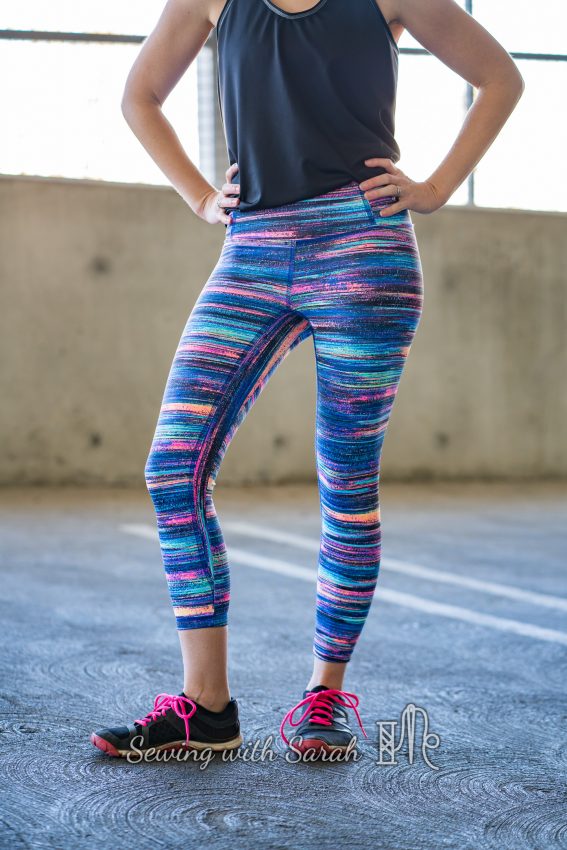
I loved this pair so much (and I was procrastinating on finishing my jeans!) that I put together a fourth, yes a FOURTH pair using a grey striped athletic knit from Fabric Fairy (I’m nothing if not an equal opportunity fabric order-er).
![]()
![]()
This stuff is an another overstock from a high end athletic company, and it shows. Despite being the least flashy of all my Super G’s I think these will get the most wear- they match all my new tanks and also have a zippered pocket to save my phone from backside sweat.
Want to add your own zippered pocket to your leggings? I’ll be doing a full photo tutorial on this next week, so stay tuned! If you need to grab some supplies ahead of time, you’ll need an 8-10″ zipper and a zipper foot on your sewing machine- that’s it! Here’s a quick sneak peek:
![]()
![]()
Don’t forget to grab the pattern while it’s on sale, and check out the giveaway happening over in the Greenstyle Facebook Group!
Click here for a 10% off coupon to Surge Fabrics!
If you enjoy sewing activewear as much as I do (or just enjoy seeing it sewn up!), make sure you’re subscribed to my blog- you can do that here! Thank you!
Note: This post contains affiliate links. Thank you for your support!
Great video, Sarah! I would also add that if you wear slippery undies with your leggings, adding elastic is especially important. …Unless you enjoy your pants creeping down to your hips when you sit down! Ask me how I know this…
Haha! I’ll keep that in mind!
I love them all, but know I would get the most use out of the version without a side seam. You’ve convinced me I need them! LOL
The no side seam version is really nice- and as a bonus it’s incredibly fast to put together!
These all look super professional! Good job!
Thank you! I finally feel like I’m at the point where I can create things that look like they came from an athletic store, and it feels so good!
These look amazing!! Great work, Sarah!
THank you Jenna!
Hi, on the waistband of these, do the extra seams serve any purpose other than to line up all cute-like with the side seams on the leggings?
I’m making a pair for a friend, and want to know if I can make a taller waistband (maybe the contoured waistband on the GS site) with an extra layer of power mesh for support across the whole front piece…?
Thanks
You could definately do that. The seams provide a bit of contour, but not enough to make a big difference if you wanted it to be a solid piece.
Thanks for the help!