A Vest Obsession…
![]()
![]()
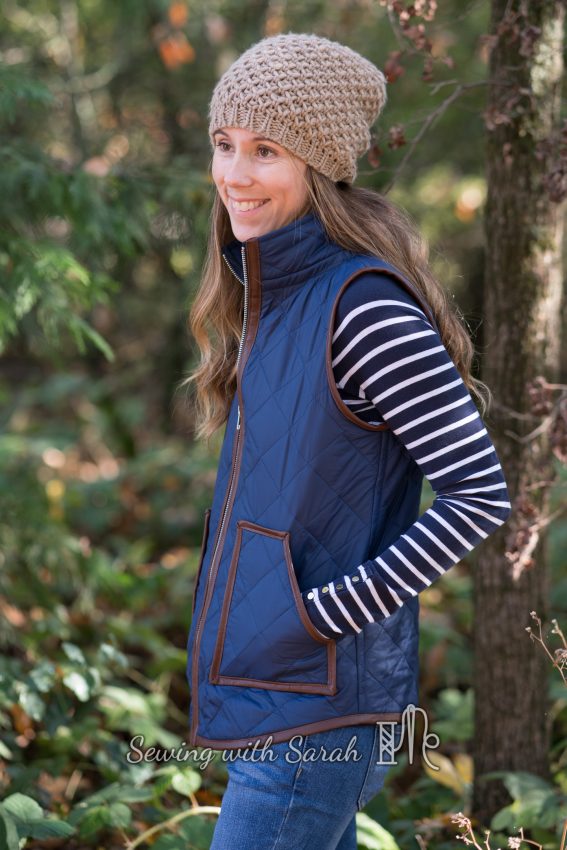
I’ve been on a bit of a vest kick lately- they’re faster to sew than jackets, and offer all the warmth of a coat without all the bulk over my arms, which really annoys me when I’m trying to mom-around.
When I saw the tester call for the Oakley Vest by Love Notions, I couldn’t resist throwing my hat in the ring- the vest looked almost identical to a favorite I purchased a few years ago from Stitch Fix, which I’ve been wanting to replicate but just haven’t quite made the time for yet. One of the biggest advantages to testing, for me, is that it pushes me to get the job done, and to experiment with new techniques, and this test gave me a chance to do both!
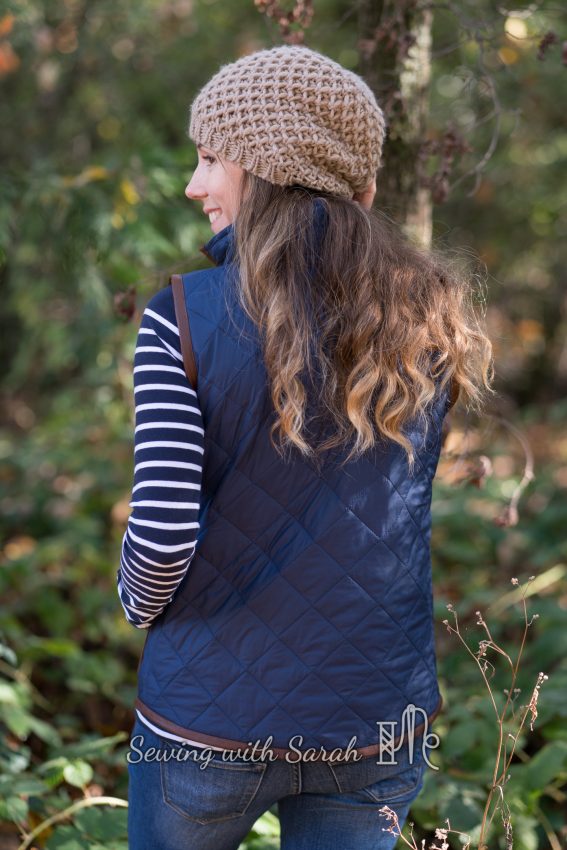
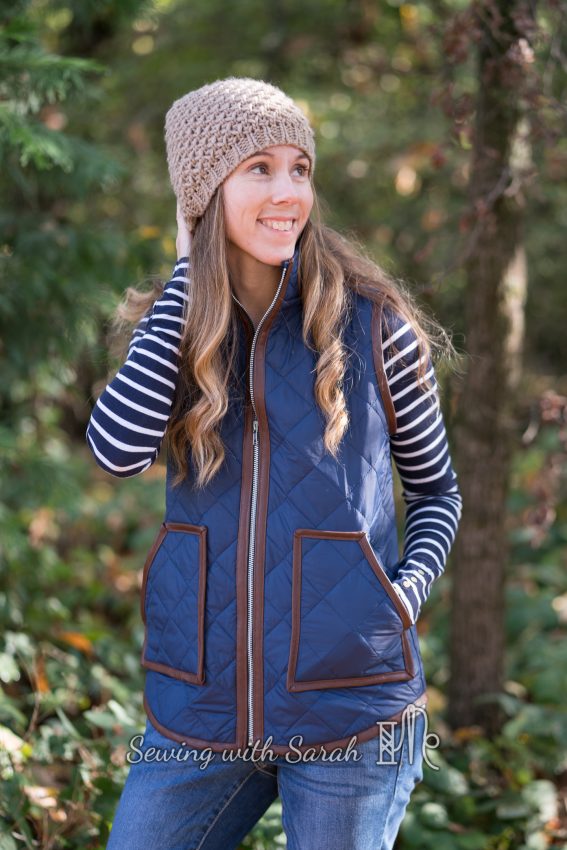
The women’s Oakley vest comes in three views- I chose the collared, patch pocket version (view B) for my first Oakley, and settled on a double sided quilted fabric as a nod to my favorite vest. I also couldn’t resist picking up some faux leather bias tape trim for a unique touch- though I was a little worried about whether I could sew through the bulk of the bias tape, quilted fabric and the zipper. Sewing the boys vests out of faux leather had given me some confidence in working with this new type of fabric- but I still ordered plenty of extra to make sure I could practice first to get my technique just right.
![]()
![]()
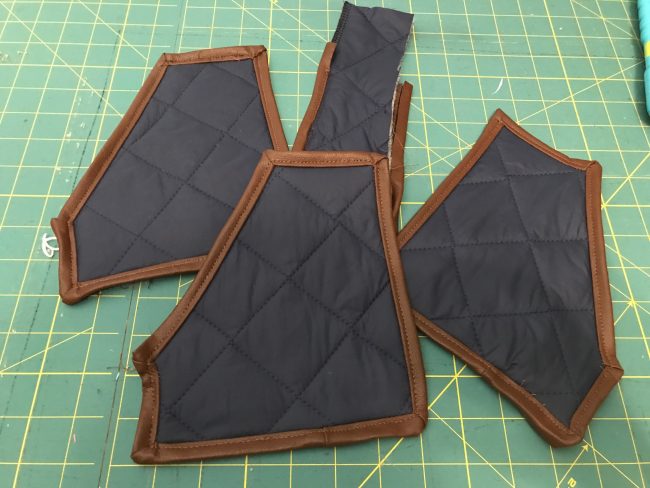
The quilted fabric was surprisingly easy to work with- and didn’t slip and slide around like I had expected. It is also plenty warm- perfect for the coming winter! The leather bias tape took a little more work- I went through 5 practice pockets before I was satisfied with the mitered corners. In the end, I used up almost all of the 10 yards I had ordered- making me glad I didn’t try to skimp!
![]()
![]()
Ahhh…finally!
![]()
![]()
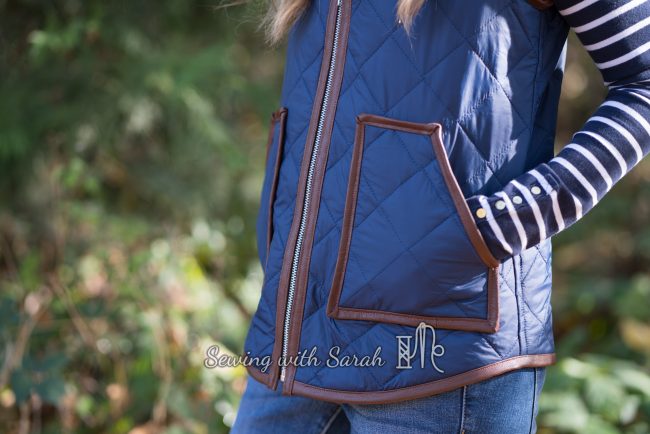
I found the trick was to stop 1/4″ from the edge and then sew a very precise angle without backstitching at the end. I also used it as single, rather than double fold, to cut down on the bulk. Since the faux leather doesn’t fray, the raw edge is fine and still looks professional on the inside of the vest. I got the best results with a microtex needle– it made smaller holes in the binding and vest and didn’t have any problems going through all the layers as long as I went slowly. If you’re using this type of bias tape, you’ll also want to stick to clips, and not leave them on for very long, to avoid denting the fabric. I also covered the inside of the collar seam with the leather bias for a clean finish.
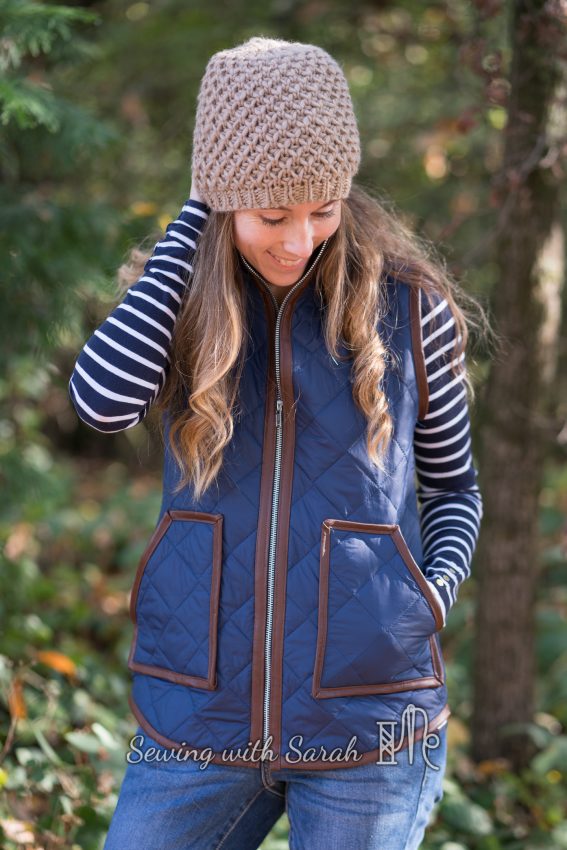
The result is a a classic vest that matches pretty much everything in my wardrobe- I wore it the day of the photo shoot and haven’t stopped since! (Ok, I did take it off once or twice to wash it, but that’s the beauty of a vest right? Doesn’t have to be washed with every wear like a T shirt. Or maybe I just hate laundry…)
![]()
![]()
In fact, I had so much fun with the Oakley I decided to whip up another version- this time with princess seams. Unfortunately, while the vest is finished- I’m still waiting (rather impatiently) on the zipper, so I can’t show that one off yet- but I’ll be sure to update you when I do!
You can check out the women’s Oakley pattern here, the girls version here, or the bundle with both here!. Princess is still too small for the smallest size- but I look forward to sewing her own “Acorn” vest soon!
If you enjoyed this post, I’d love to stay connected with you! You can follow me on Facebook and ![]()
![]()
This post contains affiliate links. 10 yards of faux leather bias tape doesn’t come cheap y’all. Actually, it wasn’t that expensive. But I appreciate your support!
[…] using the Love Notions Oakley vest here (see my full review of the pattern on my blog), which features princess seams at the sides of the front and back, and plenty of opportunities for […]