Cavallo Tights SewAlong Day 2: Patches & Pockets (plus a bonus!)
![]()
![]()
Welcome back to the Cavallo Tights SewAlong!
Every day this week, I will be walking you through the construction of the Greenstyle Cavallo Tights, through video tutorials, blog posts and support in the Fabric Fairy Facebook Group. I also have some prizes to offer at the end, and some BONUS video tutorials for using your coverstitch and serger.
If you need to purchase the pattern, you can do that here (aff link):
If you need fabric and supplies, you can get 10% off through 7/17/20 with the code “CavalloSAL” at the Fabric Fairy.You are also welcome to use stash fabric, if you prefer- my main priority is that you join in and have fun!
If you need to find a tutorial on how to assemble a Greenstyle pattern, you can find a tutorial for that here.
Sew-Along Schedule
Our schedule for the week is as follows:
Day 1: Supplies, Fittting, Options and Cutting Fabric (YouTube Channel is HERE)
Day 2: Patches & Pockets (YOU ARE HERE)
Day 3: Sewing the Legs
Day 4: Attaching Legs Together and Sewing the Waistband
Day 5: Hem and Catch Up
Bonus Videos!
Each day will have a bonus video as well- these will focus on how to use your Serger or Coverstitch machine, covering everything from threading to troubleshooting. I’ll be releasing these exclusively here on the blog and on my YouTube Channel, so please consider subscribing so you won’t miss out!
All of the videos for today can be found at the bottom of this post- so check out my notes on each video segment, and then dive right in!
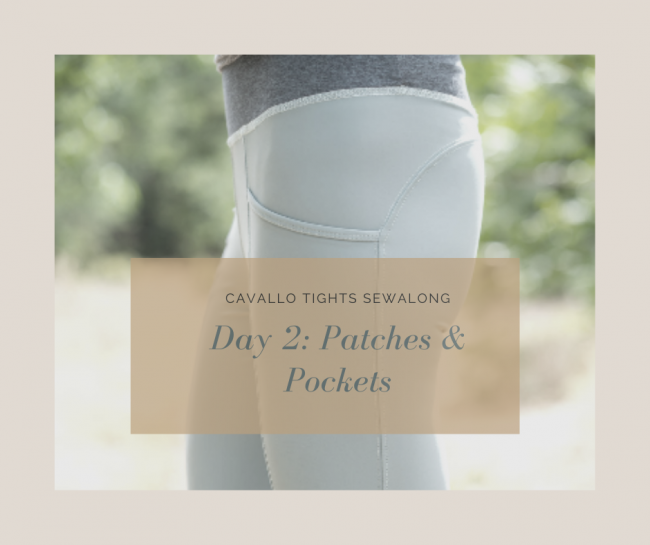
Assembling the Pockets
Today our main task to is pre-assemble the pocket pieces so that we are ready to attach them to the main pants piece tomorrow.
There are several methods for finishing your top pocket edge- binding, bands, or hemming.
My favorite method of single fold binding can be found below- and I highly recommend giving it a try!
If you are planning to hem and using a standard sewing machine, you will want to consider using a knit stay tape to prevent stretched out seams at the top of your pocket. A twin needle can also come in handy here- the zig zag along the back allows for a bit of stretch and recovery as you use the pocket.
Sewing the Patches
Yesterday in the Facebook group, I asked for your earliest horse memory- I sure loved reading those, and it made me really want to take some lessons locally- it sounds like a really good way to get outside and be “social” but safe these days!
If you are adding the riding patches to your Cavallos, now is the time to do it. Some of the best fabrics for that would be:
- Stretch suede
- Stretch faux leather
- Quilted knit (you can also quilt your own, with a layer of batting, some basting spray and a couple layers of knit!)
You’ll be sewing them on with a double row of straight stitching. I would recommend increasing your stitch length to 3.0 if you’re using a standard sewing machine. Because knits don’t fray, there is no need to finish the edges of your patches first- just do a line of stitching around the outside, within 1/4″ of the edge, and another line of stitching at about 1″ in.
I demonstrate in the video how to use a Frixion marker or chaco pen to “write in” a guide for yourself. I also highly recommend using basting spray rather than pins to hold your patches down.
Don’t forget to check the placement of the patches before you sew them on- any height/length adjustments you may have made could have affected the location, though they are pretty generously sized, so hopefully things won’t need to be adjusted too much!
Here’s the video that covers both these steps- I hope it’s helpful!
Bonus Video: How to End a Coverstitch
I’ve also added a little bonus to today’s videos, on how to end a coverstitch so your seams don’t unravel! Before I figured this out, my hems were always unraveling- so annoying! Now, things stay in place, and I can spend more time making new things, instead of fixing old ones!
Well, that’s it for Day 2! Please let me know how you’re doing. If you’re joining the event in “real time”, you are encouraged to post a picture of your progress in the Fabric Fairy Facebook Group. At the end of the week, I”ll be giving away a fabric and pattern prize! If you’re joining later on, please drop me a comment and let me know if this video was helpful.
I’d also love it if you took the time to subscribe to my blog and my YouTube Channel– that way you’ll stay up on any new posts or videos, and I can connect with you on those platforms to answer any questions!
Note: This post contains affiliate links. I sew and share my tips for the joy of the craft, but a little extra affiliate encouragement goes a long way to helping fund these projects, so I really appreciate when you use them!
Just watched the bonus CS video. As a total aside, I see that you do not have thread in the little metal hook under the 2nd tension dial. I use that for the middle thread – is there a reason you don’t?
With some threads (lower quality) it has too much tension there. Taking it out doesn’t seem to cause any problems for me 🙂