Cavallo Tights SewAlong Day 3 & Bonus Video on Coverstitching Bulky Seams
![]()
![]()
Welcome back to the Cavallo Tights SewAlong!
Every day this week, I will be walking you through the construction of the Greenstyle Cavallo Tights, through video tutorials, blog posts and support in the Fabric Fairy Facebook Group. I also have some prizes to offer at the end, and some BONUS video tutorials for using your coverstitch and serger.
If you need to purchase the pattern, you can do that here (aff link):
If you need fabric and supplies, you can get 10% off through 7/17/20 with the code “CavalloSAL” at the Fabric Fairy.You are also welcome to use stash fabric, if you prefer- my main priority is that you join in and have fun!
If you need to find a tutorial on how to assemble a Greenstyle pattern, you can find a tutorial for that here.
Sew-Along Schedule
Our schedule for the week is as follows:
Day 1: Supplies, Fittting, Options and Cutting Fabric (YouTube Channel is HERE)
Day 3: Sewing the Legs (YOU ARE HERE)
Day 4: Attaching Legs Together and Sewing the Waistband
Day 5: Hem and Catch Up
Bonus Videos!
Each day will have a bonus video as well- these will focus on how to use your Serger or Coverstitch machine, covering everything from threading to troubleshooting. I’ll be releasing these exclusively here on the blog and on my YouTube Channel, so please consider subscribing so you won’t miss out!
All of the videos for today can be found at the bottom of this post- so check out my notes on each video segment, and then dive right in!
Sewing the Legs!
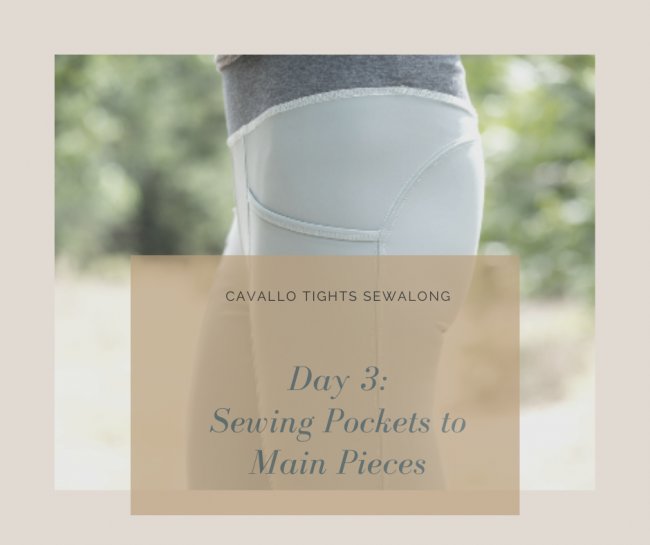
Today we are sewing the pockets onto our main leg pieces, and then sewing the leg pieces together at the outer seam.
This part can be a bit tricky, because it involves sewing concave/convex curves together. The important thing to keep in mind is that while you might have to use some extra pins/clips to ease things in along the curve, you shouldn’t have to stretch any of your pieces.
The part where the pocket meets the lower leg is another part that can be confusing- I’m devoting extra time in the video to showing you how to get this to line up perfectly.
Check it out, and then just remember to go slowly, and don’t be afraid to baste things together first if needed!
Coverstitching the Outer Leg Seam
Don’t forget that if you want to add a reverse coverstitch detail to the outer leg seam, you can find my video tutorial on that below:
Bonus Video: Tackling Bulky Areas with your Coverstitch
Today’s bonus video is on how to deal with those bulky areas when coverstitching. Areas with a lot of bulk, like the pockets, or the waistband seam, can sometimes cause a coverstitch machine to skip stitches, or get stuck on the “bump”- I’m sharing a few of my tried and true techniques for avoiding this!
- Some handy tools include:
- Jean a Ma Jig
- Hammer (I stole mine from the garage, but this one is really cute!)
Well, that’s it for Day 3! Please let me know how you’re doing. If you’re joining the event in “real time”, you are encouraged to post a picture of your progress in the Fabric Fairy Facebook Group. At the end of the week, I”ll be giving away a fabric and pattern prize! If you’re joining later on, please drop me a comment and let me know if this video was helpful.
I’d also love it if you took the time to subscribe to my blog and my YouTube Channel– that way you’ll stay up on any new posts or videos, and I can connect with you on those platforms to answer any questions!
Note: This post contains affiliate links. I sew and share my tips for the joy of the craft, but a little extra affiliate encouragement goes a long way to helping fund these projects, so I really appreciate when you use them!
Love your presentation. Do you use a narrow cover stitch on the pocket binding and a wide cover stitch on the rest? Thanks so much. Lynne
Yes, that’s exactly what I usually do.