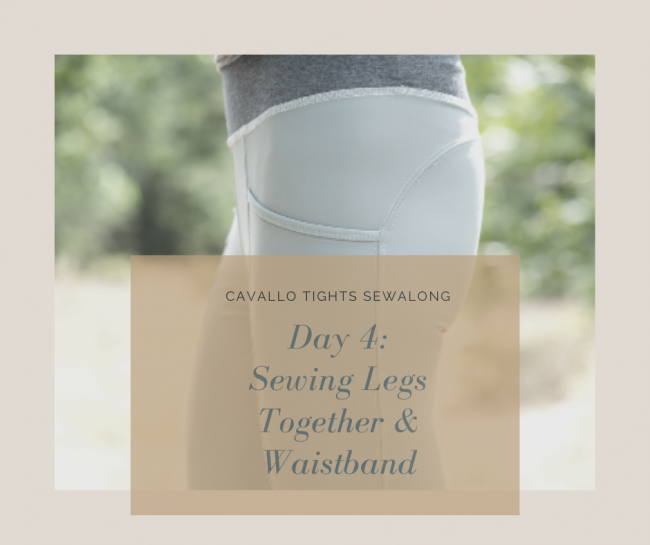
Cavallo Tights SewAlong: Day 4 & Bonus Coverstitch Tutorial
Welcome back to the Cavallo Tights SewAlong!
Every day this week, I will be walking you through the construction of the Greenstyle Cavallo Tights, through video tutorials, blog posts and support in the Fabric Fairy Facebook Group. I also have some prizes to offer at the end, and some BONUS video tutorials for using your coverstitch and serger.
If you need to purchase the pattern, you can do that here (aff link):
If you need fabric and supplies, you can get 10% off through 7/17/20 with the code “CavalloSAL” at the Fabric Fairy.You are also welcome to use stash fabric, if you prefer- my main priority is that you join in and have fun!
If you need to find a tutorial on how to assemble a Greenstyle pattern, you can find a tutorial for that here.
Sew-Along Schedule
Our schedule for the week is as follows:
Day 1: Supplies, Fittting, Options and Cutting Fabric (YouTube Channel is HERE)
Day 4: Attaching Legs Together and Sewing the Waistband (YOU ARE HERE)
Day 5: Hem and Catch Up
Bonus Videos!
Each day will have a bonus video as well- these will focus on how to use your Serger or Coverstitch machine, covering everything from threading to troubleshooting. I’ll be releasing these exclusively here on the blog and on my YouTube Channel, so please consider subscribing so you won’t miss out!
All of the videos for today can be found at the bottom of this post- so check out my notes on each video segment, and then dive right in!
Sewing the um…Crotch Seam (and waistband)
I really tried to think of another way to write that, but I just couldn’t. Let’s just step right up and say it, really loudly… I CAN’T MAKE DINNER RIGHT NOW KIDS, I’M SEWING A CROTCH SEAM.
See if they leave you alone. It’s worth a try.
My boys sniggered, and walked away, but my daughter, who is four, just came right up and sat on my lap, and we sewed the last of these together. Then she demanded her own pair. You win some, you lose some, ya know?
A couple quick tips, before you watch the video:
- Washaway wonder tape and/or basting will save you quite a bit of time, when it comes to getting that back curve seam to line up
- If you’re really nervous about fit, you could baste the crotch seam together, sew the outer waistband, and then baste that onto the leggings, before making any permanent stitches. At this point, there is still time to scoop out the crotch a bit, shorten the rise, etc (see Day 1 for fitting tips!)
- I recommend doing a double layer of stitching at the crotch, to reinforce it. This could be accomplished via serging + coverstitching, or serging + sewing with a stretch stitch. That extra piece of mind while I’m doing squats at the crosswalk is always worth it (I can’t be the only one that does squats/lunges when I get stopped mid-run at a red light…)
- Like feeling “held in” by your pants? Consider adding an extra layer in the form of power mesh (power net). Most people don’t like this directly on their skin, so sandwiching it between your inner and outer waistband works well.
- Want an extra pocket (because really, can you ever have too many?) Check out my zipper pocket tutorial HERE.
Pro-Tip: How to insert clear elastic with your serger
I made this video a while ago, but it’s a goodie- serging/inserting clear elastic in the same step saves quite a bit of time!
Bonus Video: How to fix skipped stitches on your Coverstitch
Today’s bonus video is a little tutorial on how I deal with skipped stitches when they occur. No coverstitched seam is ever perfect, but if something needs to be re-done, you don’t have to start all over! Check it out, and let me know what you think! Is this what you do?
Make a Matching Mask!
Finally, a little love for fellow blogger Kimberly of Sweet Red Poppy. She’s been pumping out some amazing mask patterns, and this one is my current favorite for athletic pursuits (yes, I run with a mask). Make one out of your scraps, and stay safe!
Well, that’s it for Day 4! Please let me know how you’re doing. If you’re joining the event in “real time”, you are encouraged to post a picture of your progress in the Fabric Fairy Facebook Group. At the end of the week, I”ll be giving away a fabric and pattern prize! If you’re joining later on, please drop me a comment and let me know if this video was helpful.
I’d also love it if you took the time to subscribe to my blog and my YouTube Channel– that way you’ll stay up on any new posts or videos, and I can connect with you on those platforms to answer any questions!
Note: This post contains affiliate links. I sew and share my tips for the joy of the craft, but a little extra affiliate encouragement goes a long way to helping fund these projects, so I really appreciate when you use them!

Sarah, I bought this pattern a month ago and felt somewhat lost and blind trying to work through it. Your Sew-a-long was perfect timing. I can’t thank you enough for your in-depth discussions and easy to digest modules. My pants are turning out fabulously! In addition, I’ve learned so much in the process. Thank you so much!!!
This makes my day- I’m so happy this sewalong came at a good time for you!