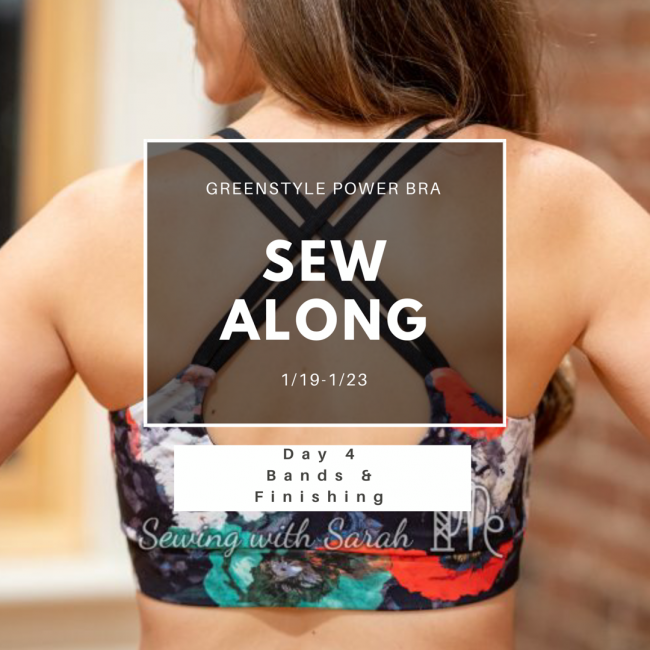
Power Bra SewAlong: Day 4
![]()
![]()
Today is the fourth day of the Power Bra SewAlong! After you’re finished with today’s tasks, you should have a fully finished bra- hooray! That’s really a huge accomplishment, and you should be proud!
Grab your pattern!
If you haven’t already, you’ll want to purchase the Power Bra pattern! This is a really excellent pattern with options for everyone! If you’re curious about the bra, you can read more about it here, in the official release post!
The Fabric Fairy is also offering bra kits that are specifically designed for this pattern. Kits contain everything you need except your main fabric, and some of the optional items, like bra cups and nursing closures.
If you’ve never downloaded or purchased a Greenstyle pattern, you can find a tutorial on how to do that here.
The Schedule
Need to catch up? Click the links below!
Day 1: Supplies, Sizing and Cutting
Day 3: Front, Back, Straps and Lining
Day 4: Bottom Band (YOU ARE HERE)
Day 5: Hacks/Finishing
Each day, I’ll post a video and/or blog tutorial with that day’s tasks, and you can comment with any questions and your progress for that day, so we can all keep each other motivated.
At the end, I’ll be choosing a winner for a fun PRIZE! (and who doesn’t love prizes?!)
Sound awesome? It is! (check out my other Sew Alongs HERE on the blog)
Today’s Task: Sewing the Bottom Band
Today we will be finishing our bras by sewing in the bottom band. There are several ways to do this, including using the keyhole closure, making an adjustable closure, or using decorative elastic, but I’ll be covering all the options in a single video for all views.
This is a pretty quick and easy day, so let’s jump in and get these bras finished (and off to their first test drive!).
One quick thing to note- make sure if you’re adding non-removable cups that you insert them BEFORE sewing your elastic on! You don’t want to have to unpick all those stitches to add in the cups later!
When you’re finished, please show off your creation (flat-lays are fine, if you don’t feel comfortable modeling) in the Fabric Fairy Group and the Greenstyle Creations Facebook group! We’d love to see your make, and congratulate you on your hard work!
I’ll meet you back here tomorrow for one final post featuring a few hack ideas, now that you’ve got your fit and pattern techniques ironed out!
If you enjoyed this SewAlong, please consider subscribing to my blog, YouTube, and Instagram, and feel free to drop a suggestion in the comments below about future Greenstyle patterns you’d like to see explained in more depth! I love hearing from you!
xoxo
– Sarah
Note: This post contains affiliate links. Thank you for your support!
How can I enter my photo for the giveaway? Thank you!!!
There will be a post in the Fabric Fairy up tomorrow for that.
I would love a sew along for the North Shore if you haven’t done one already.
I’ll keep that in mind for spring! Thanks!
I’m so glad I could follow these sew alongs! My first bra now done, thanks to you!
I have one issue still though which I usually have with store bought bras, they can make my bust just flat and that’s what it did with this one as well! Size is 38B when it comes to messuring! Should I rather make a 38C instead to have a bigger cup? But that would give me less supportive. Also I’m rather wide on top, how can I add some fabric to the side? Just making it a big wider, I guess?!
I’m glad the sewalong is helpful for you- way to go on making your first bra! I think the nature of athletic bras is that they are compressive, and I agree sizing up would lessen the support. You might try adding cups inside though. And sure, if you need more fabric on the side, go ahead and add it there, or try a larger band size.
I finally finished up my first power bra. I had actually started it with the SAL. I was a little confused on how to test the fit/length for the scrappy back. But I guess it’s more personal feel. I am looking forward to my next one. It will be a racer back, possibly going down one cup size for more support.
I think a muslin is the best thing- I think you’re doing it right!
Sarah, thanks for the sew along videos they are very helpful. I’m on my third PSB, finally got the right cup size. My question is the band, how much smaller should it be from the top section? I feel I need to make my band longer than what the pattern calls for. Also, the elastic definitely needs to be longer. For my size the pattern has you cut the band length 5 inches smaller and for me that is too small. Thanks!
As long as you’ve got your cup size dialed in, I would recommend making the band a size that fits your body. If that’s different than what the measurements say, thats OK! I find my band length to be a bit short too 🙂