Christmas Traditions and Layered Sleeve Tutorial
![]()
![]()
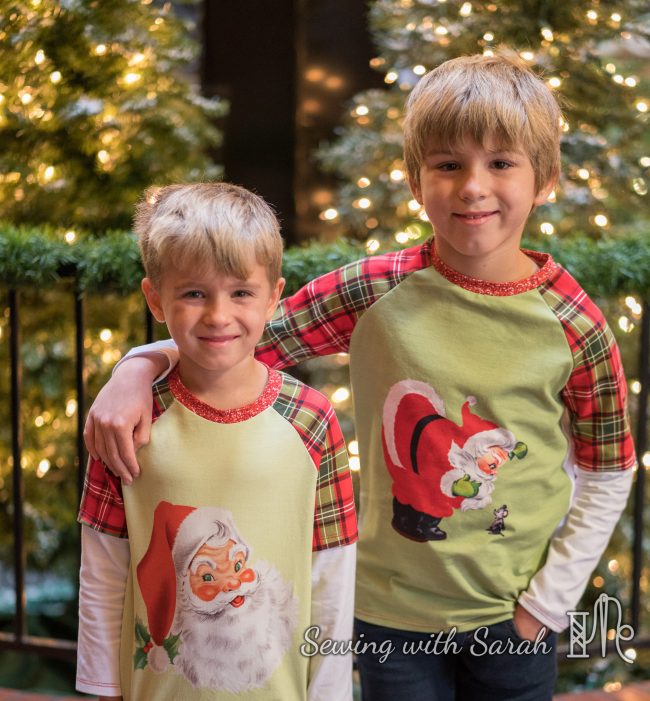
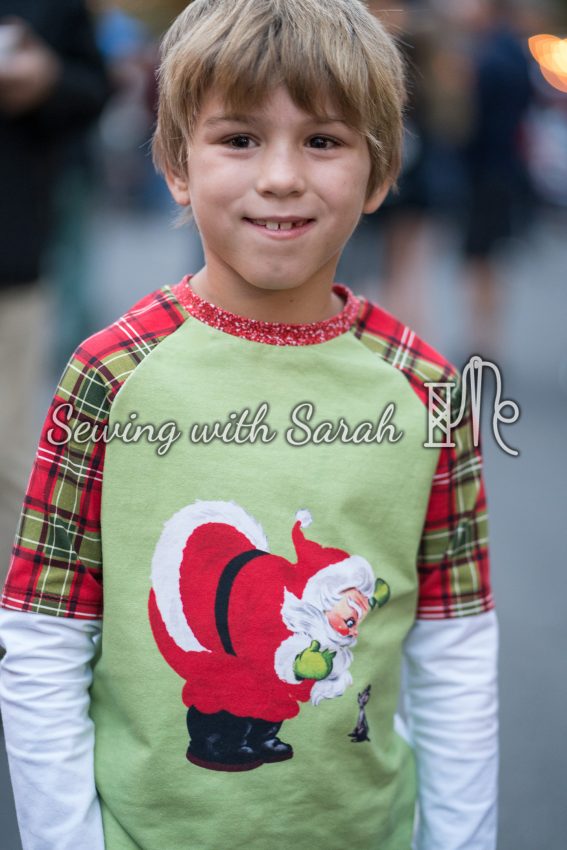
I love a good Christmas tradition, and one of ours is to have mommy-made pajamas to lounge in on Christmas morning. Last year, I made my boys, daughter, and their friends a matching set of Polar Express themed pajamas- which are still in heavy rotation this year- but getting a little short arms, and kids PJs tend to do! Unfortunately, that was pre-blogging, so they never made it on here, but it was a hit on the train, and the scene of all 5 kiddos lined up to ride the Polar Express in their special pajamas is a favorite memory.
This year, I actually have two sets of pajamas planned, but I decided to start small- with a couple panels sent to me by Max and Meena fabric.
![]()
![]()
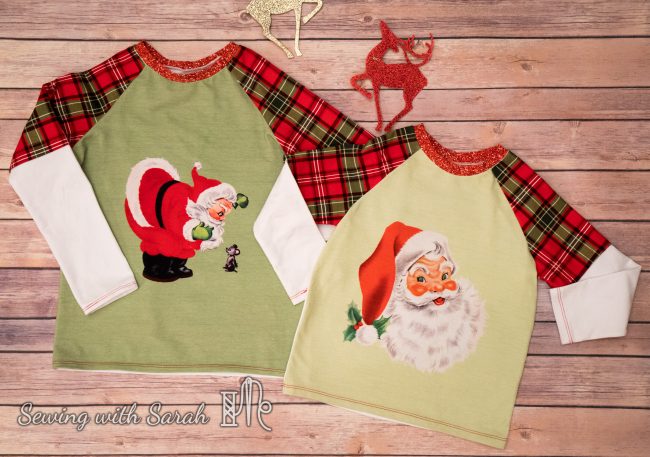
I fell hard for the retro vibe of these panels and their plaid coordinate, and knew they had to be used for this year’s holiday set. The colors also matched the pants from last year, which are Max and Meena joggers and actually still fit- so only new tops were needed! Winning!
![]()
![]()
I chose the Oliver and S School Days Raglan for the tops.
![]()
![]()
I’ve owned this pattern for a while, but haven’t made it in years, and it seems my kids proportions have changed in that time. I made a size 6 and 8, which was a size up from their measurements, but found the sleeves and length to run a bit short, and the fit isn’t quite right across their shoulders. I usually love the drafting of Oliver and S Patterns, so I was a bit surprised. Fortunately, cotton-lycra is quite forgiving, so they are still quite wearable, and I was able to add cuffs to lengthen the sleeves after we took these photos. I’ll also add a waistband if they hit a growth spurt and become too short before the spring hits.
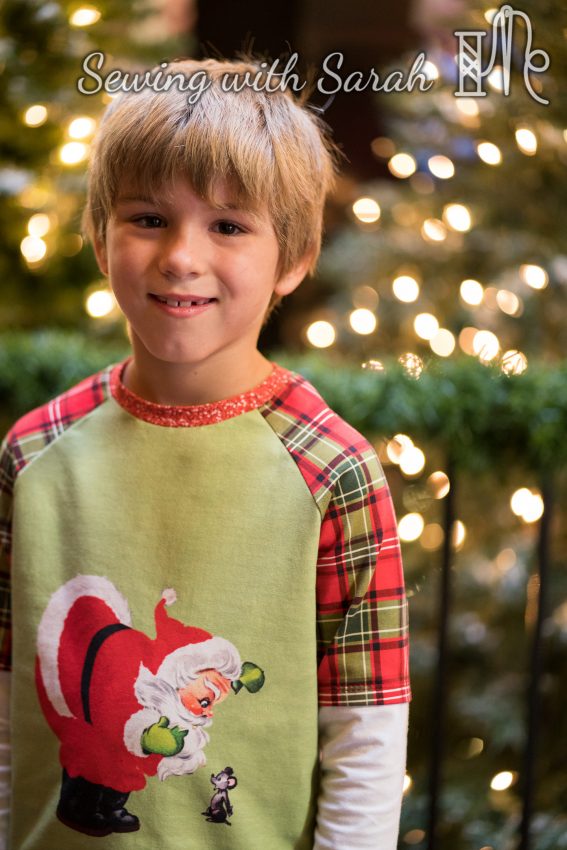
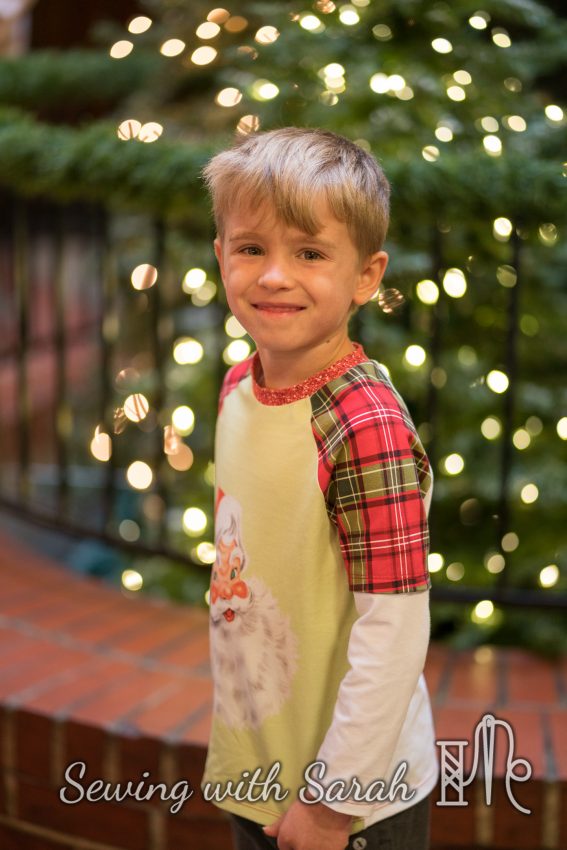
Having made about a million raglans I decided to change things up a bit so I could make the most of my plaid coordinate. I added a faux double sleeve- a detail I’ve seen on boys ready-to-wear clothes and enjoyed. You can add this detail onto any type of t-shirt pattern for a fun and easy hack.
![]()
![]()
There are two ways to do this: an easy way and a hard way. Being me, I tried out the hard way first. I’ll share both, and you can decide which you like best!
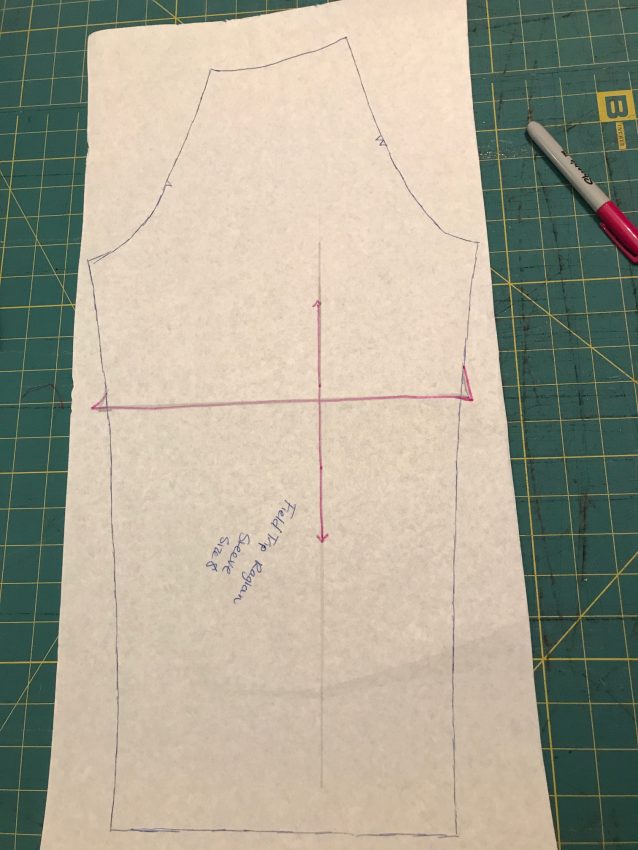
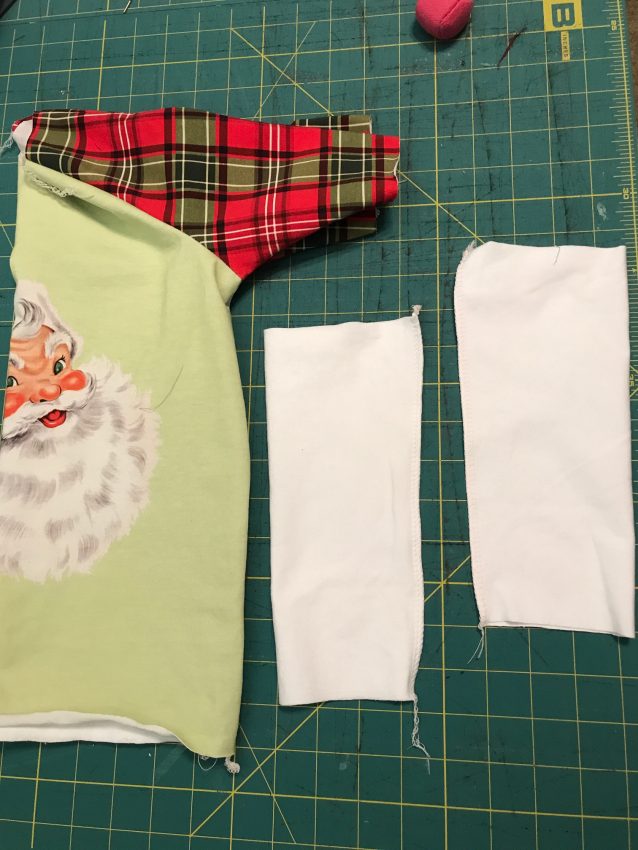
The first step in either method is to decide where you want the first layer to end. You can do this by grabbing a short sleeve pattern, or by measuring from your child’s shoulder to the point where you would want the short sleeve to end. Don’t forget to add in seam and hem allowance. I marked my spot on the long sleeve piece, and then added an additional 1/2″ for hemming. Make a horizontal line across the sleeve at this point, directly perpendicular to the grain line. You may need to extend the grain line with your ruler in order to do this. I also like to angle my hem out slightly, so the short sleeve layer doesn’t get narrower.
![]()
![]()
![]()
![]()
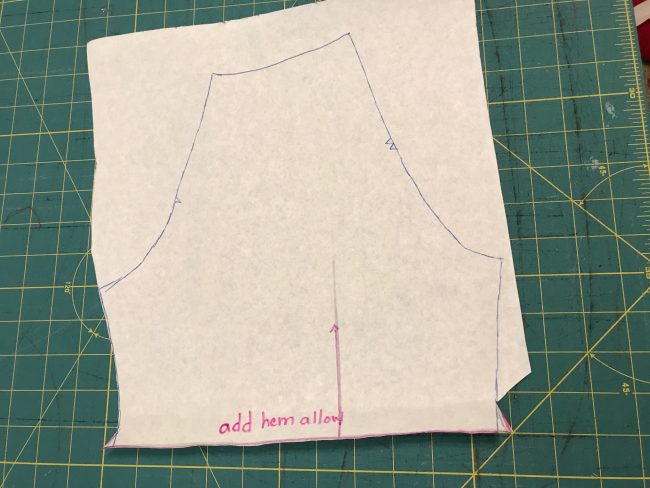
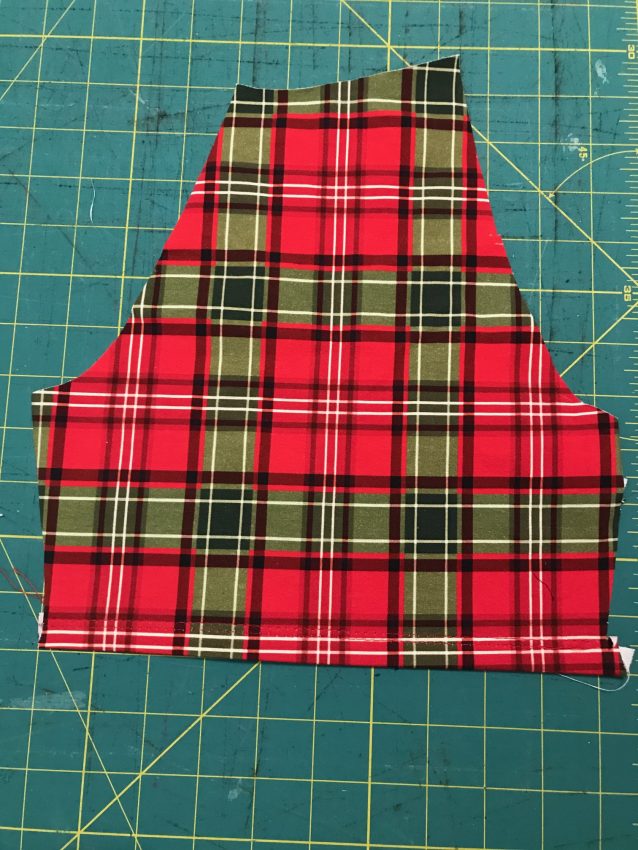
Cut out two of these “top sleeves” as mirror images.
![]()
![]()
Now, taking the remaining part of your sleeve pattern piece, the “lower sleeve”, add a seam allowance to the top, and cut two mirror images of this as well. No need to add hem allowances- they should already be included in your pattern piece. Cut two of this “lower sleeve” as mirror images.
![]()
![]()

This is where the two methods diverge. The “hard” way is to sew the upper sleeve to the bodice, and then sew the bodice and sleeve side seams. Sew together the lower sleeve seams separately.
![]()
![]()
Hem the upper sleeve. Then, attach the lower to the upper sleeve by sewing in the round. This is difficult, especially in the smaller sizes, to get your sewing machine into the right spot, but it gives the most “autentic” layered look.
![]()
![]()
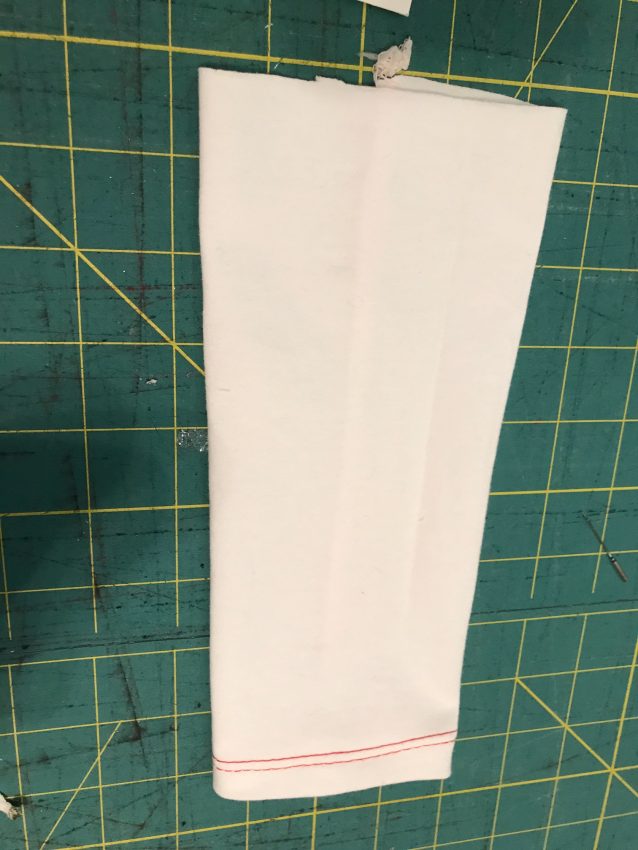
The second option is to hem your upper sleeve, and then sew your lower seleve underneath, while both are still flat. I use washaway wonder tape, and hem and stitch them together at the same time with my coverstitch.
![]()
![]()
Here’s a view from the wrong side:
![]()
![]()
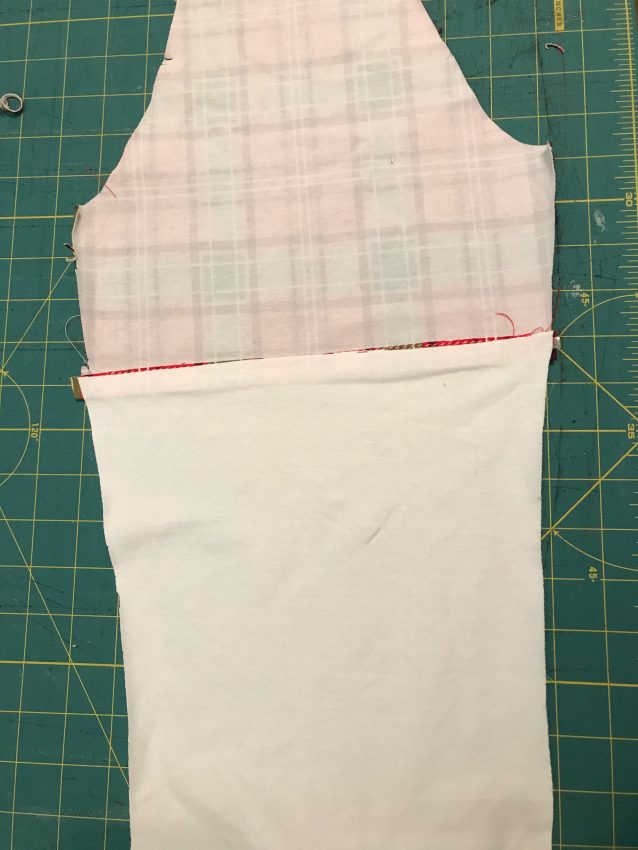
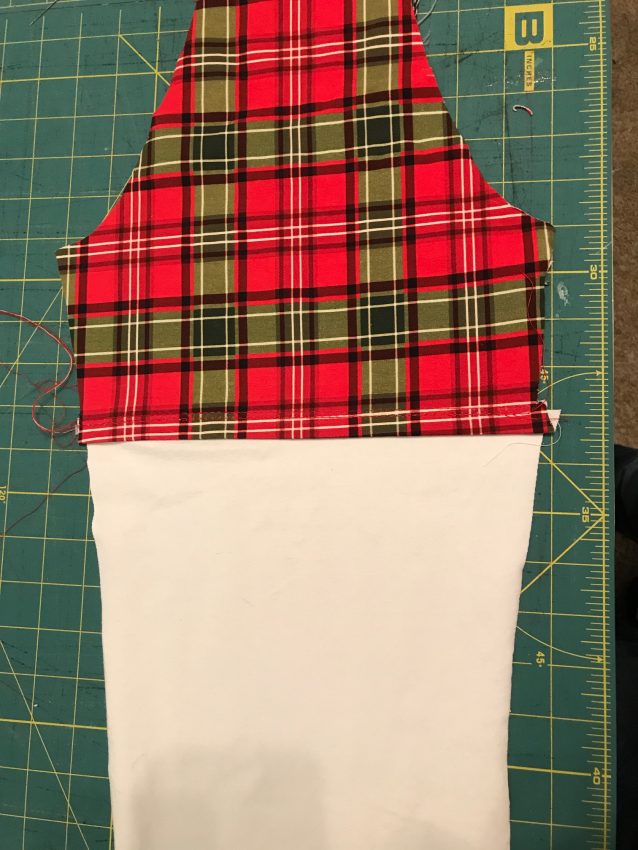
Next, sew the sleeve onto the bodice of the shirt, and sew the sleeve and side seams at once, from sleeve hem to bodice hem, as you normally would. You’ll need to be careful to line up the seam between your upper and lower sleeve perfectly when you do this. This method is much easier, but won’t look as authentically layered if someone were to peek at the under sleeve. Hem the bottom sleeve, and you’re done!
I used both of these methods on the two shirts, and I don’t think anyone can tell which is which, unless you were to peek at the arm seam. Do whatever works best for you!
My boys were thrilled with their new pajama shirts, and have been wearing them nightly since. There’s something about experiencing Christmas in a new way through the eyes of your children that makes me want to cherish all the moments, and there’s nothing better than seeing them wake up each morning on mama made pajamas! I hope I can make the time to sew the rest of the family special Christmas pajamas too!
Max and Meena still has some retail of these panels available here, if you have your own pajama tradition!
Follow me on Facebook and Instagram so you don’t miss a post- I love sharing hacks and tutorials, and am always open to ideas!