Tutorial: Adding Jogger details to your Favorite Leggings
![]()
![]()

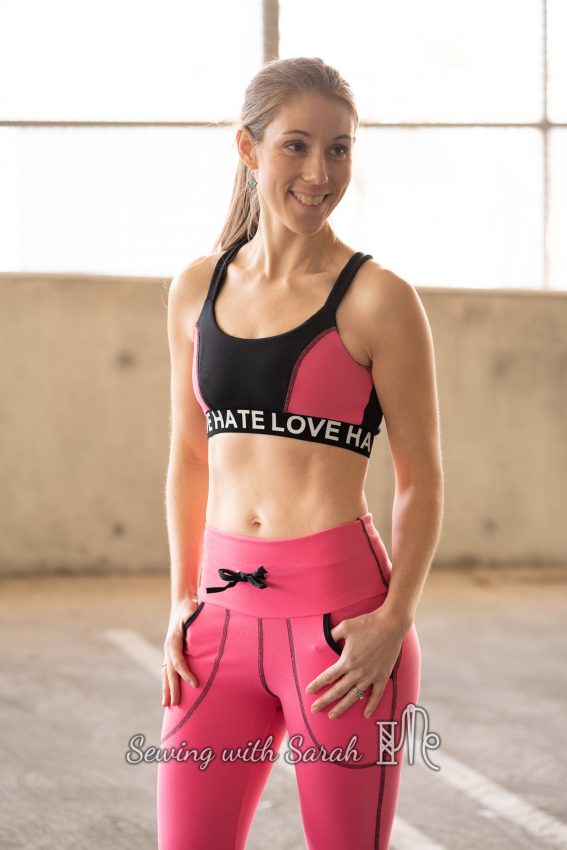
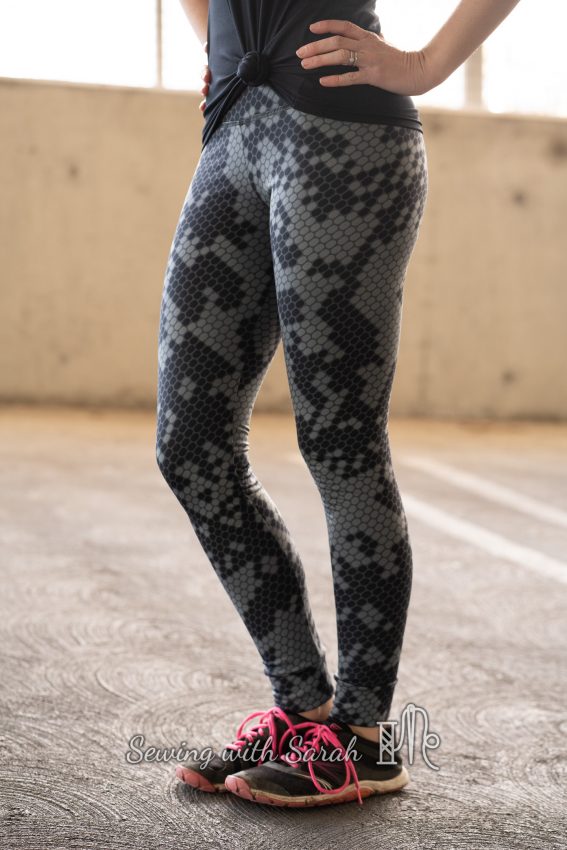
Today I’m sharing a tutorial for adding jogger style details to your favorite leggings pattern. This is a hack I’ve been wanting to try for several months, ever since I saw this “pinspiration”.
The main details that set joggers apart from leggings, besides a more relaxed fit, are that joggers (like the Brassies or Carita joggers) typically include a drawstring waist, leg cuffs, and front pockets. This tutorial will show you how to add all three details, for the best of both worlds!
Curious about the Brassie Joggers SewAlong? Check it out here! I also have some hacks for the Brassies that you can find here, and here.
Supplies:
What you’ll need:
– Favorite leggings pattern. I used the Inspire Tights from Grenstyle Creations.
– Ruler (I like this 2″ quilting ruler from Amazon)
– French Curve (helps get the curve on the pocket just right!)
– Sewing machine, ball point/stretch needle, fabric with appropriate stretch (this pink brushed performance is from Fabric Fairy)
–Wonder tape. Trust me on this one. If you don’ t have it on hand, get out about a billion pins.
Got all your supplies together? Let’s get started!
Creating the Pockets
![]()
![]()
For my leggings, I wanted pockets that didn’t add much bulk (no unsightly pocket bags shifting around under there!), but were also easy to construct. This meant patch pockets were out (so hard to get a nice corner on a knit!), as were typical bagged pockets. I decided to take my inspiration from the way the Brassie Joggers pockets are constructed, to create a single back pocket piece that would hold my phone securely and be easy to sew.
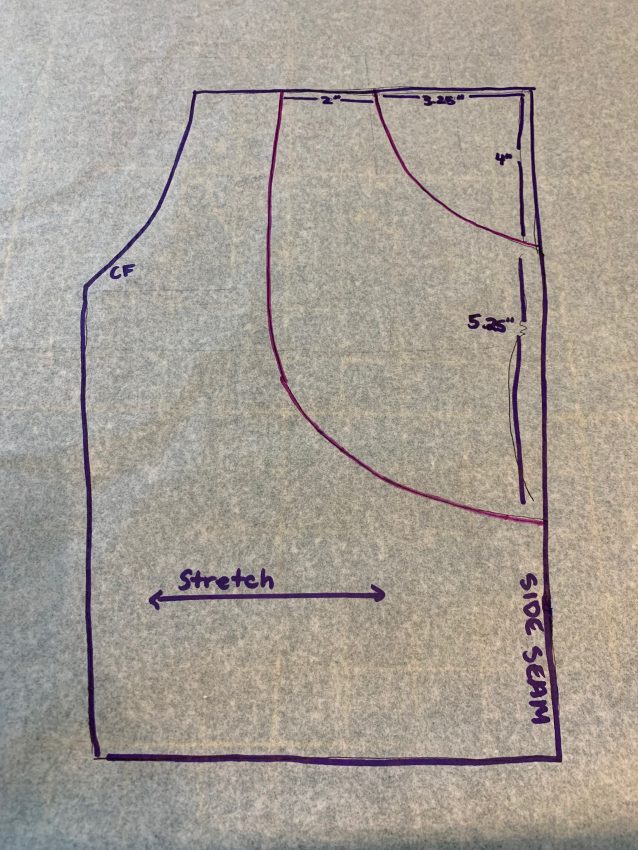
Step 1:
Grab the front pattern piece of your leggings. Cut out a scoop shape. Mine ended up being 3.25″ over toward the center front from the side seam, and 4″ down. This is the part you’ll fit your hand into, so make sure it’s big enough for your hands, while not being so large that it gets too close to the crotch seam. Mine ended up with the following measurements. You can use these as a guideline, but they may differ by size.
![]()
![]()
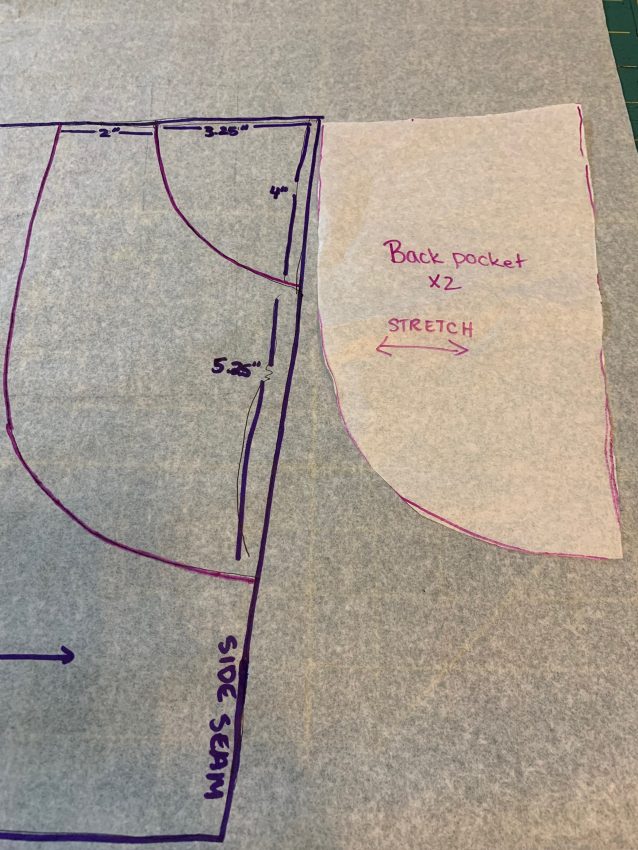
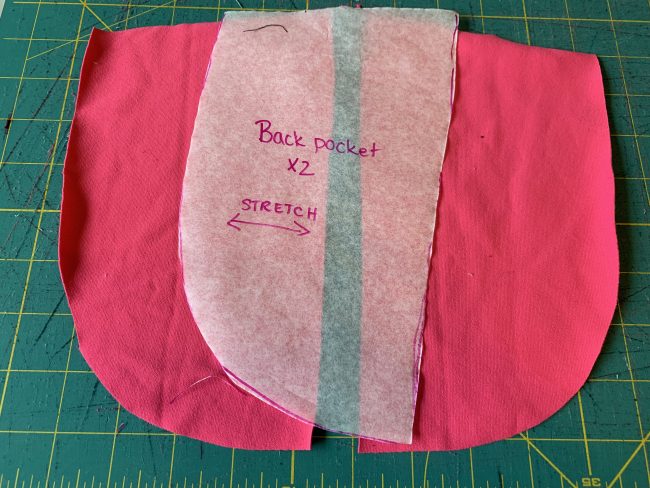
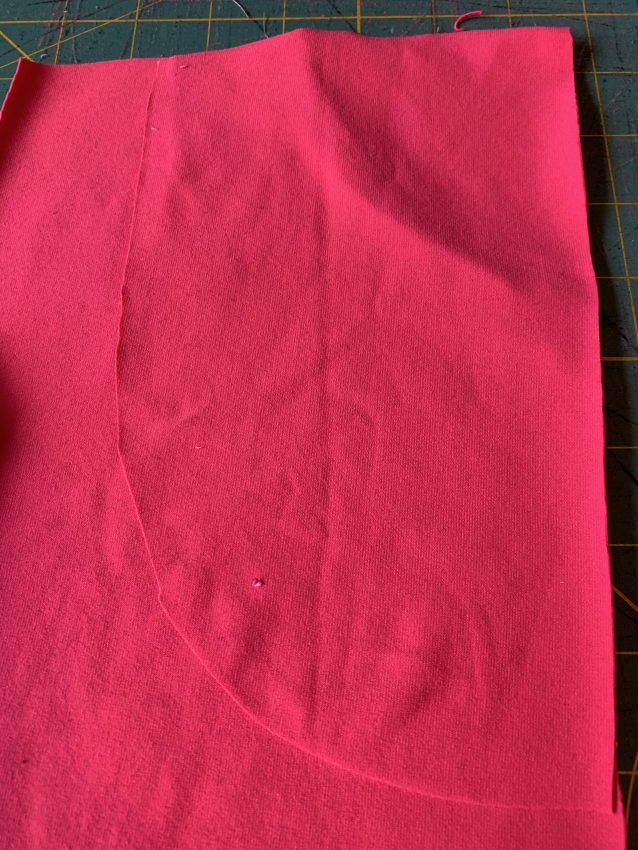
Step 2:
Create your back pocket piece. This is where you might have to eyeball it a little, but mine measured 5.25″ down from the top of my cutout curve and 5.25″ over toward the center front seam. The back pocket piece should go all the way to the side seam. Use the french curve to get a nice even curve at the bottom.
![]()
![]()
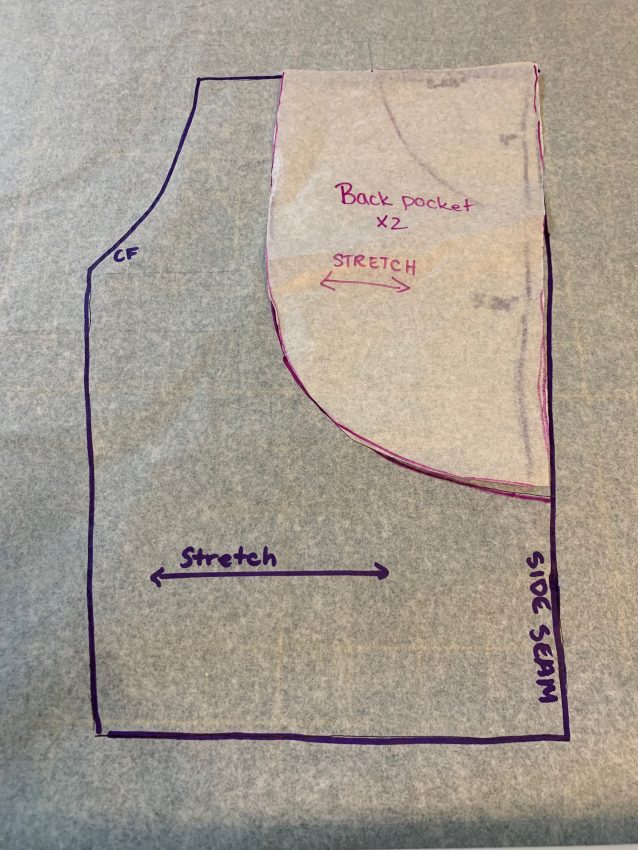
If you plan to put your phone in the pocket, now is a good time to place your phone over these pieces and see how it might fit. Mine fits with just a corner peeking over the top.
![]()
![]()
Step 3:
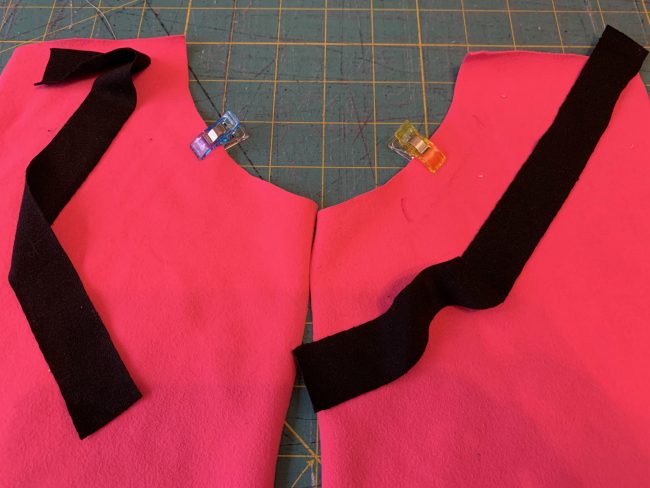
Cut out your pattern pieces- 2 fronts (mirrored), 2 pocket pieces (mirrored- shown) PLUS two binding pieces. I used black for my binding for contrast. Make sure to mark the center front or pocket edges somehow- once your leggings pieces are cut out, they can be difficult to distinguish!
Cut the binding at least as long as the length of your scoop pocket opening- you’ll stretch it slightly as you sew it on, but the original length will give you something to hang onto from the front and back as you sew it on.
![]()
![]()
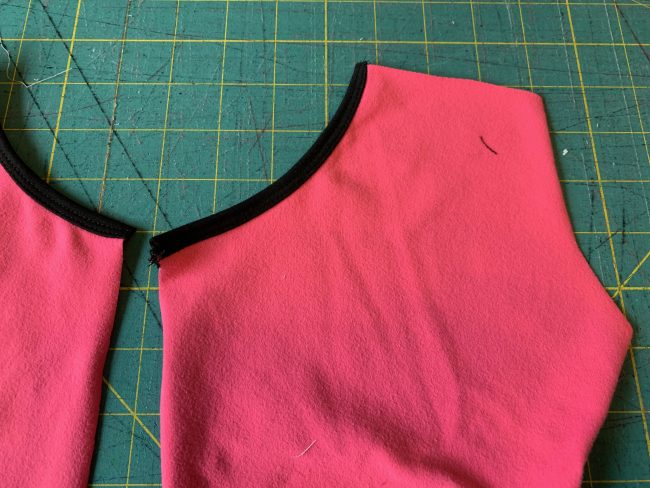
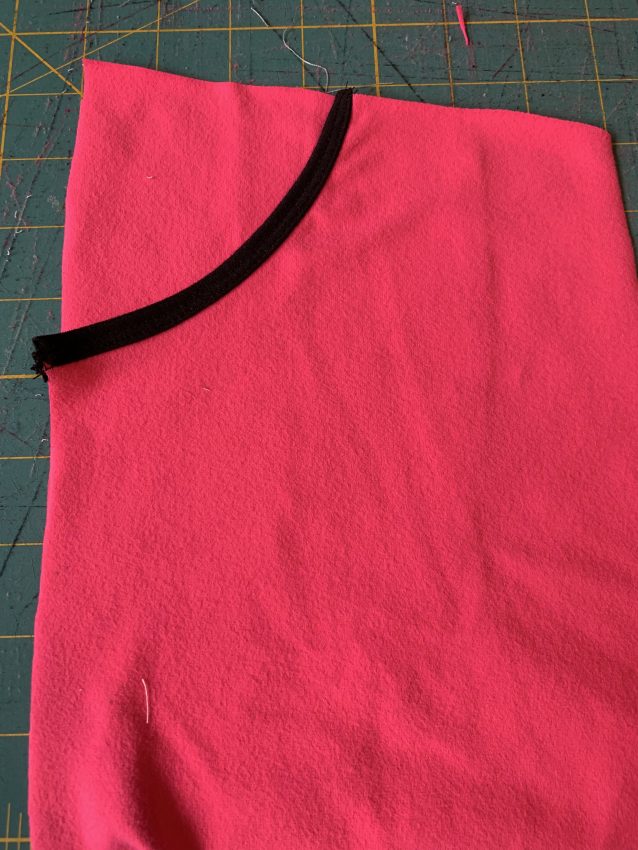
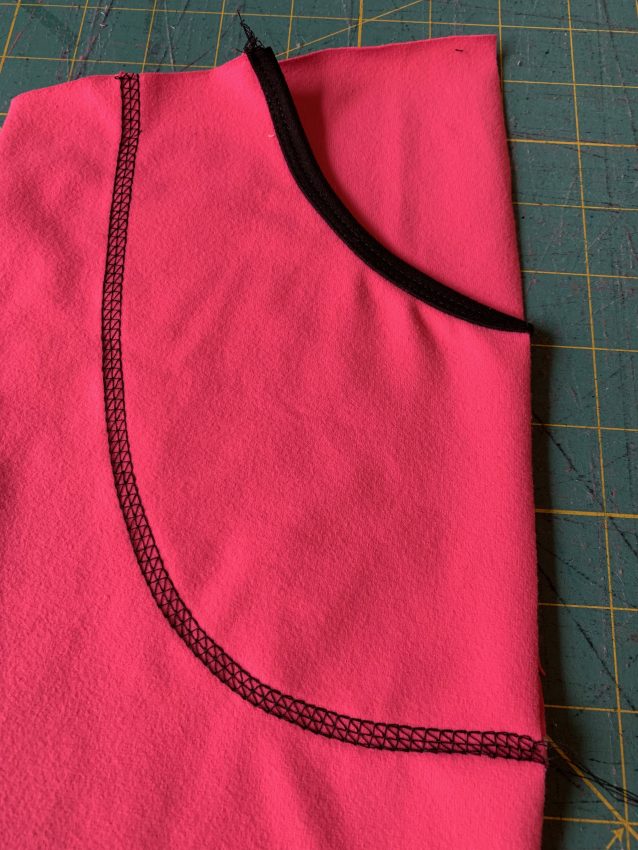
Step 4:
Start by applying your binding ot the front scoop. I use this method (click for video/photo tutorial) to apply my bindings- its a single fold and really easy to do. I like to serge mine on, and then use a cover stitch on top, but you could also topstitch with a sewing machine.
![]()
![]()
![]()
![]()
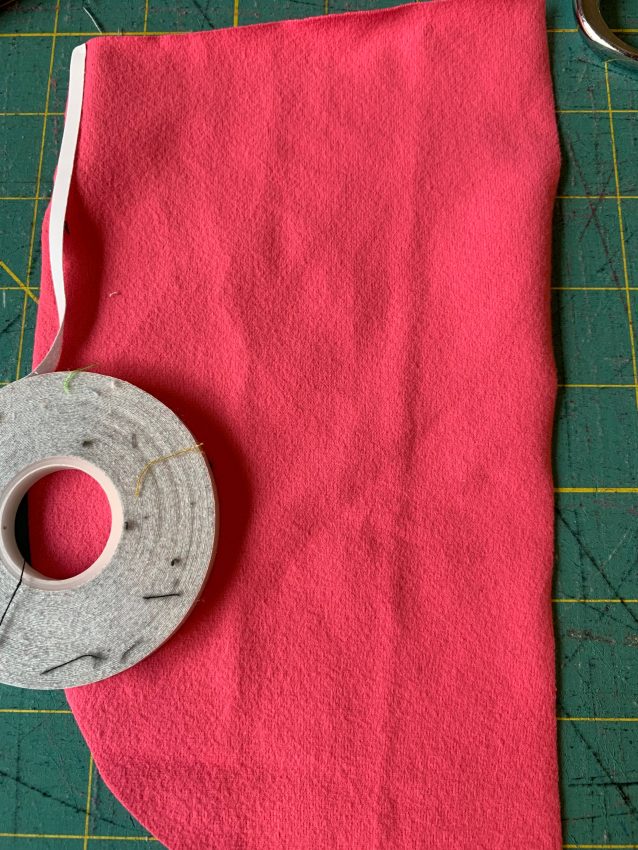
Step 5:
Using your wonder tape (or an army of pins), run a strip along the curve of the pocket piece. Peel it off so it’s sticky, and then position the pocket piece behind the front leg, with the right side of the pocket piece to the wrong side of the front leg.
Yes, my wonder tape has picked up every stray piece of lint out there. Fortunately, its still functional.
![]()
![]()
View from the right side:
![]()
![]()
View of the pocket on top from the wrong side of the leggings:
![]()
![]()
The wonder tape will hold it in place while you sew. I like to use my reverse coverstitch so I can sew from the wrong side and be sure I’m lining up my stitches perfectly with the curve of the pocket. You can also do this on a sewing machine- sewing from the wrong side just makes it easier (be sure to use a stretch stitch and matching bobbin thread!).
Step 6:
Flip your front leg right side up, and admire your pocket! Baste the top and side edges down, and proceed with constructing your leggings.
![]()
![]()
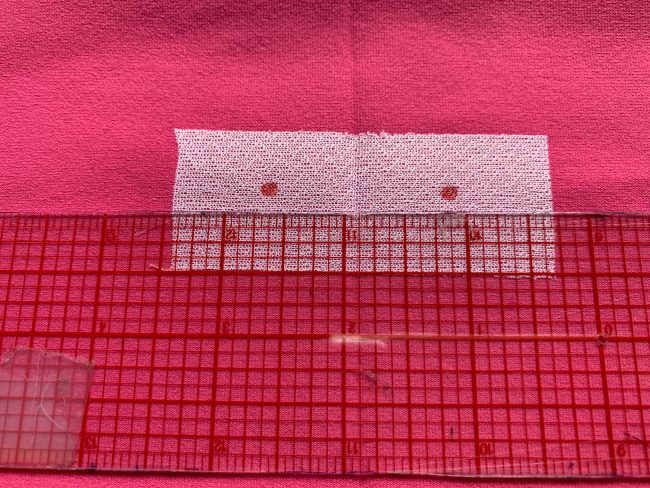
Creating the Drawstring Waist
To create my drawstring waistband, I used the contour waistband that comes with the Inspires, and found the center front of the outer waistband piece (tip- iron it in half to find the center front!). I measured an inch to each side, and applied a piece of fusible interfacing to the back, and then installed grommets. You can use use buttonholes instead, if you don’t have a grommet press.
![]()
![]()
Finally, I inserted my drawstring ( a piece of twill tape, because I was feeling lazy!) using a safety pin and tied it in front!
Creating Cuffs
![]()
![]()
I created cuffs for my black pair of Inspries. I didn’t have enough fabric to do this wtih the pink version, but if you put all these little hacks together, you’ll end up with the perfect pair of leggings/joggers!
I don’t have any photos for this part, but you would want to cut your leggings at the crop line (the inspires have this labeled, or measure down to where your ankle hits), and measure the ankle opening.
Multiple this by .80, and add a seam allowance x2 ( I prefer 3/8″, so add a total of 6/8″).
Cut a rectangle that is this width, by 6″ high (with the stretch going across the width).
Fold the cuff right sides together, and sew along the horizontal seam (opposite of the stretch), then fold the cuff wrong sides together. Do this for both cuffs, and then sew them to your leggings!
Well, that’s it for the leggings/jogger hack- I hope it was something you’ll use! There’s nothing better than seeing my hacks out in the wild, so please give me a tag if you make them up! If you want to follow along for more hacks, you can catch me on Instagram here, or subscribe to my blog!
Note: This post contains affiliate links. Thank you for your support.
Yesssss girl!! I love it!! That ironing tip is awesome to easily find the half point and I always use wonder tape on my brassie pockets like that thanks to your brassie sew along!! Cant wait to try this!!
I love this. Thank you for telling us what fabric you used and where you got it. Picking out fabric is the hardest part of sewing for me and you make it easier.
I’m glad thats helpful! Its exactly why I try to link everything- seeing fabrics sewn up is so much better than looking at website listings!
I love the Inspires hack with the pockets! Did you make your waistband wider than the pattern calls for? Or did you take it from another pattern? I’m thinking of doing a pair but in yellow and black:>
I used the stride waistband, which is a higher rise.
Hello Sarah! You’re an inspiration to me for venturing into the world of making my own leggings! I hesitate for many reasons but no more- I’m ready to join your obsession! What pattern would you recommend for a newbie? Thanks and btw, your blog is looking fab:)
I would highly recommend the Greenstyle Inspires. I’m working on a leggings comparison post, but I hosted a sewalong for them (search the blog for inspire sewalong) and they are simple and fit many people really well. Good luck!