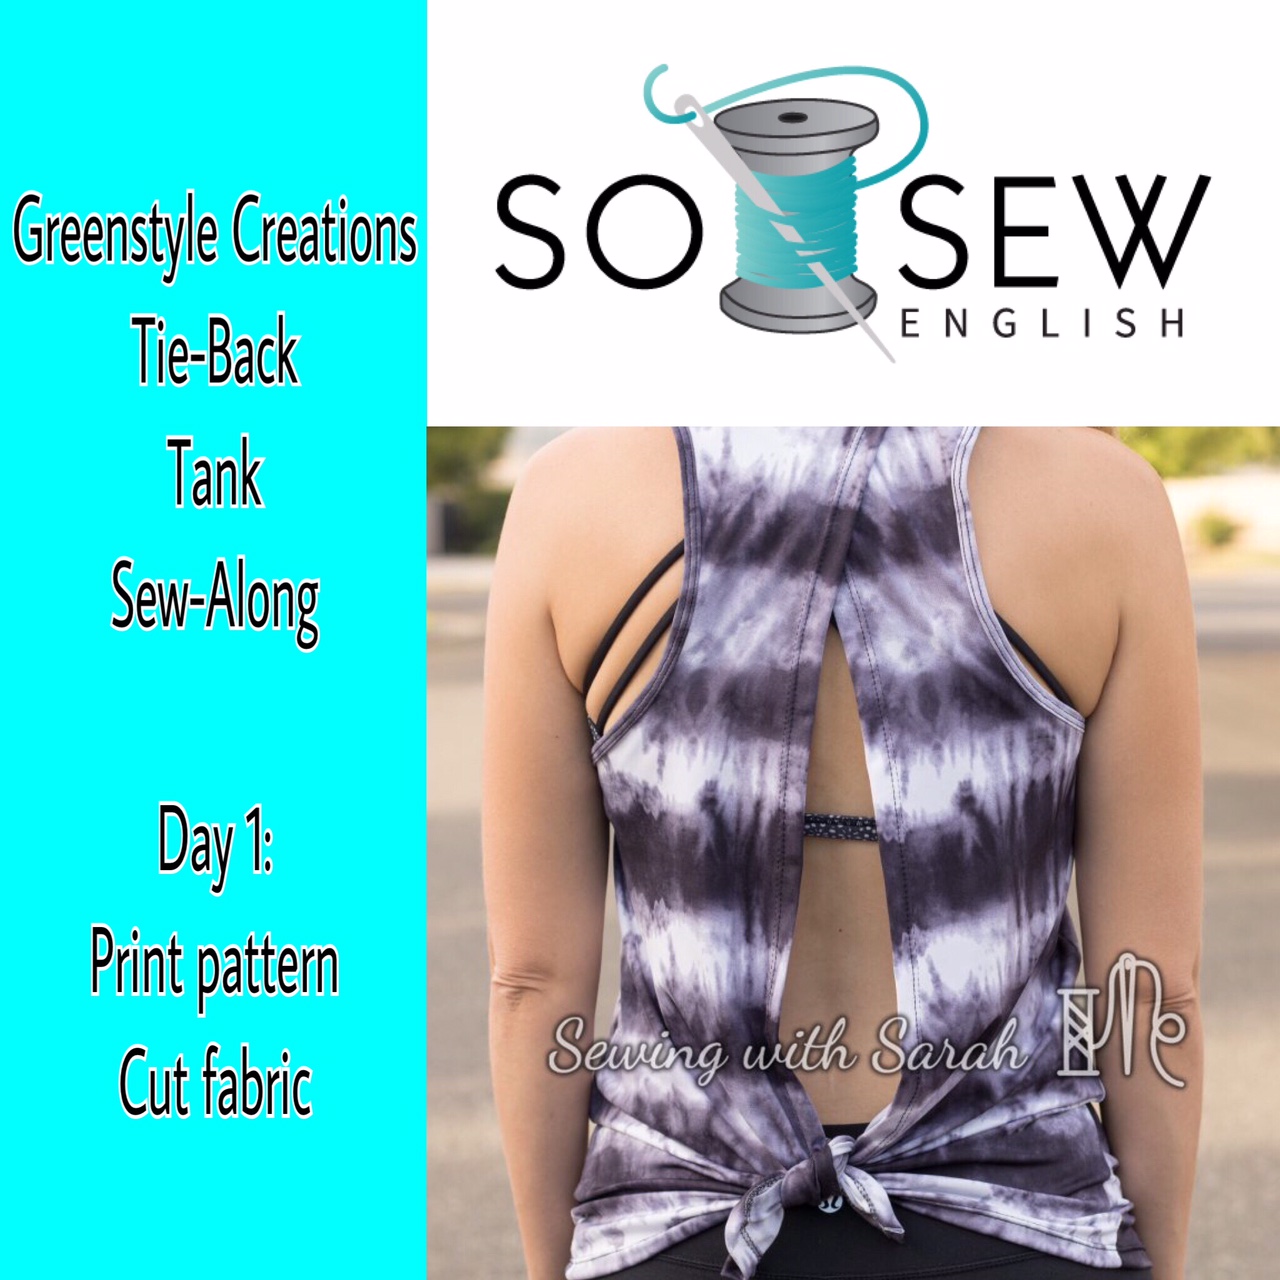
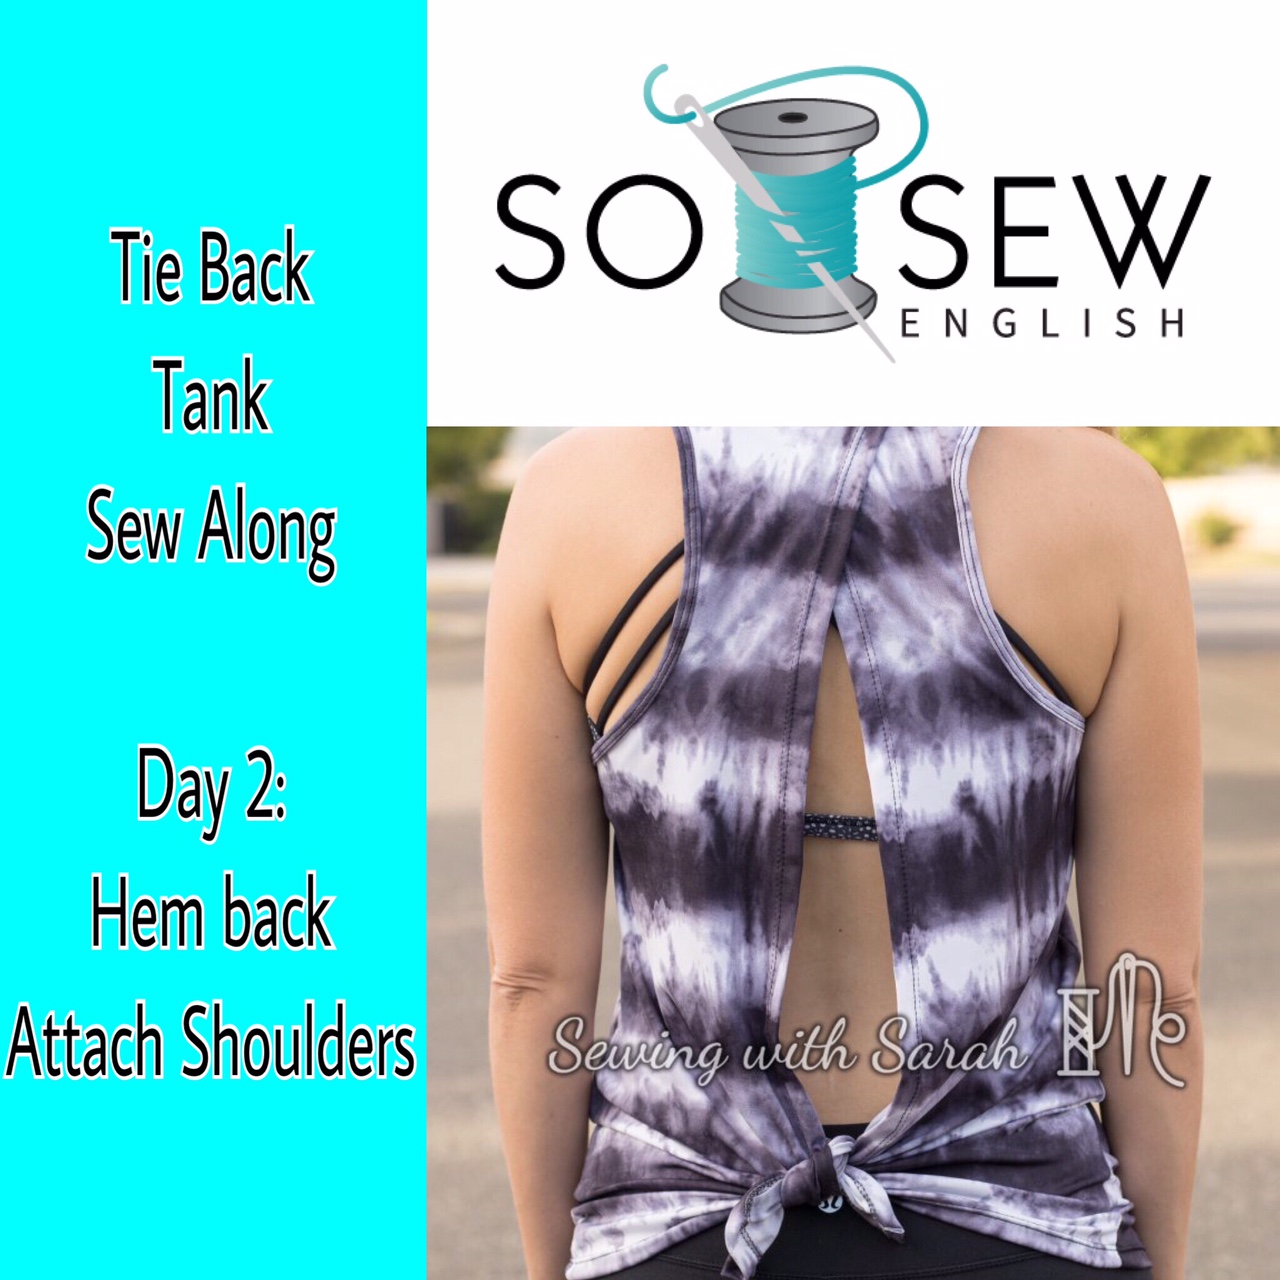
Tie Back Tank SewAlong: Supplies and Options!
![]()
![]()
![]()
I’m excited to be offering a SewAlong for the Tie Back Tank by Greenstyle Creations (blogged previously here) this week over at So Sew English Sew-A-Longs (did you know they have a seperate sewalong group where all the cool cats are at?).
Note: TODAY is the last day to grab your pattern for 25% off (code in the pinned post of the Sew-Along group).
Unlike my previous sew-alongs (check them out HERE), I’ll be doing a recorded video for each step! That means there is plenty of opportunity to ask questions and get step by step instructions on every aspect of the pattern. PLUS, I’m going to be giving away some yummy SSE fabric and TWO free patterns from Greenstyle Creations! I mean really, how can you resist?
To start us off, I want to point out a few pattern options that you will want to consider when making your Tie Back Tank:
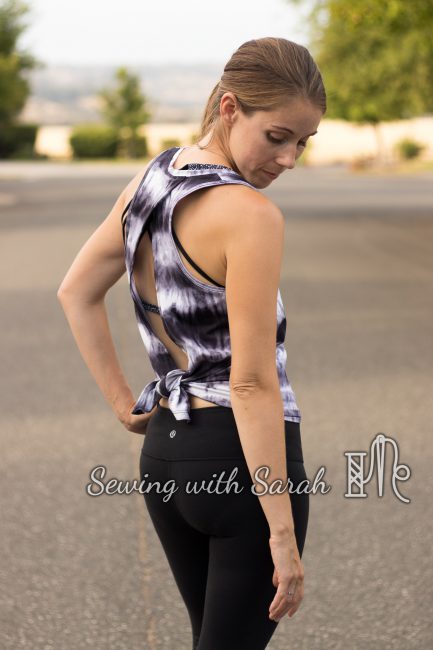
- High or low neck? The high neck is pretty high, designed to sit at your collarbone. The “low” neck is still pretty high, as far as modern standards go. This is the LOW NECK version:
![]()
![]()

- Bands or Binding? I did bands on my first tank (the striped one above), and binding around the armholes of my second. While binding may feel like a more advanced technique, the method used in the pattern is my preferred way of applying it for a quick and professional looking finish- so don’t be intimidated!


- Cropped or full length? Greenstyle drafts for a height of 5’7″- a whopping 5″ taller than me! However, thanks to my long torso, I don’t adjust this tank at all, and find it to hit perfectly about an inch below my low hip. The cropped version can be adjusted to your preference- just take out a couple inches in length! A general rule of thumb is to remove/add 1/2″ for every 1″ shorter/taller you are than the pattern standard.
- Overlapped or tied hem? This can be decided at the very end, so no need to make a commitment now! You can also just leave it open for a little air conditioning!
![]()
![]()
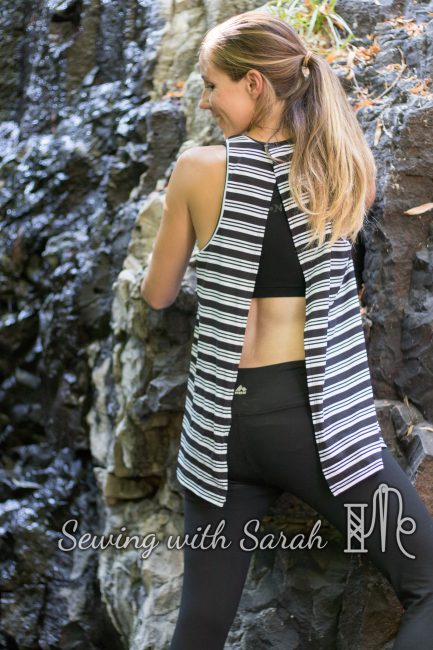
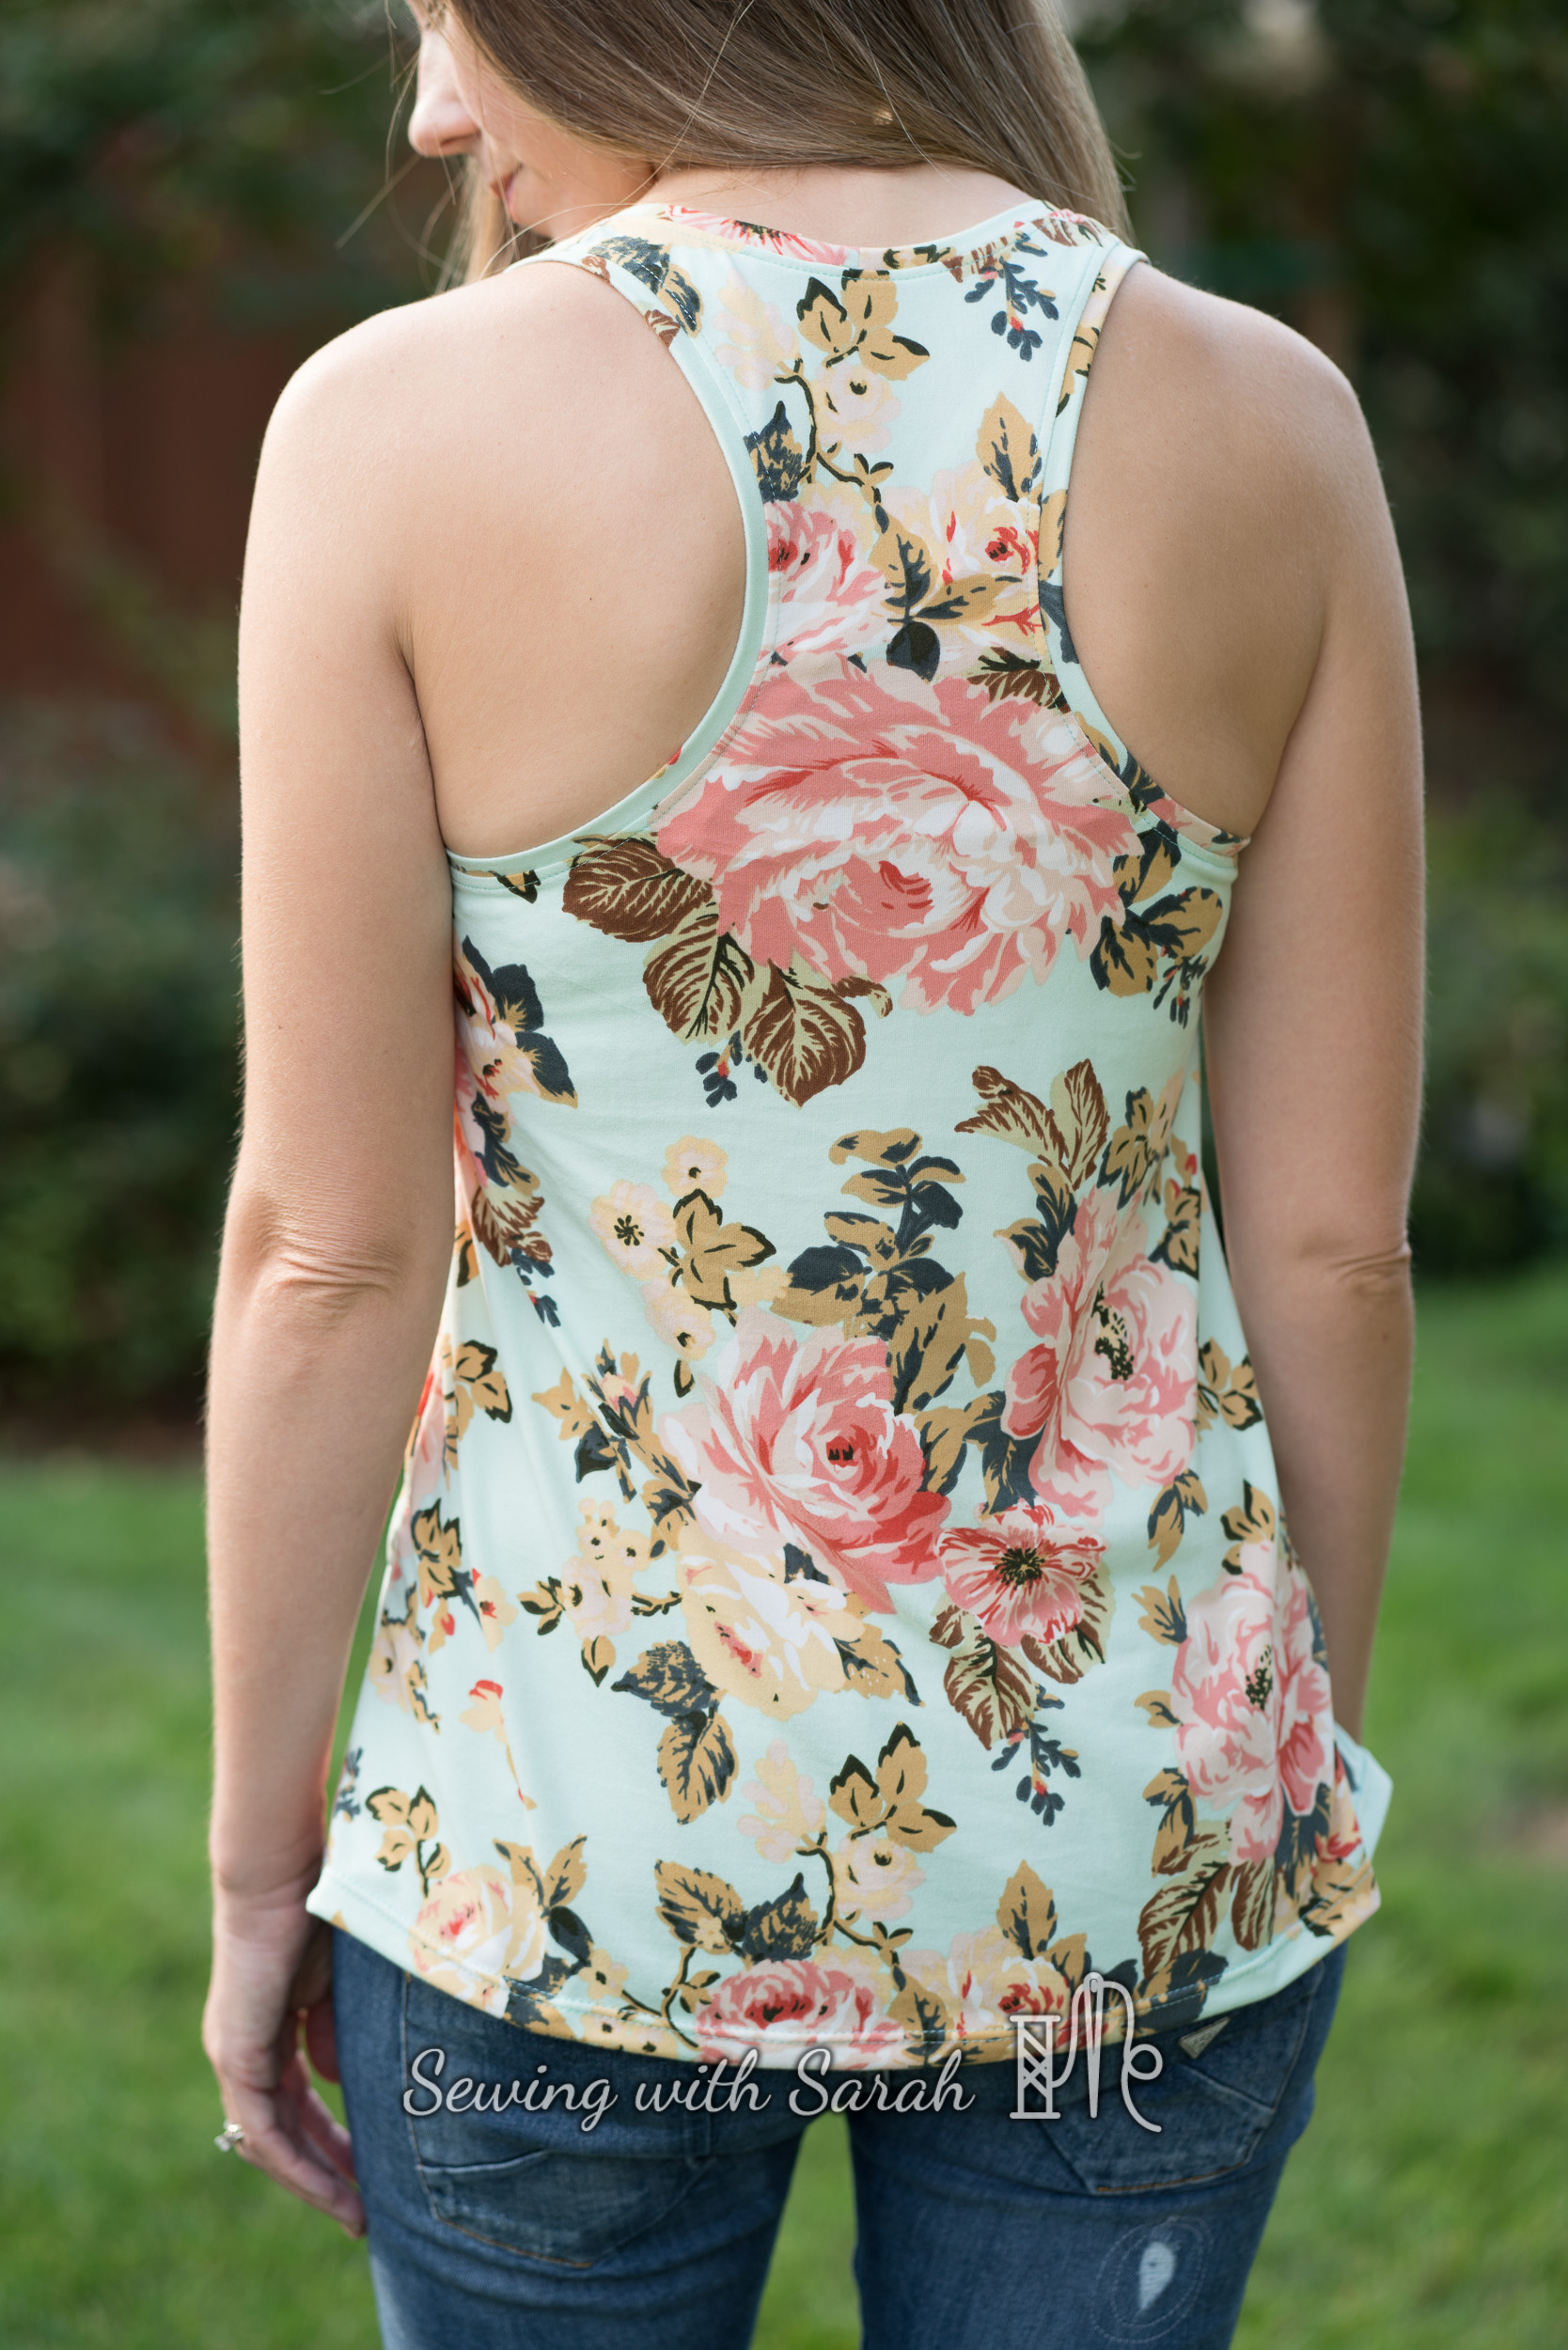
- Full back or racerback? I love the racerback version, but you can opt for more back/delt coverage if you wish.
Fabric and Supplies
- This pattern requires fabric with 50%, 4 way stretch. I demonstrate that in my video- and Greenstyle includes a handy stretch test chart on page 3 of the pattern. This stretch is especially important for the neck and arm bindings.
- Here are some suggestions: cotton lycra, performance fabrics, rayon spandex, ITY, brushed poly
- Ballpoint/stretch needles
- Matching Thread
- Tracing paper (for the hacks, or to trace your pattern). I like the medical exam paper here.
- Rotary Cutter – I have the Olfa brand
- Sewing machine/serger
Hacks! You know I can’t resist a good hack! I’ll be sharing a FULL BACK VERSION (no split):
![]()
![]()
![]()
![]()
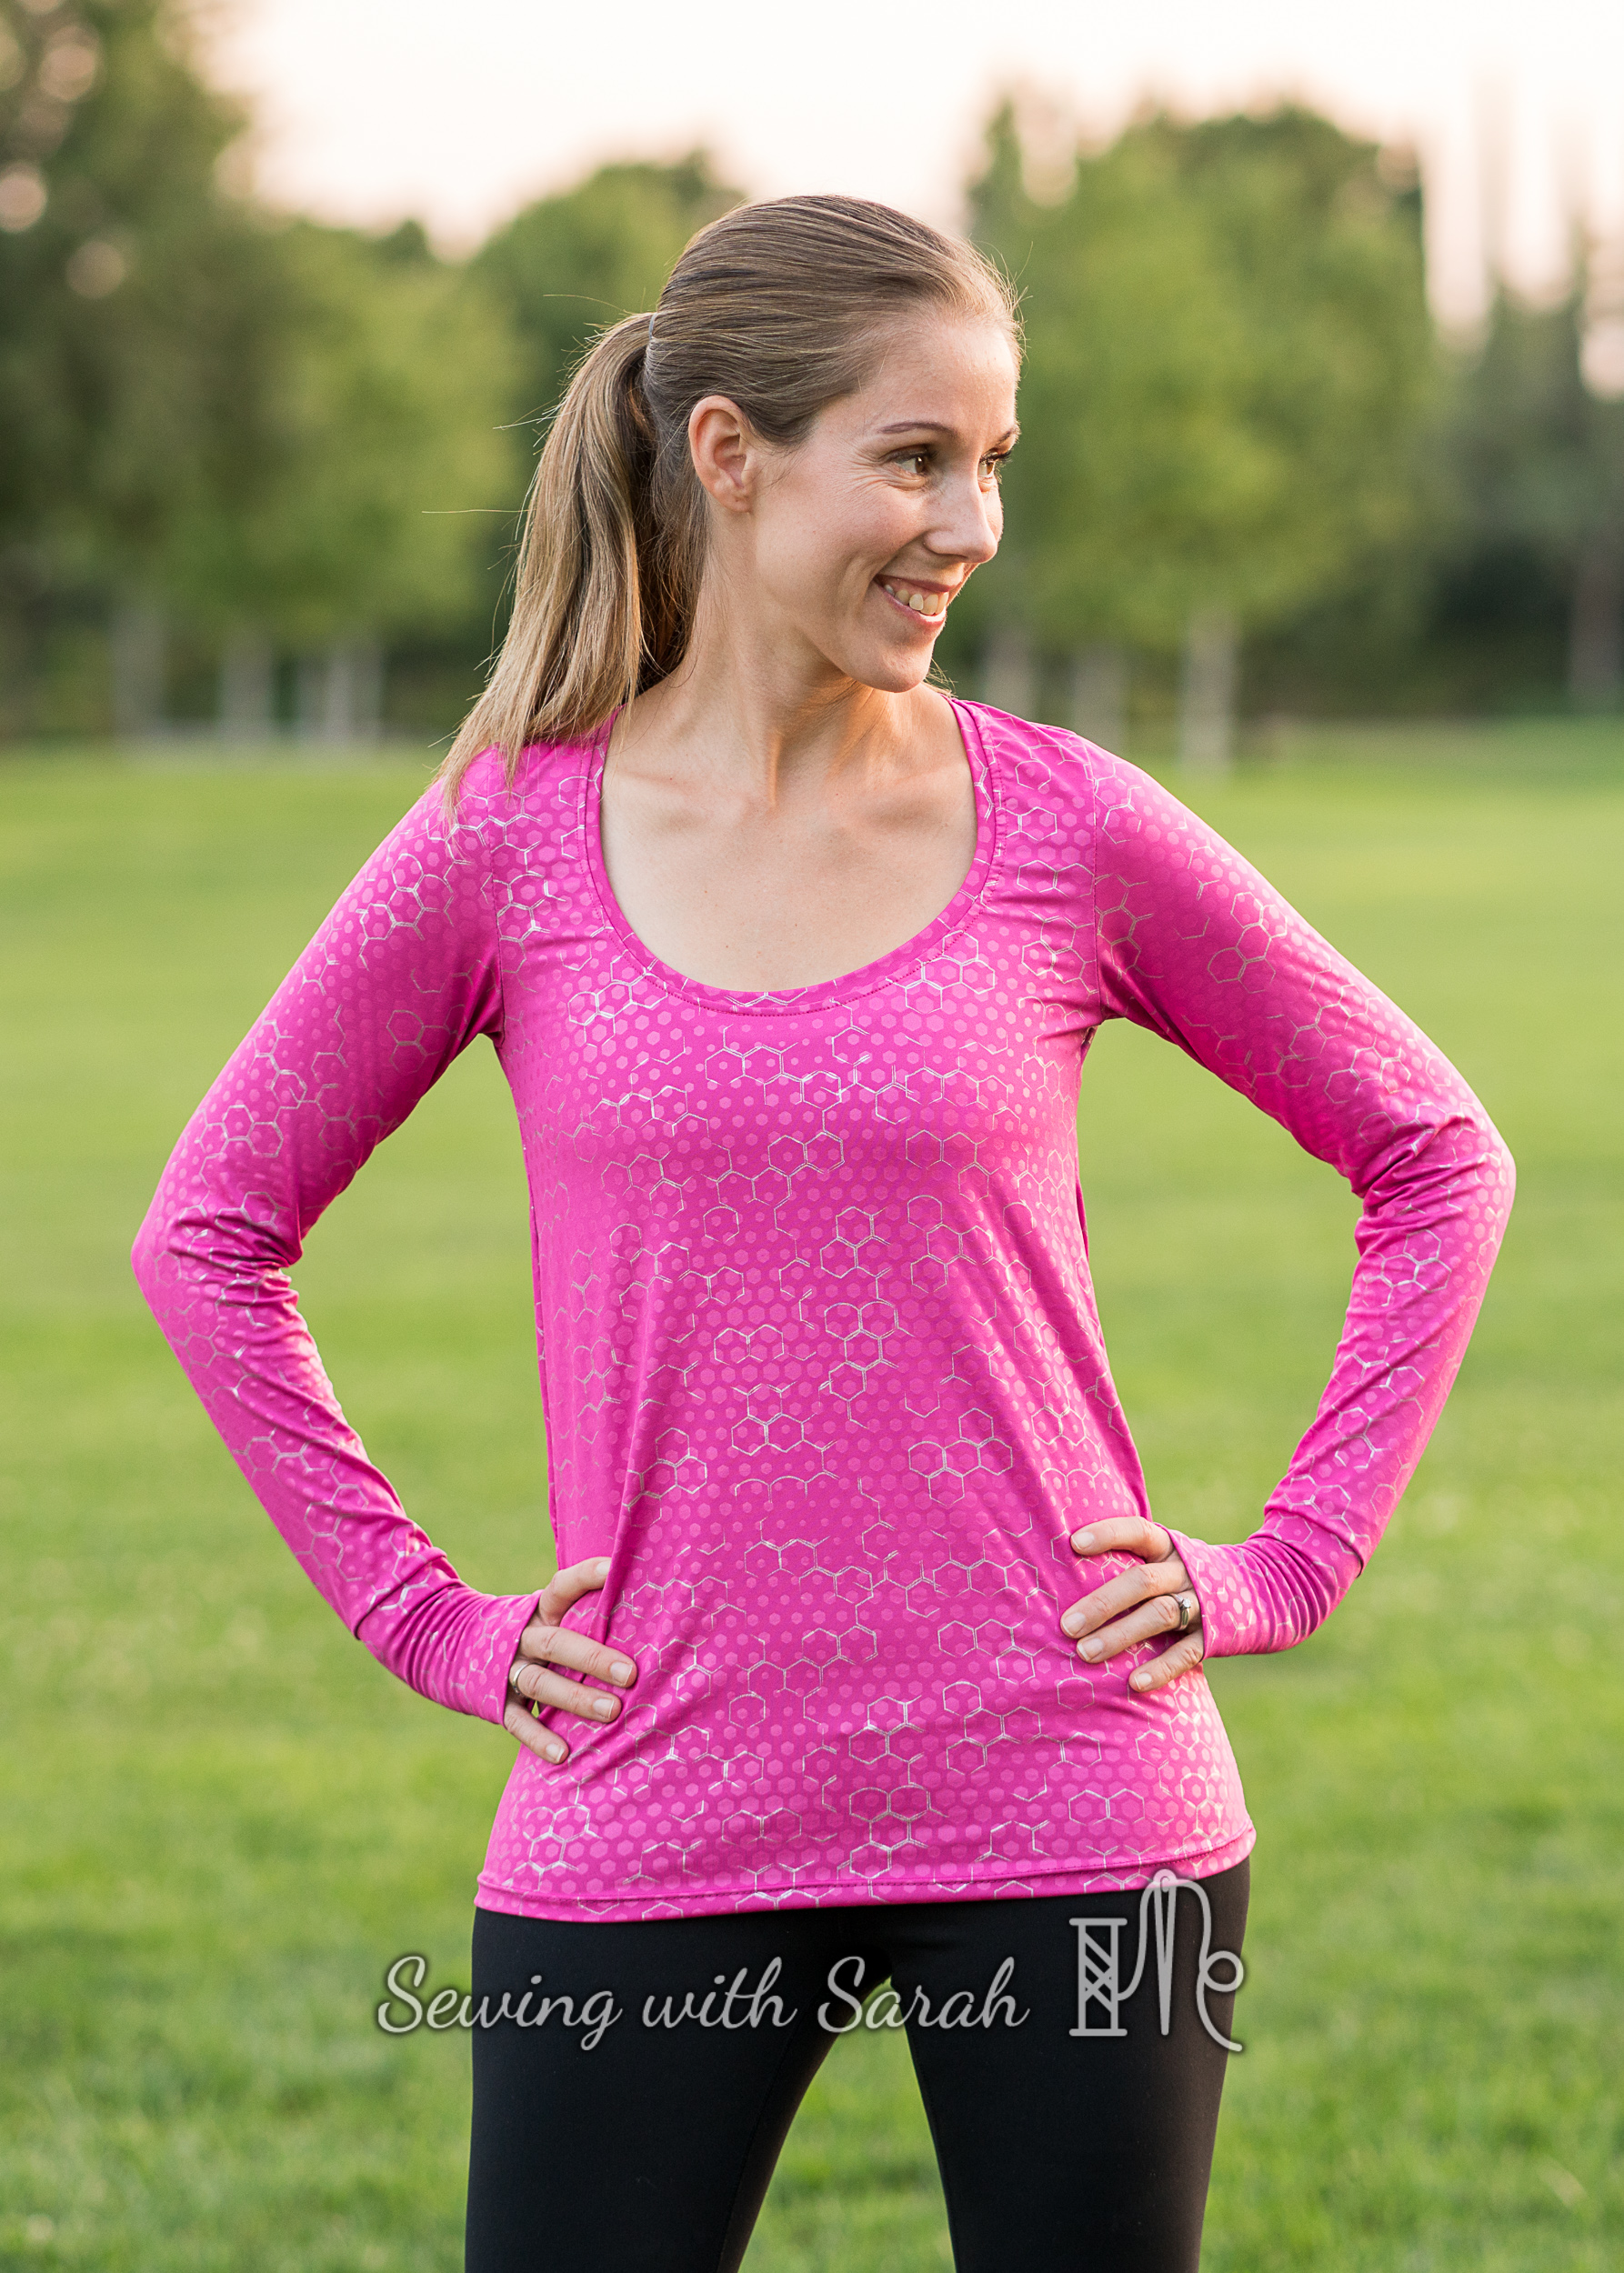
and a LONG SLEEVE VERSION:
![]()
![]()
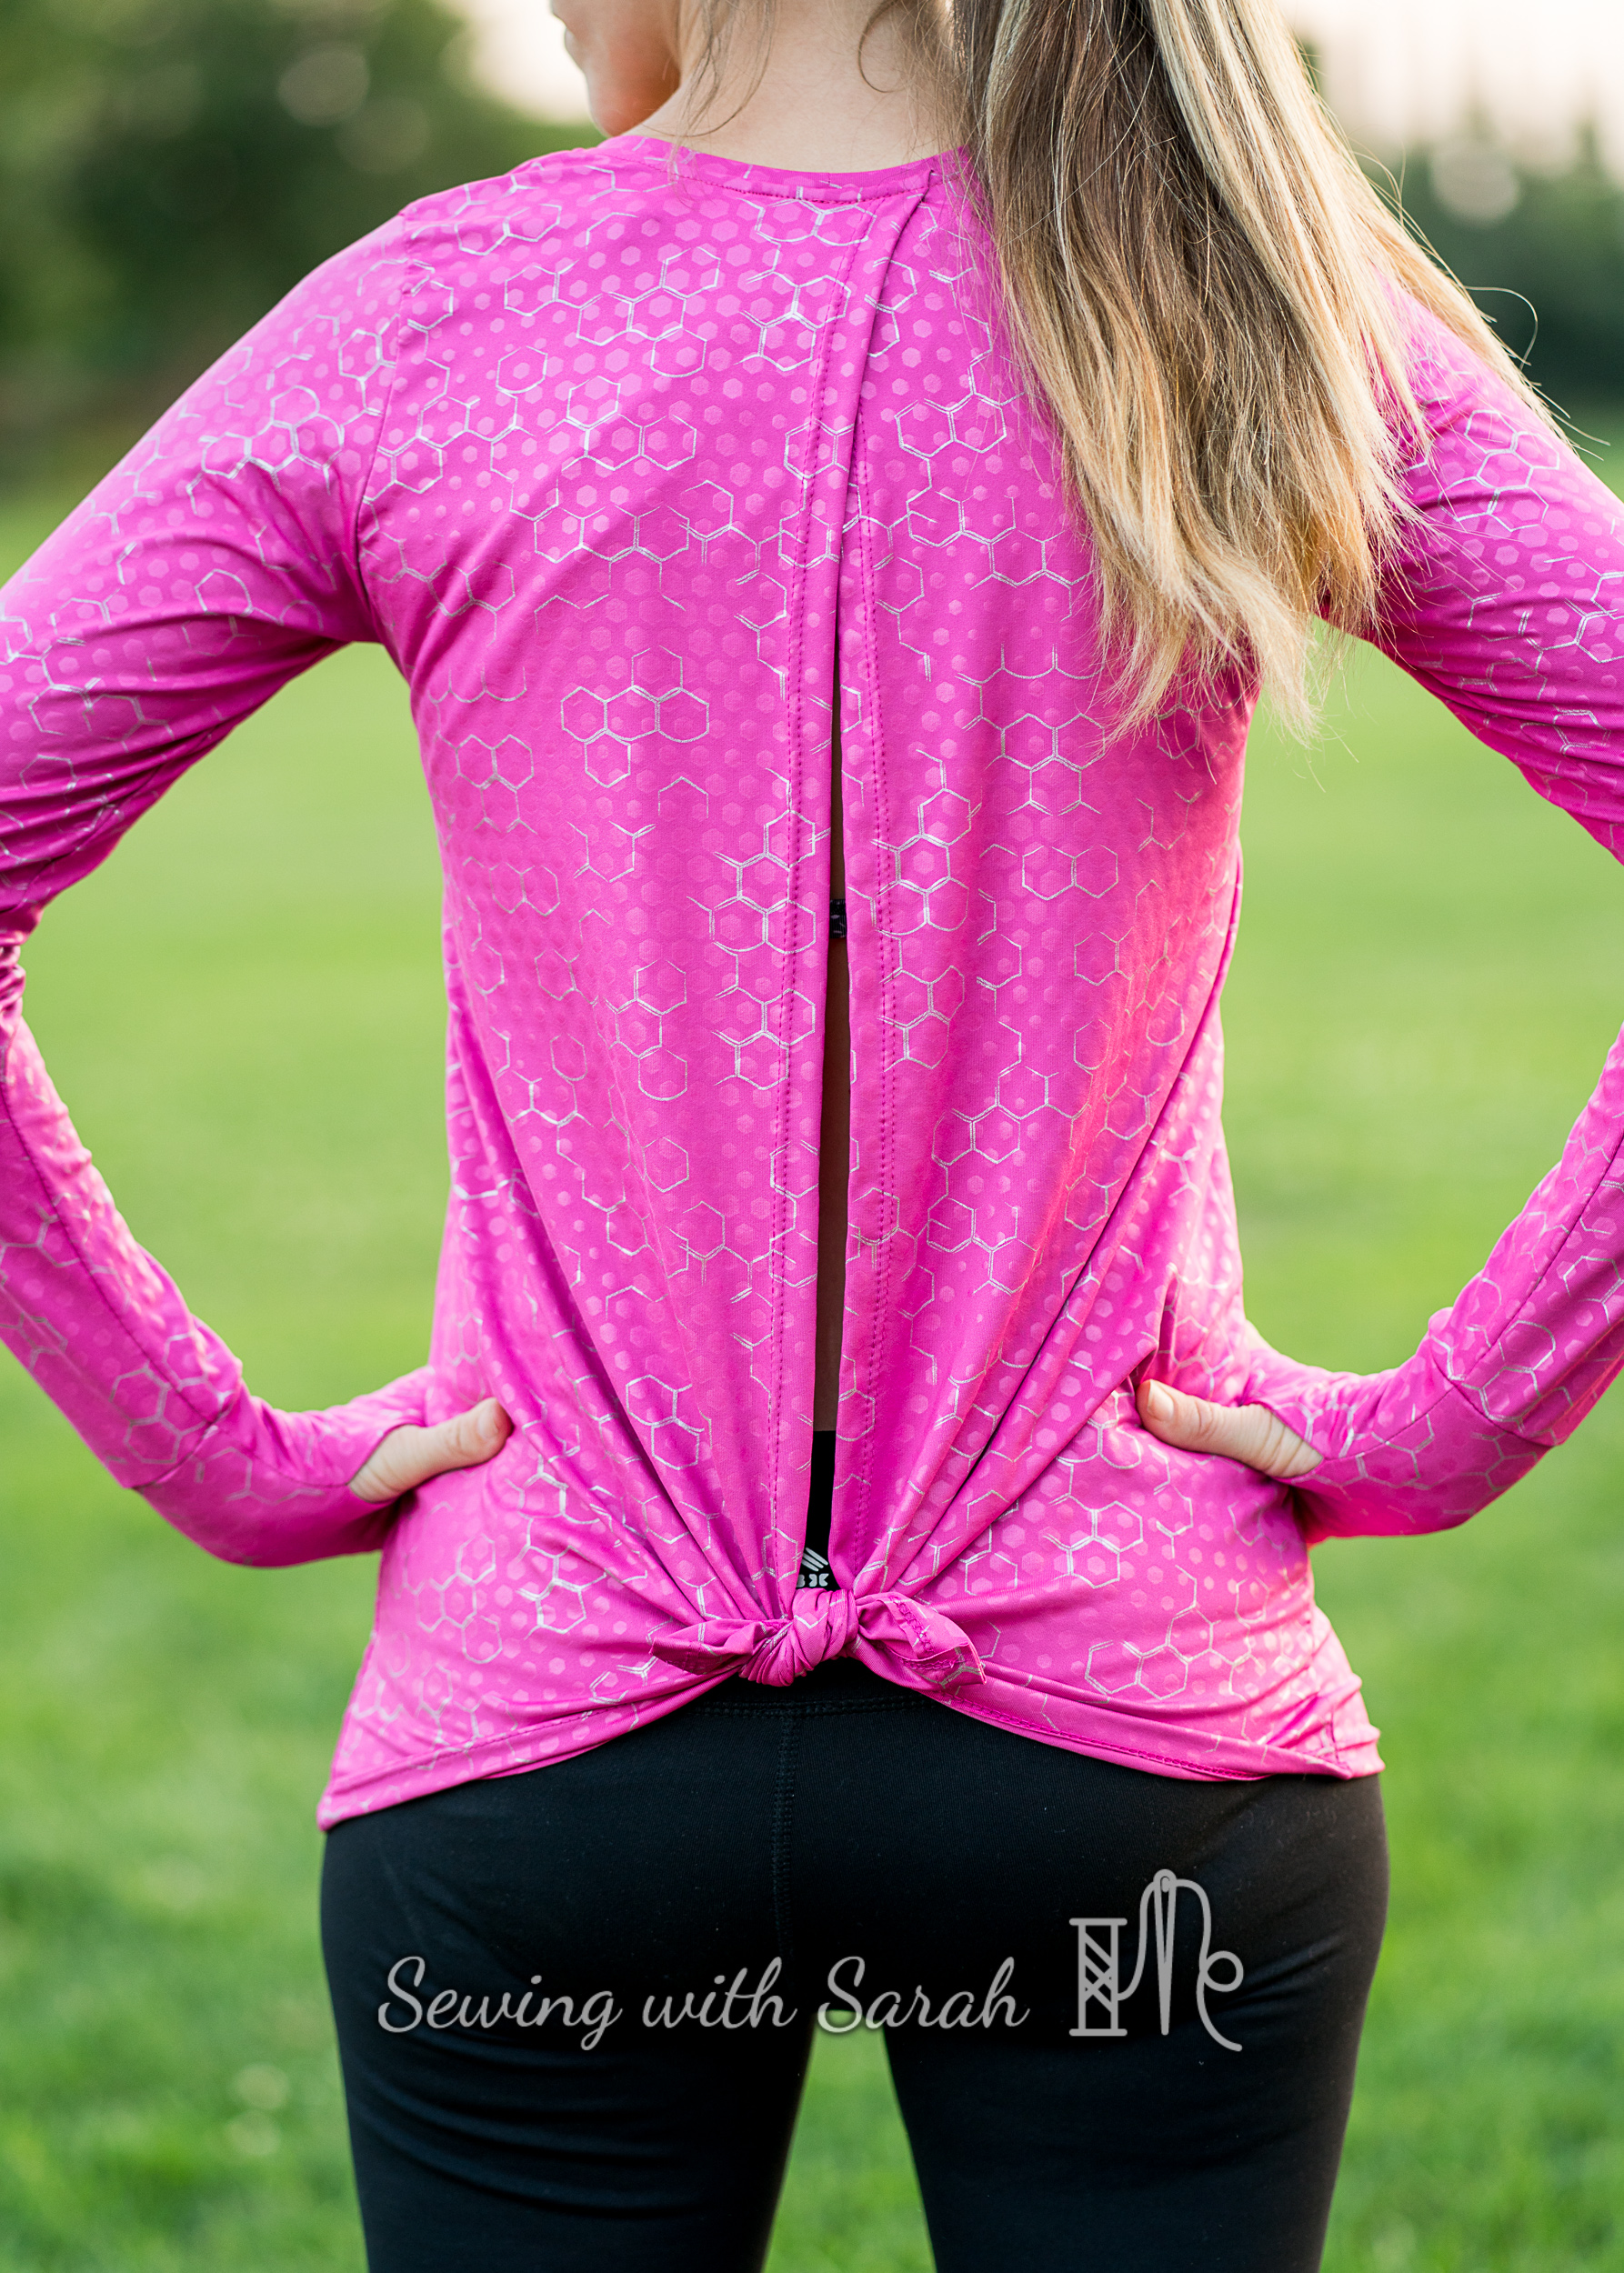
![]()
![]()
I can’t wait to get started sewing along with you, and encourage you to ask questions here or in the SewAlong group as they come up! I always learn something new during sewalongs (last time I learned how much fabric I let go to waste!) and LOVE seeing all the unique versions sewn up by participants!
Visual Learner? Check out my video with all this information and more!
If you want to work ahead, here is the visual version of the schedule:
![]()
![]()
![]()
![]()
![]()
![]()
![]()
![]()
![]()
![]()
Don’t forget to follow me on Facebook and Subscribe to my blog so you don’t miss a thing!
Note: This post contains affiliate links. You wouldn’t believe the amount of time it takes to do a sew along- and funds from the link help encourage me to do more (at no cost to you of course!)
[…] Yesterday, we discussed pattern options, supplies, and fabric choices! (read that post here) […]
[…] Pattern Options, Fabric, and Supplies […]
[…] Pattern Options, Fabric, and Supplies […]
[…] Pattern Options, Fabric, and Supplies […]
[…] Pattern Options, Fabric, and Supplies […]