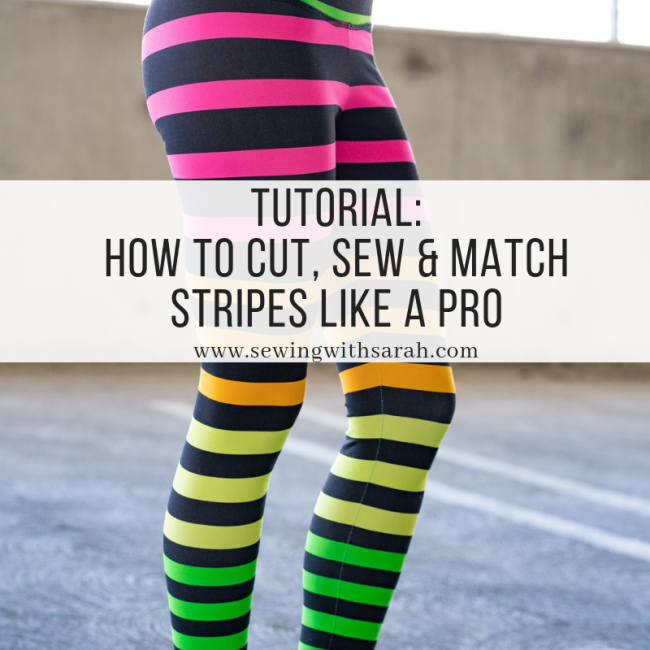
Tutorial: Cutting & Sewing Stripes for a Perfect Finish
![]()
![]()
Confession Time: I LOVE wearing stripes. They’re a great way to add visual interest, a second (or third, or fourth) color to a basic wardrobe staple, and can be sewn in so many different ways (color-blocked, on the bias, etc.).
BUT, ( and this is a big but)….I haven’t always loved sewing them. My perfectionist side demands perfect alignment, and that can take some extra time and attention, two things I don’t always have in abundant supply when I finally get to step inside my sewing room at night after the kids are in bed.
As a beginner sewist, I was especially lost with stripes- how should I cut out my fabric so they would line up, especially across tricky spots like curved seams? Why did they shift out of alignment every time I started sewing? These were questions that dogged my early attempts at sewing striped garments, and had me hesitating every time I went to put a striped fabric into my cart.
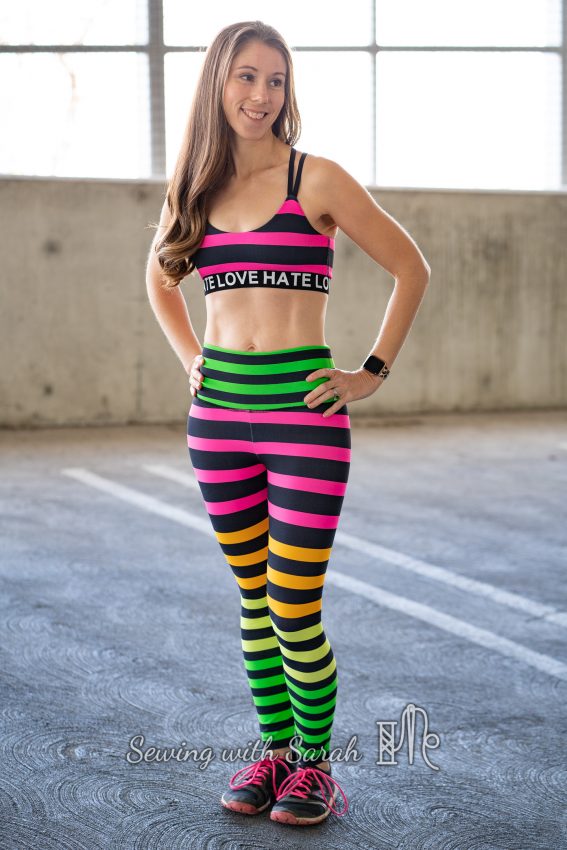
As I sat down to sew the awesome striped Supplex fabric from The Styled Magnolia, I realized that I have finally overcome most of my fears related to sewing stripes (installing a zipper in a striped garment still takes some doing, though!) and I wanted to share some of my tips and tricks with you, so you can enjoy the process as well!
![]()
![]()
So, I’ve put together a little tutorial for you, demonstrating how I cut and sew stripes. Do I match them perfectly 100% of the time? Nope. Sometimes, you just gotta let go a little bit (Sing it with me (and my three year old!) LET IT GOOOOO LET IT GOOOO BE ONE WITH THE FABRIC AND STRIPES>>>>).
Okay, now that we’ve got that out of our systems…
I’ve done this tutorial in two parts- a video tutorial for cutting (sometimes its easier to show than to explain), and a photo tutorial for sewing them. Hopefully you find both helpful!
Step 1: Cutting
I’m sharing some written tips here for you, but be sure to also catch it all in action in the video linked at the bottom!
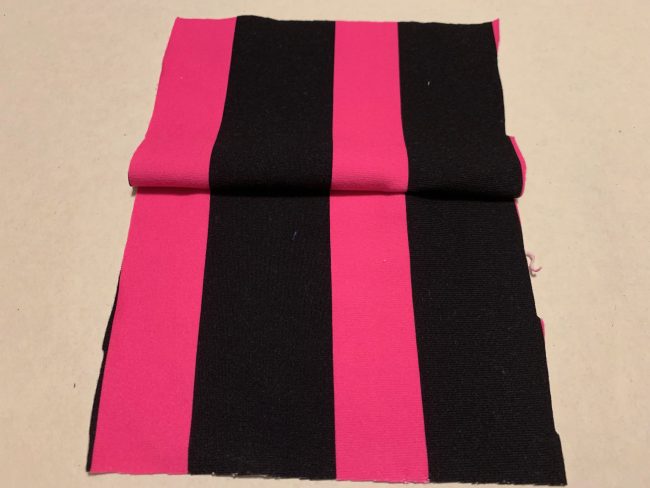
Before beginning, take a deep breath, grab a glass of wine, do whatever it takes to get into your stripe matching zen. Then, lay your fabric out flat, right sides up.
There are two kinds of stripes in the world- yarn dyed (stripes are visible on both sides) and printed (striped on one side, white/plain on the wrong side). Yarn dyed stripes are a tiny bit easier because they are visible on both sides of the fabric, but with the methods below, you’ll achieve succsess.
Whichever type you have, lay your fabric out with the right side facing you. If you have any pattern pieces that are cut on the fold, you will also want to consider tracing them to be full size. I do this when I sew panels too- it’s much easier to center them if you have the pattern piece traced out so it can be cut on a single layer.
If you’re lazy, or your pattern piece is too big, you can get away with marking the center fold line with pins or a washable fabric marker, and flipping it over, but regardless, make sure you aren’t folding your fabric.
As I demonstrate in the video below, I like to draw horizontal lines (perpendicular to the grainline) on my pattern pieces, every few inches or so, to keep my stripes lined up across the piece. For example, if you have a black stripe at the hem on the left side of your leggings, you want the right side to hit at exactly the same spot of your hem.
Tip: If you have a seam where two striped edges will meet (i.e. side seam of a pair of leggings, like the Inspires below), cut the first piece, and then use that piece to help you line up the other piece so that the stripes along that seam will match.
It’s important to remember that because you are trying to match your stripes, you may “waste” more fabric than usual, so it’s always a good idea to order a little bit extra.
Curved seams (like those at the top of the leg) or those that are on the bias can be especially tricky to match- just do your best, and remember you are matching the fabric at the seam line, not at the fabric edge.
Step 2: Sewing
Once you’ve got your stripes all cut out, it’s time for some fun! There are several ways to make sewing with stripes easier.
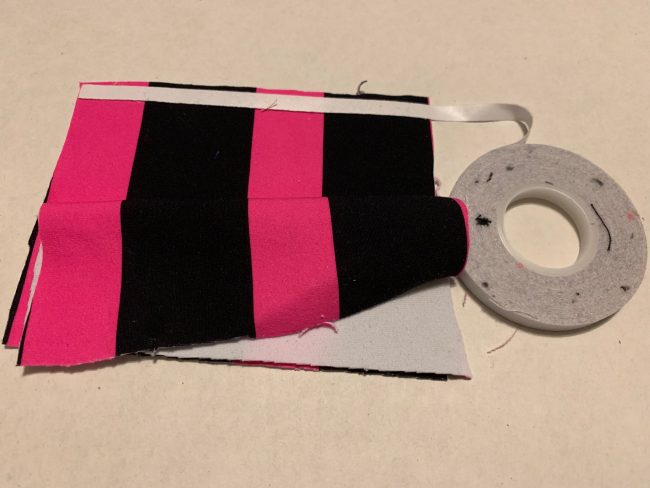
The first method is to use pins or washaway wonder tape to line up the stripes at the seam line.
![]()
![]()
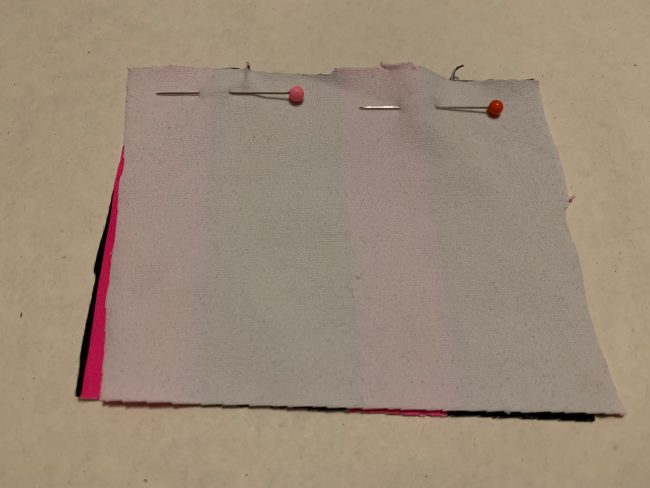
Lining them up at the seam line is key- the cut edge isn’t your best guide as you sew, so be sure to pin your stripes together along that seam line. Wonder tape is really helpful here, if you haven’t used it before!
![]()
![]()
![]()
![]()
If I’m pinning, I like to do that every other stripe, and then continually check as they feed through my serger that the stripes in between are matching up.
The second method is for the more experienced sewists, but goes faster. Instead of pinning things together, or attaching with wonder tape before sewing, you simply feed the fabric through your serger/sewing machine, realigning as you go (usually every other stripe), and peeking at that seam line to be sure things are lining up.
![]()
![]()
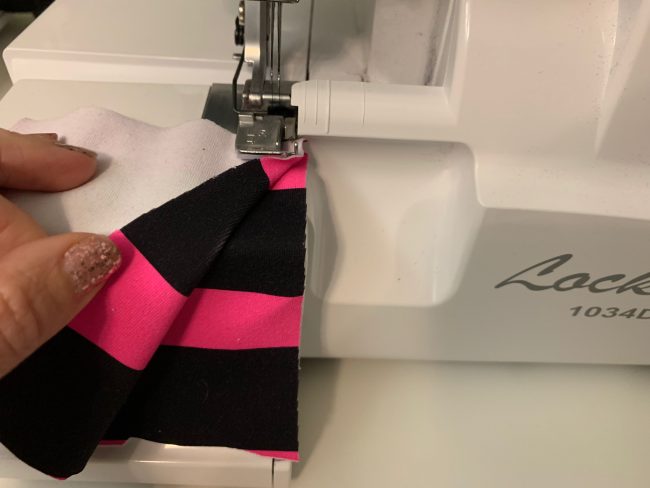
I find that I have to tug a bit on the bottom layer to combat the effect of the differential feed while sewing, but this method is much faster, and, once you get the hang of it, not too hard.
If you’re trying the second method and you mess up, simply removed your serged stitches, and try again, basting first if necessary (basting = using a long straight stitch on your sewing machine without locking out the ends).
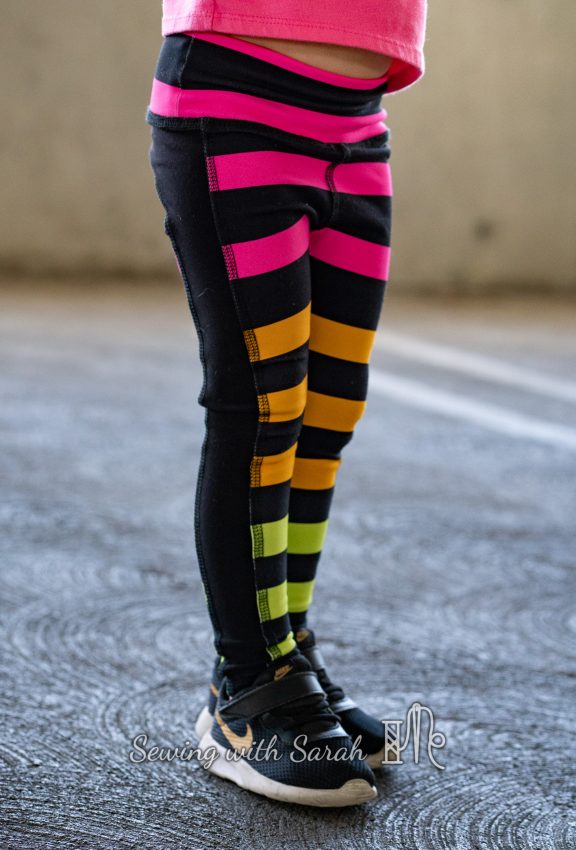
One trick if you’re new to sewing stripes (or just want to take it easy on yourself) is to color-block in a solid color, like on these girls Stride tights, or add a detail in between the seams, like a bias strip or piping (see my tutorial on knit piping here).
![]()
![]()
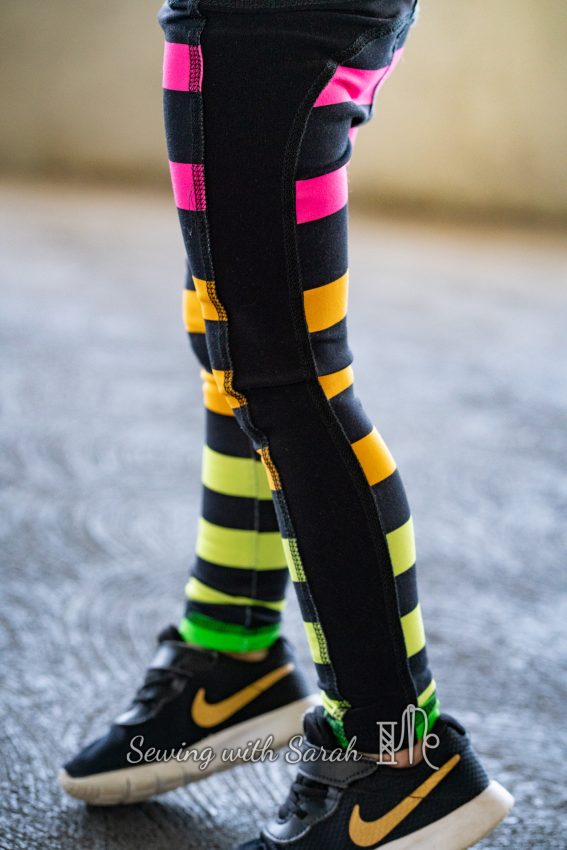
Doing this will help break up the stripes and minimize any disruptions in the continuity of lines. Adding a decorative stitch on top can help here too,
Step 3: Enjoy!
Finally, let go of perfectionism. I haven’t sewn a single thing with stripes that is 100% perfect- those crotch curves and raglan sleeves are especially challenging to match. Give yourself a little grace, and have fun with it- your results will likely be far better than what you can buy off the rack, and you’ll have pride in knowing you made it yourself.
If you’re ready to dive into stripes, check out the Supplex pre-order from The Styled Magnolia- she has an epic round going on right now, with more stripes to come!
A few notes about the patterns in this post:
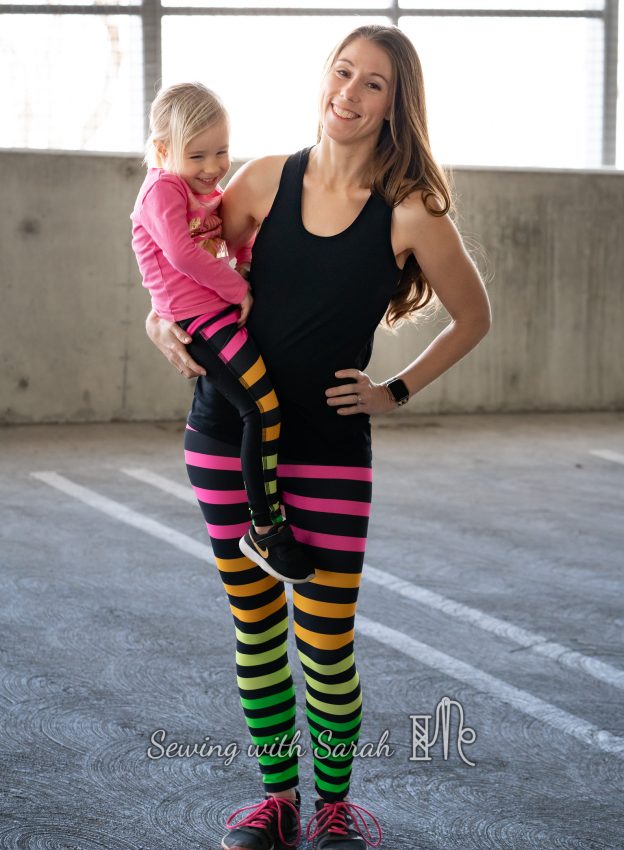
Outfit #1:
![]()
![]()

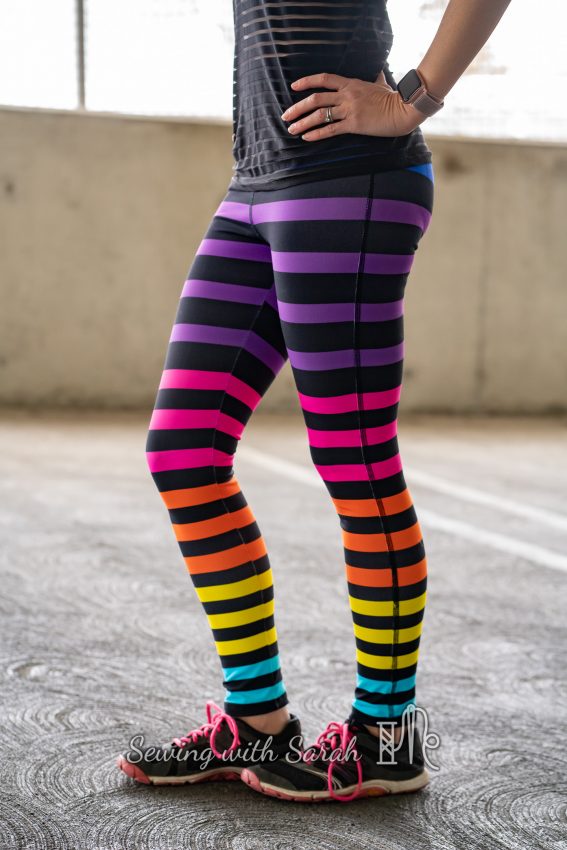
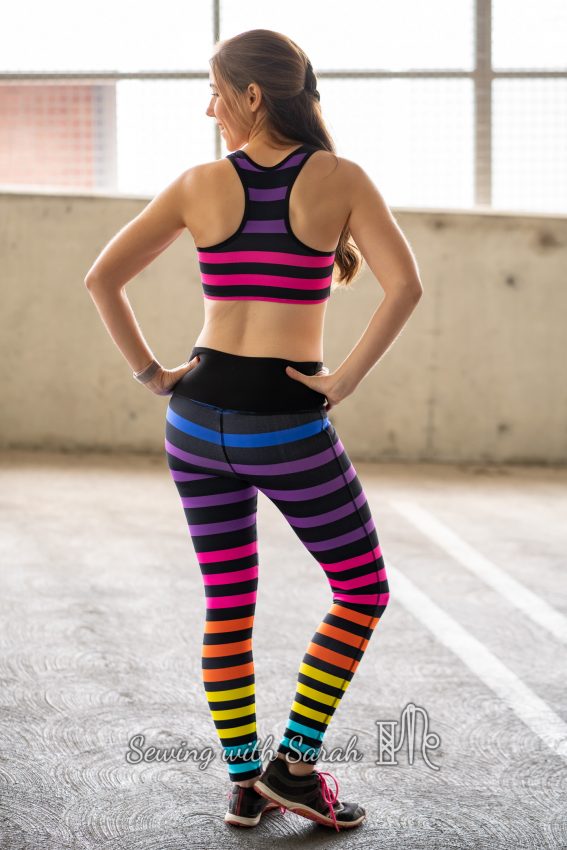
For this outfit, I used the Greenstyle Inspire tights (with the side seam, making sure to use topstitching to “disguise” any slight errors in stripe matching (oops! told on myself!) and a slightly modified Jalie 3247 sports bra with the racerback view. This is the “Incandescence” Colorway, and it’s pretty fantastic.
![]()
![]()
There’s not much more to say about the Inspires that I haven’t already said, but if you’re new to them, you can catch the sewalong here.
![]()
![]()
On the bra, rather than using fold over elastic as Jalie instructs, I added binding and clear elastic, using this binding method. I also narrowed the bottom elastic band, to mimic finishes in my lulu sports bras that have very narrow bottom elastic there.
![]()
![]()

If you’re sporting a bigger bust, I would recommend sticking with a wider elastic for support, but the powernet and narrow elastic combo seems to work well for me. I didn’t have enough fabric to make the front and back stripes match in the bra, so I went completely wild, using a completely different part of the stripe print, and I think it works.
Outfit #2
![]()
![]()
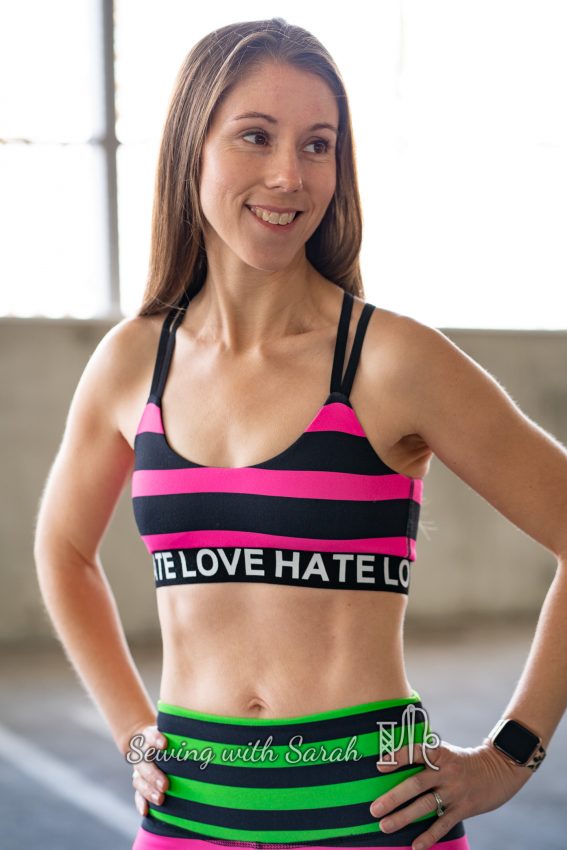
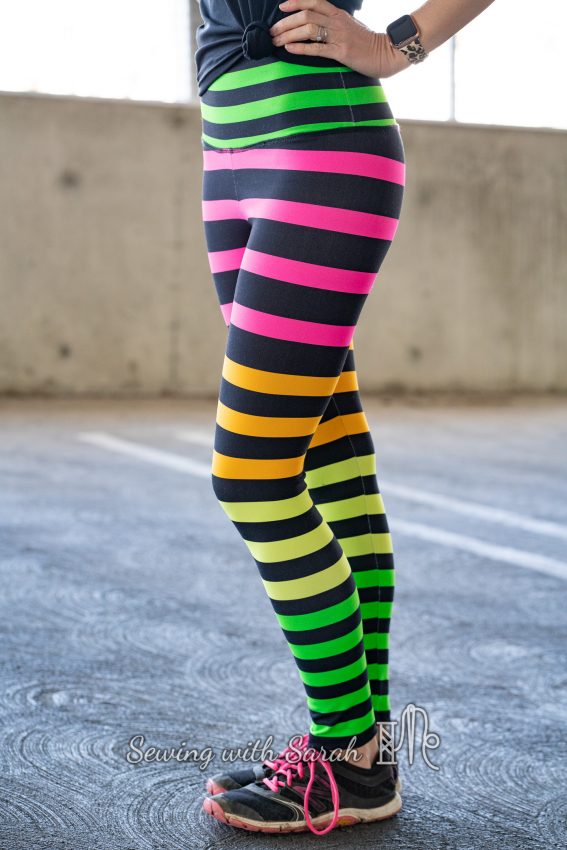
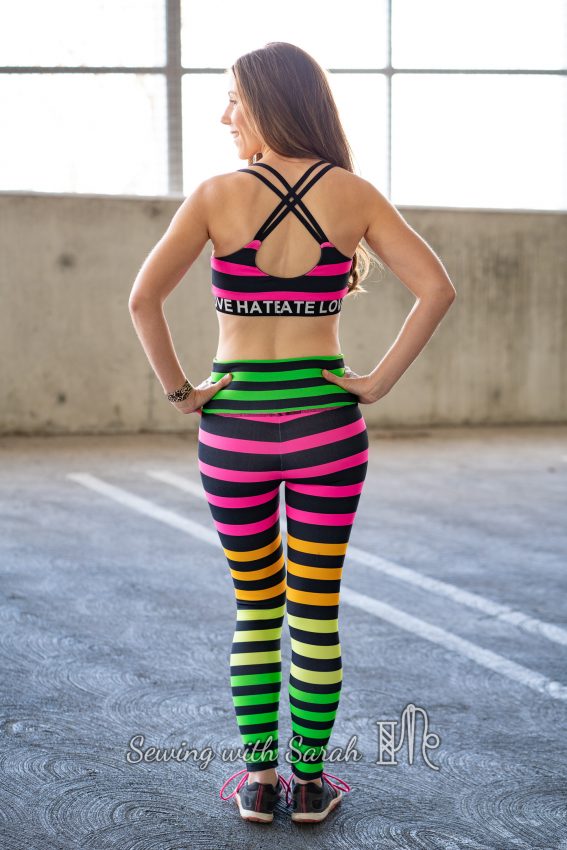
This outfit was made with the Greenstyle Inspires (again! But I’m working my way toward a more balanced leggings addiction by trying out a few new patterns for an upcoming leggings comparison post, so make sure to subscribe so you don’t miss that. I promise I’ll keep an open mind!) and the Greenstyle Power bra hacked to have a decorative elastic bottom band and a solid front (find the solid front hack here, and the Power Bra SewAlong here). This is the “Levity” Colorway of Statement Stripes, FYI.
![]()
![]()
![]()
![]()
I can’t resist a good decorative elastic, and this one really speaks to me on a number of levels.
![]()
![]()
My daughter’s leggings are made with the Greenstyle Stride tights pattern (Girls pattern here, bundle with women’s here)– it’s taken her FOR.EV.ER to fit into the size chart, and while they’re cute as can be, they did tend to slide down her tiny bottom over the course of the day.
![]()
![]()
![]()
![]()
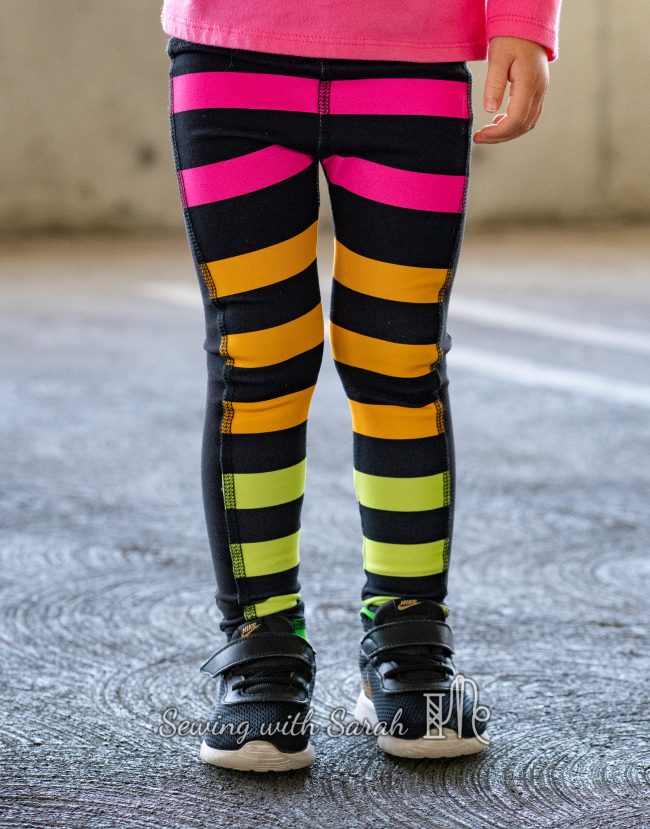
I think she could benefit from a few changes to the waistband, narrowing it at the top, shortening the rise, and possibly also just an overall growth spurt.
![]()
![]()
Good news is, she’ll fit into these for a while!
![]()
![]()
Unfortunately, she wasn’t feeling the modeling gig until we got in front of the ice cream store, so this photo is the only time where you can see her sweet face. Anyone else feel me on the 3s being more challenging than the 2s?
![]()
![]()
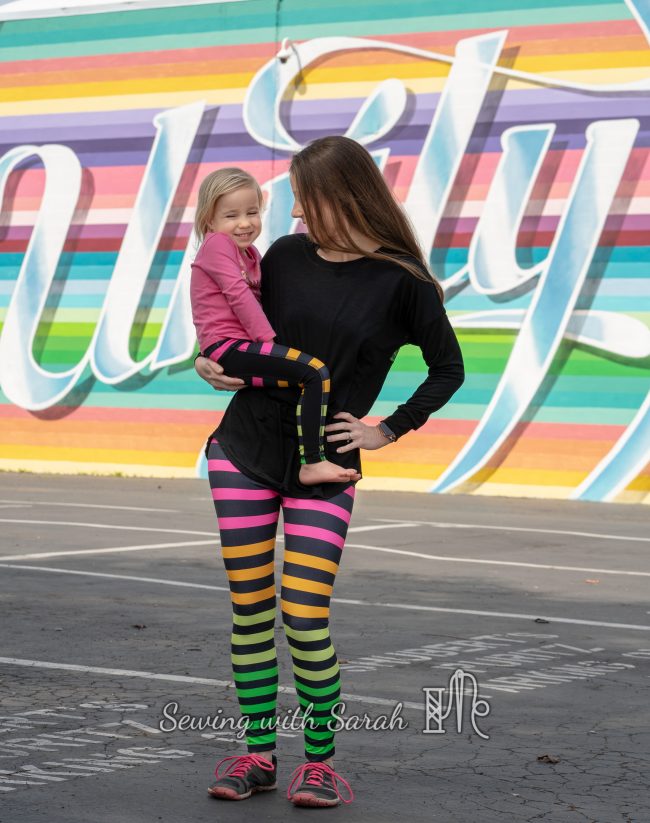
The mesh tank top is blogged here, and the black dolman is blogged here, if you’re curious about those.
Thanks, as always, for reading! If you’ve got a few stripe matching/sewing tricks up your sleeve I’d love to hear them- drop me a comment below! And, if you have a pattern you’d like to see added to my leggings comparison post, please drop that as well!
Happy Sewing!
Note: This post contains affiliate links. These patterns don’t make themselves- lots of Dutch Bros (or Starbucks, depending on the day) is required. Thanks for your support!
Love all the stripes! Cutting always gets me!! But it’s true you just gotta let it go! My peanuts are just fitting into the strides. I think I’ll do custom yoga waistbands on their next ones to make it easier. And YES I always say 3s are way worse than the 2s! Soooooo many “big feelings” lololol
I think little tummies love yoga waistbands, and thank you for the encouragement about her age!
Random question: What do you trace your patterns onto? Is it just tracing paper? Medical exam paper? Something sewing specific?
As Stephen said, I use medical exam paper or swedish tracing paper if I really want it to last a while!
I’m not an athletic tights person, but looking at your beautiful styles in the bras gives me good ideas for what I like to make for wearing around the house and even sleeping in. As a larger breasted woman, I like the combo of comfort and support. Your makes are all gorgeous and that little doll in her tights is just too cute! I remember saying that 3 is worse than the 2’s are supposed to be, with my son and also my grandkids!
Thank you for the information. I guess I am ready to use my stripe fabric now. I cut all my patterns in the flat now. I tape the fold line to the fabric and then flip it over.
Can’t wait to see what you do with all your stripes!
I know she has used swedish tracing paper and medical exam paper http://amzn.to/2fmWkHc in the past.