A Tale of Two Hoodies….
![]()
![]()
I’ve said it before, and I’ll say it again- winter is NOT my friend. We tend to joke in our family that I’m part lizard, because I don’t seem to generate my own body heat- I’m only warm and happy if I’m IN a warm and happy environment.
While I wish I could simply fly south every winter, and avoid the season entirely (I have NO issues with decorating a palm tree for Christmas!), we aren’t planning on moving any time soon, so I’ve got to make do- and hoodies are big part of that equation.
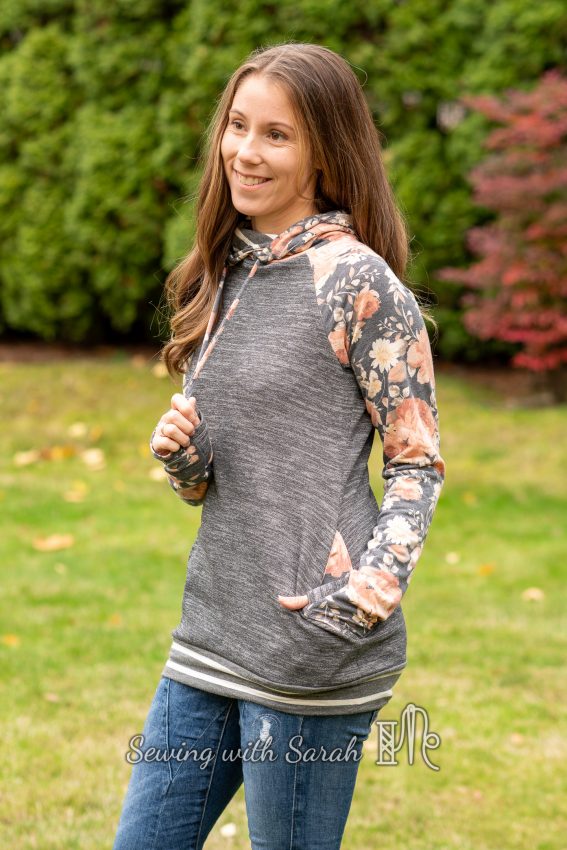
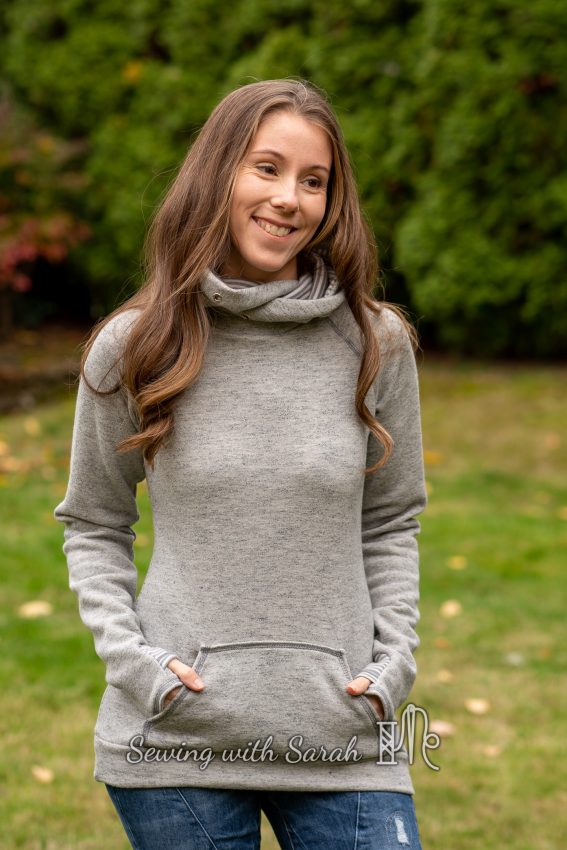
I settled on the New Horizons TAMI hoodie– I hadn’t made it in over a year, and remembered really liking the fit. You can see the versions I made last year here (along with my nursing hack)- I love them, but since I’m now nursing a toddler, and not a baby, easy access is no longer required. I stuck with the original version of the pattern, which has since been updated, because I like the slightly looser fit for layering over tanks and long sleeve shirts, both for modesty when nursing and for an extra layer of warmth.
![]()
![]()
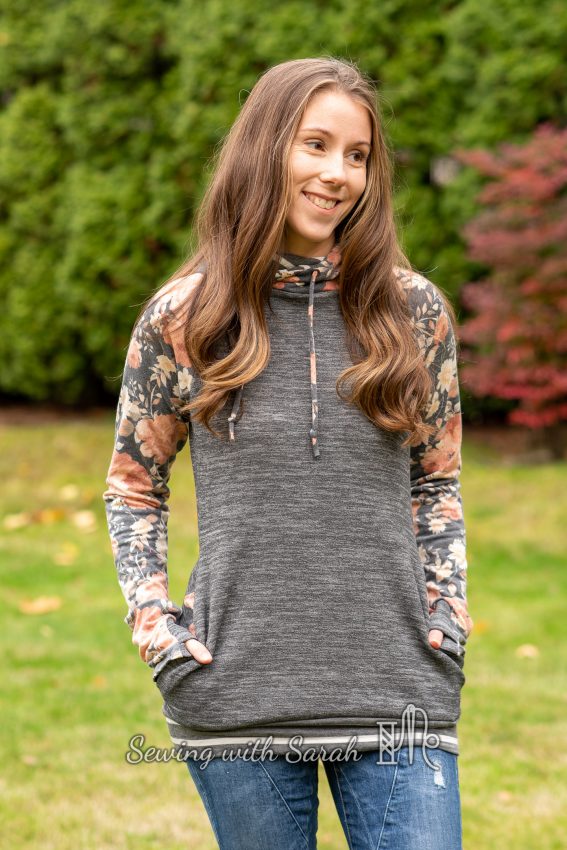
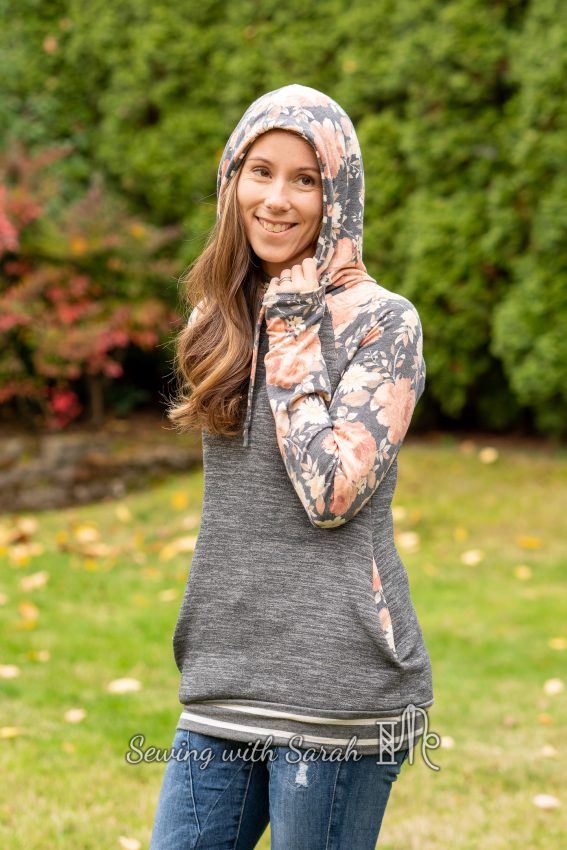
This pattern has an awesome zip and double hood option, but to keep it simple, I went with the single crossover hood, and lined it instead of simply turning it under, so I could add a little contrast.
![]()
![]()
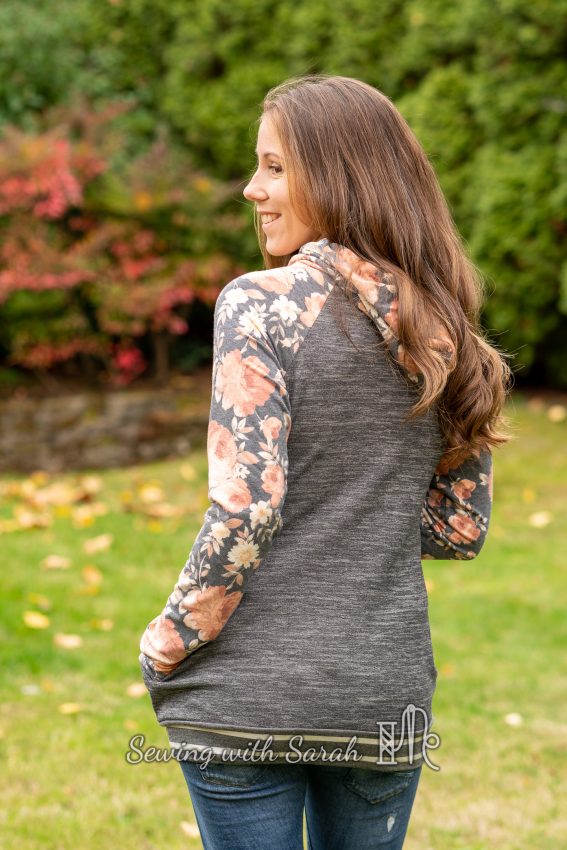
The front and back are sewn with textured athletic knit from Surge– I had originally ordered this with leggings in mind, but it doesn’t have enough stretch for my favorite leggings pattern, so I decided to use it on this instead. The arms and outer hood are from a So Sew English floral (there are so. many. florals. on that site, I can’t remember the name, but I love the fall colors!), and the inner hood and waistband are scraps leftover from my Uvita top that I made last year.
![]()
![]()
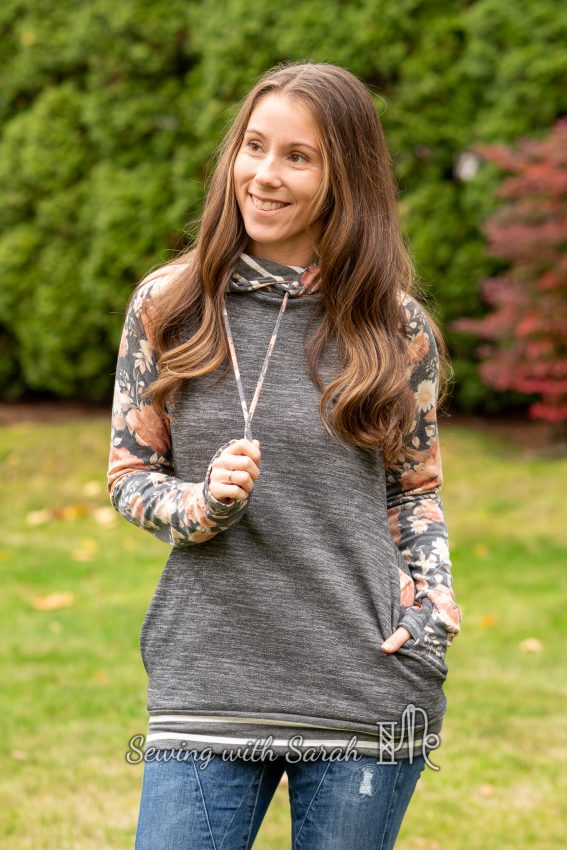
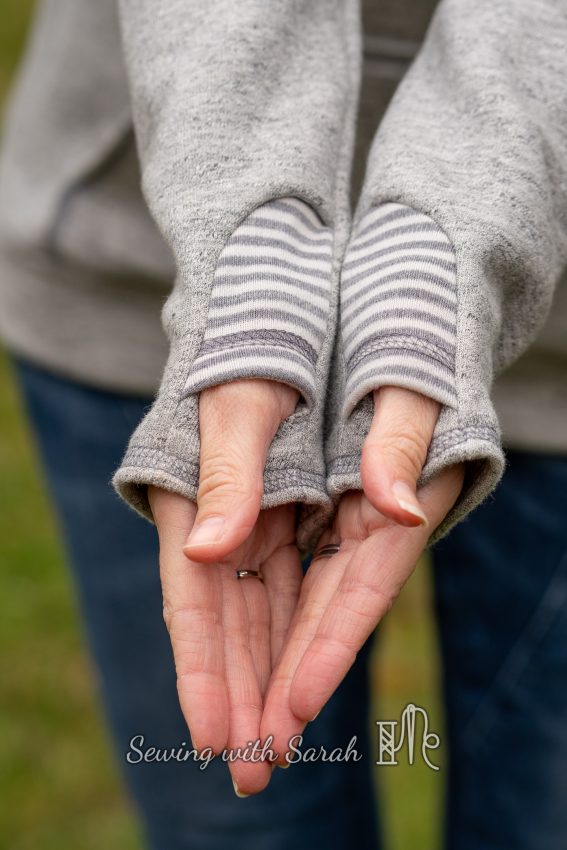
Since I used a little bit of everything, this turned out to be quite a scrap buster, and it was fun trying to coordinate the fabrics. In addition to my small hood modification, I followed the tutorial on the New Horizons blog for the thumb cuffs. I had a little trouble with the hemming at the end on the cuffs- I didn’t really have enough to turn down. I also didn’t like the raw edge on the inside of the thump part of the cuff, which is serged but still a bit scratchy on my dry winter skin.
![]()
![]()
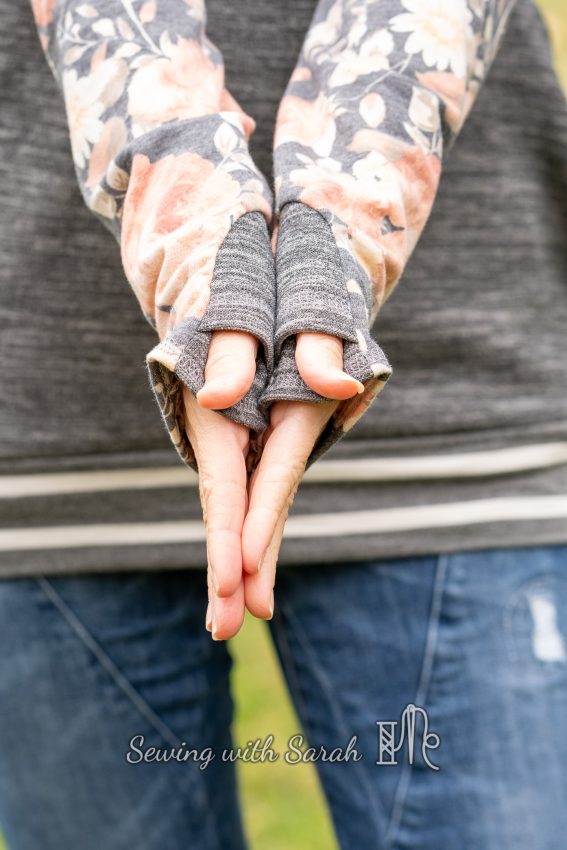
After thinking it over for a while, I noticed on my RTW sweatshirts with a similar cuff the top and bottom cuff pieces are folded, so all the raw edges are enclosed in the main seams, which is much more comfortable. I might try to re-create that method on my next try, but I do prefer this type of cuff to the normal one that’s included in the pattern- much easier to construct, and my thumbs have a bit more room.
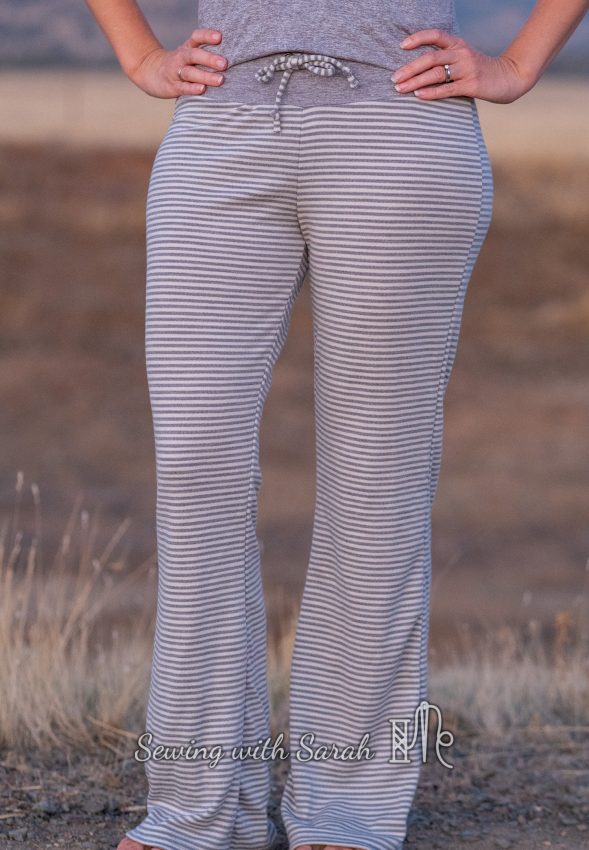
I also included the in seam pockets on this one- which are quite cozy, but tend to make the hip area stick out a bit, since it adds bulk there. I fixed this issue by using the kangaroo pocket option instead on my next version, which I’m also sharing today. My hips don’t need any help showing themselves after 3 kids, if you know what I mean!
![]()
![]()
Without the zip, this is a pretty quick sew, and I was happy to churn out another one to add to my winter wardrobe.
![]()
![]()
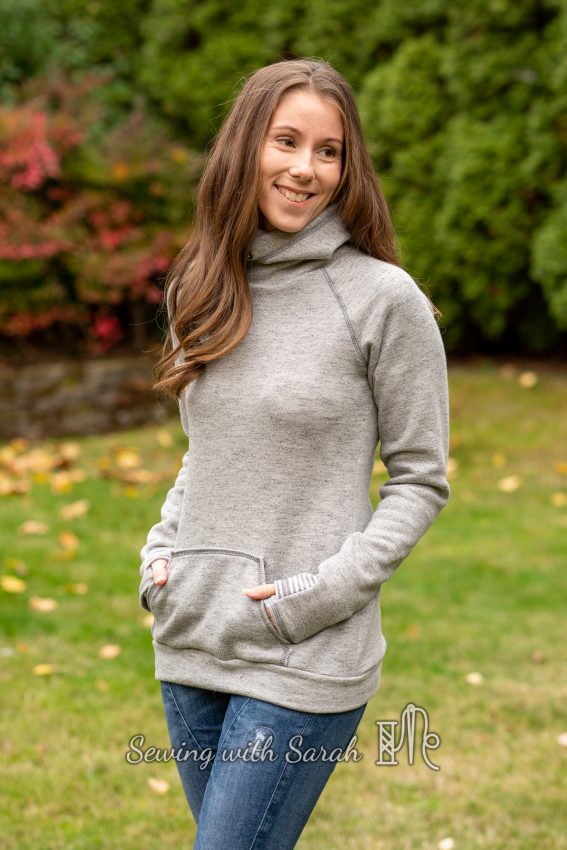
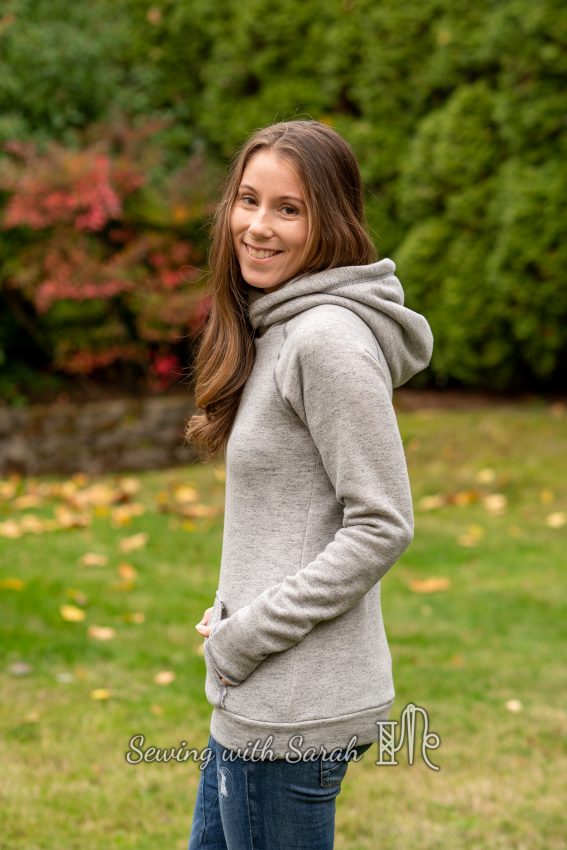
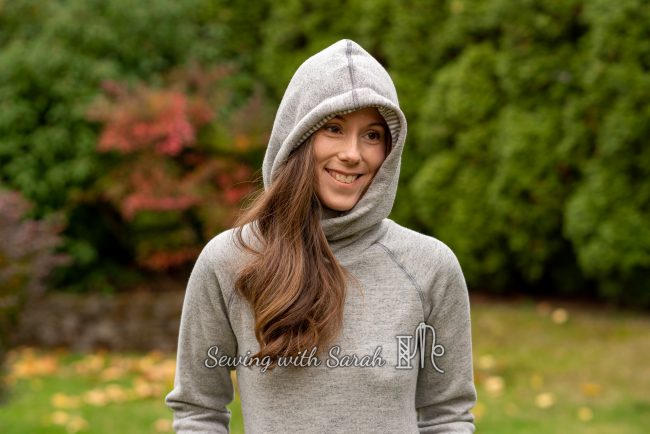
This second sweatshirt was made out of a thick, stretchy sweatshirt fleece I found at a warehouse in San Francisco- it’s pretty much the perfect sweatshirt fabric! I’ll never understand why most of the sweatshirt fleeces at JoAnns don’t have any stretch- who wants a hoodie that doesn’t have any give? This stuff is much better, and I should have bought dozens of yards- but then I’d probably have a whole army of grey hoodies, and someone might find that a bit boring style wise.
![]()
![]()
The inner hood and cuffs on this one are made from merino wool scraps leftover from my Portlander Pants (never blogged, so I’m sneaking them in here!)- making this the best lounge outfit EVER!
![]()
![]()
I’ve already gushed about my love for merino in my last post, so I’ll just say this stuff is perfect for us cold-blooded creatures.
![]()
![]()
![]()
![]()
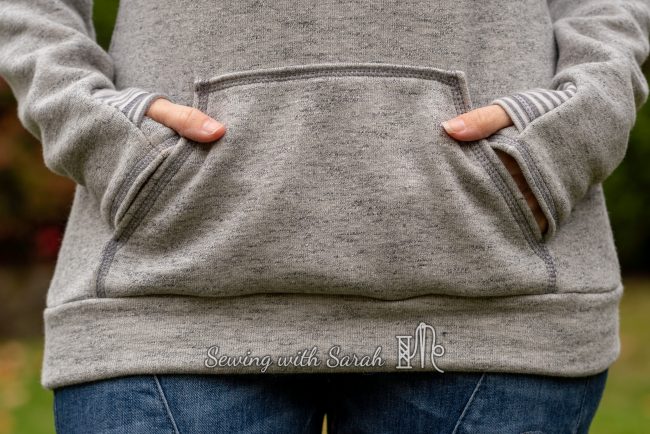
I did a reverse coverstitch to attach the pocket- which I could swear is even in real life, even if it doesn’t look right in this photo (warning: photos add 10 pounds and distort pockets)
![]()
![]()
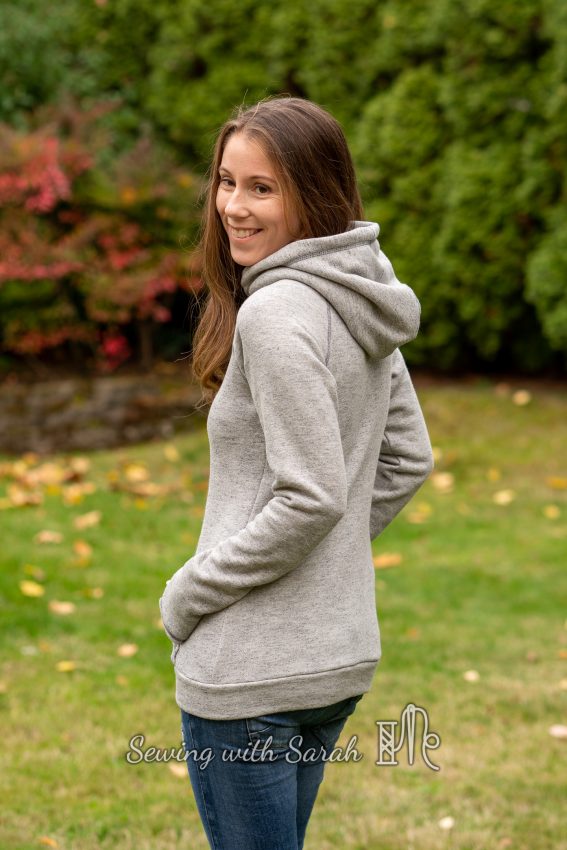
The only modification I made on this one, besides lining the hood and sewing the thumb cuffs, was to lower the neck slightly. You can tell in my first one, that the neck bunches a bit at the seam, and lowering it helped- I’ll probably even lower it another 1/2″ in the future.
![]()
![]()
Next up in my queue is a new Summit Peak- I’m thinking a comparison might be fun! If you’ve made both, what are your favorite features and why?
![]()
![]()
Note: This post contains affiliate links. Thank you for your support! If you’d like to follow along with my sewing adventures, you can find me HERE on Instagram! I have a goal of getting to 2K followers by the end of the year!
Beautiful work! All the details on your hoodie look great and I love your use of contrast scraps!
Ooh I’d be curious to see the Tami and summit peak hoodies back to back!
And I was also frustrated to find tons of sweatshirt fleece with NO stretch at Joanns.
I found a sherpa lined jersey on sale at hobby lobby though, so that’s my next project.
Probably after Christmas though…
Yes- so much non stretch fleece there! If you’re looking for the stretch variety, SO Sew English has a great stock!